April 2003
Friday 4th
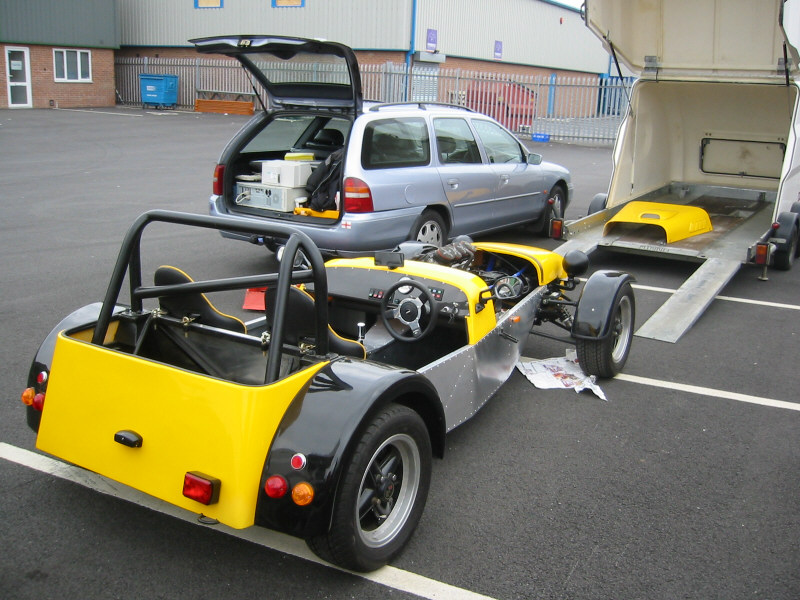
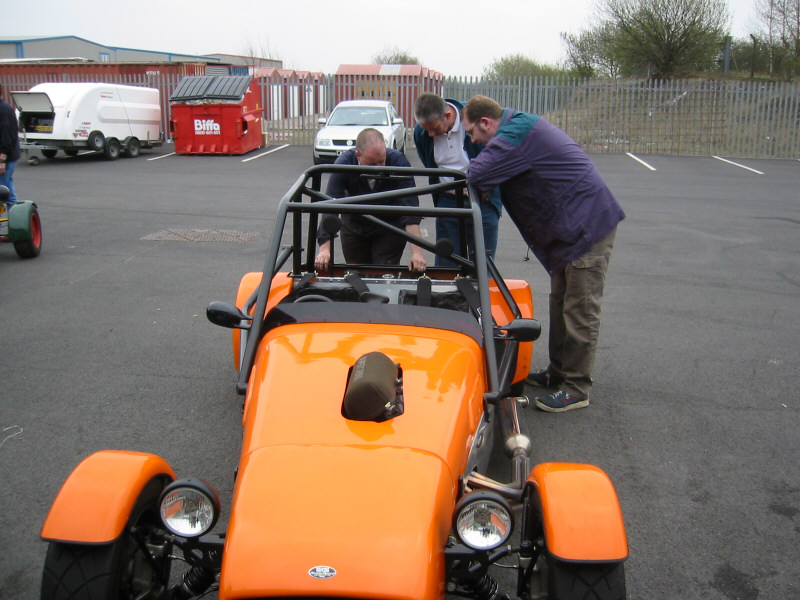
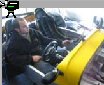
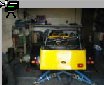
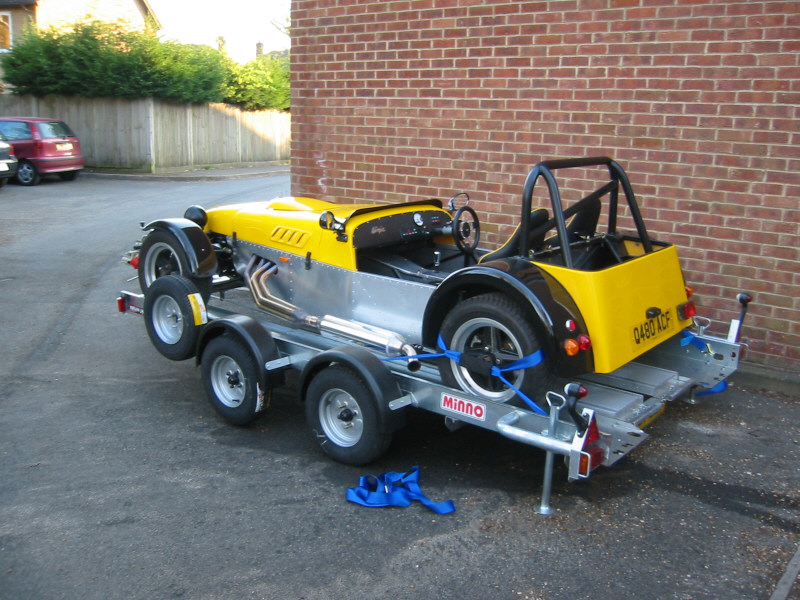
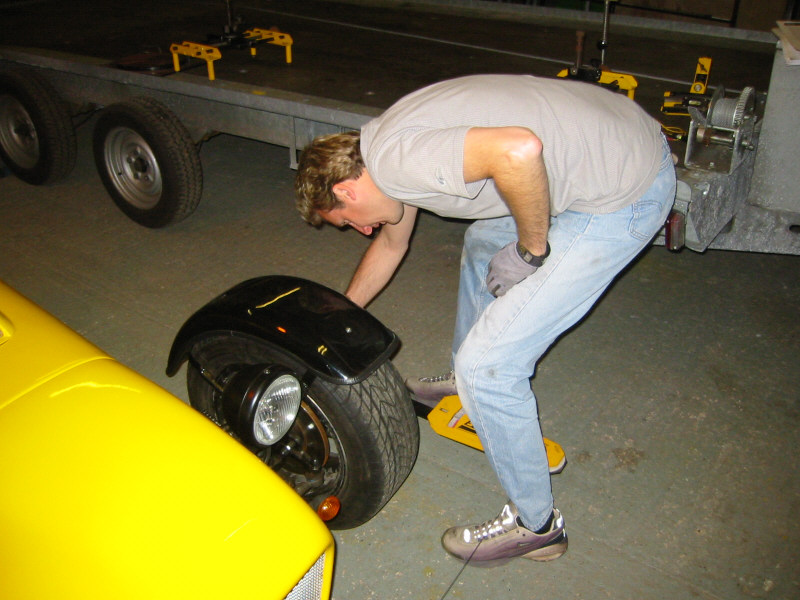
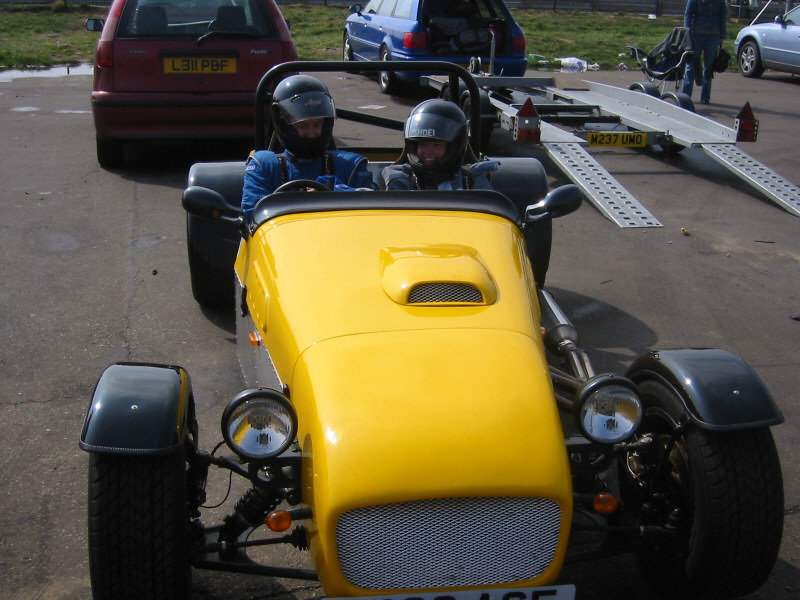
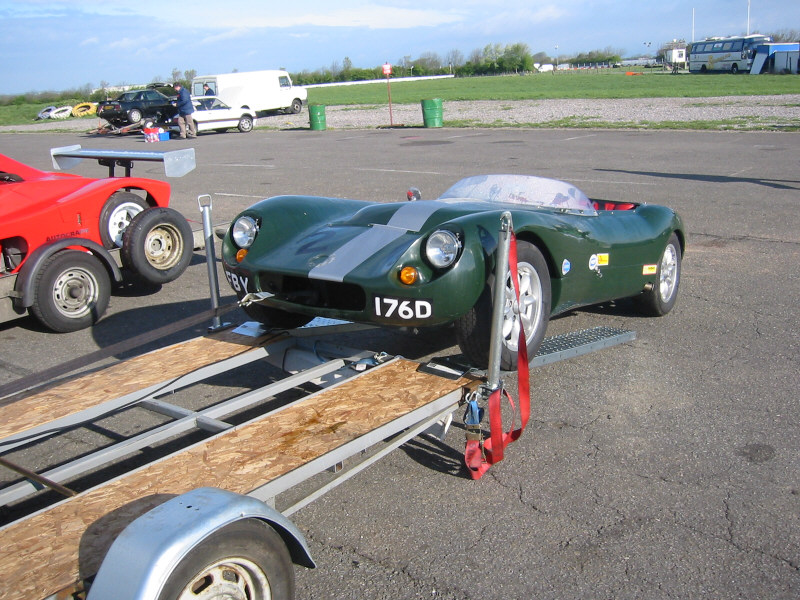
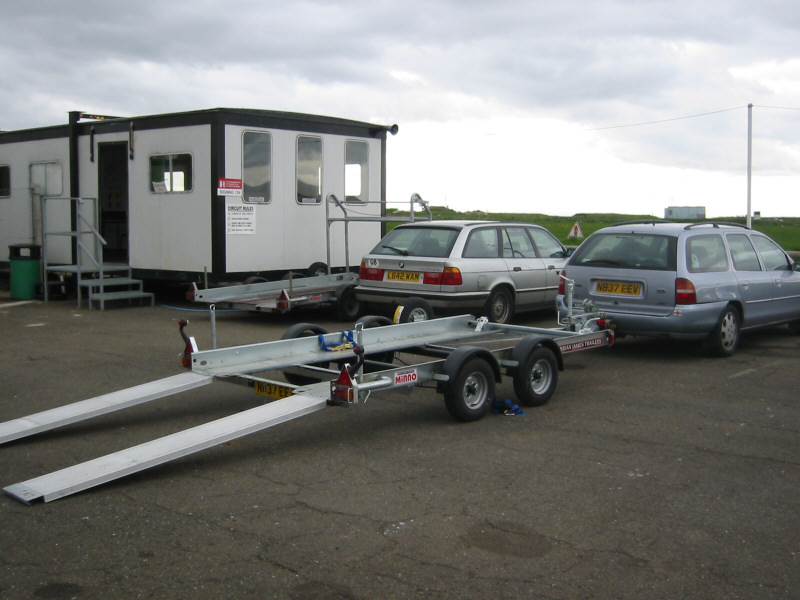
Drove to Brian James Trailers in Daventry to pick up a Minno Shuttle trailer that they had kindly offered to lend me. Once home, I loaded the Loco onto the shuttle and packed the Mondeo with every tool in the garage ready for the next day at Stuart Taylor Motorsport.

Brian James Minno Shuttle |
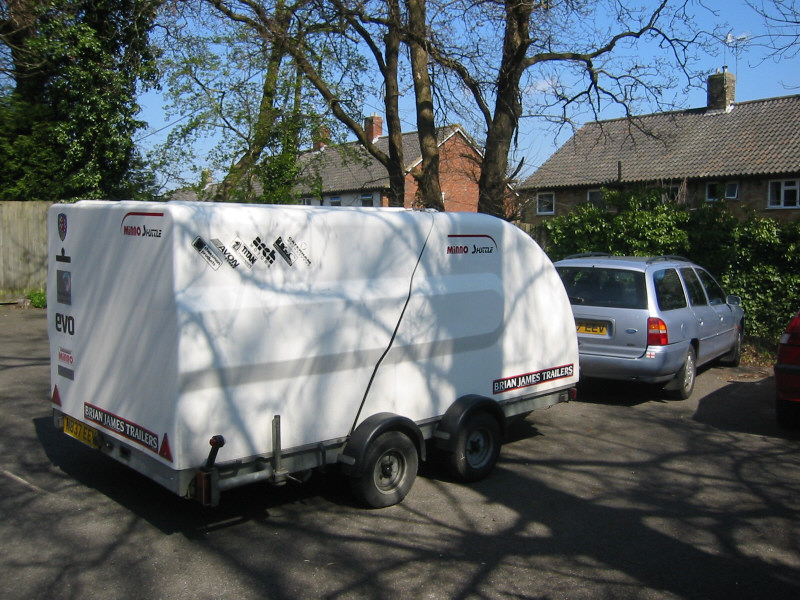
Just arrived from Daventry |
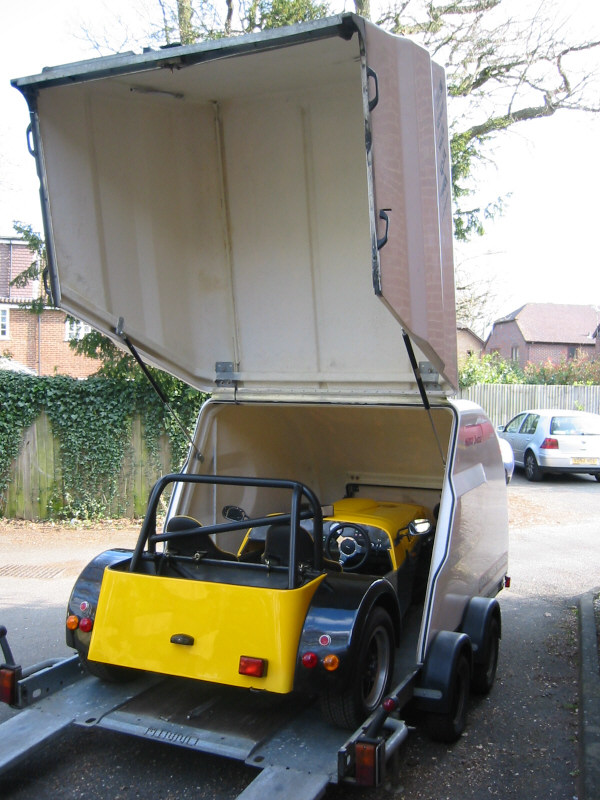
Loading the Loco onto the trailer |
Impressive trailer! |
Almost ready to go |
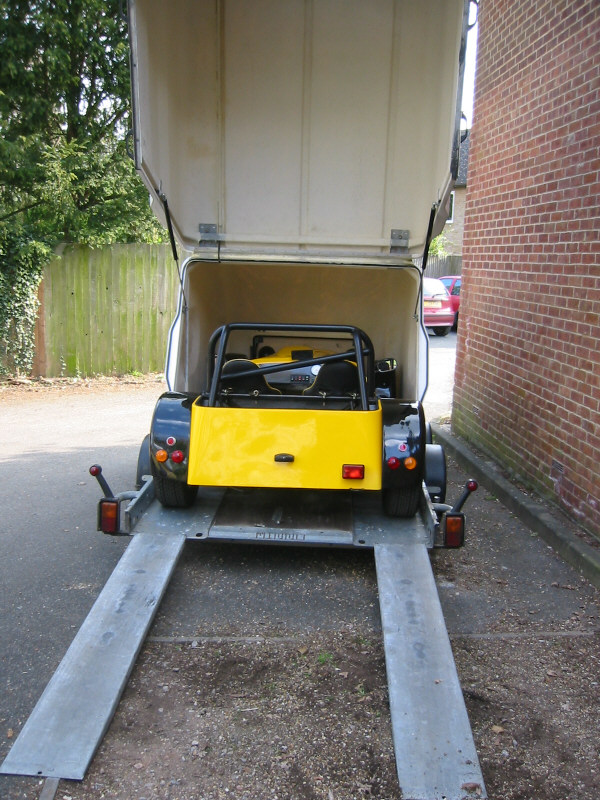
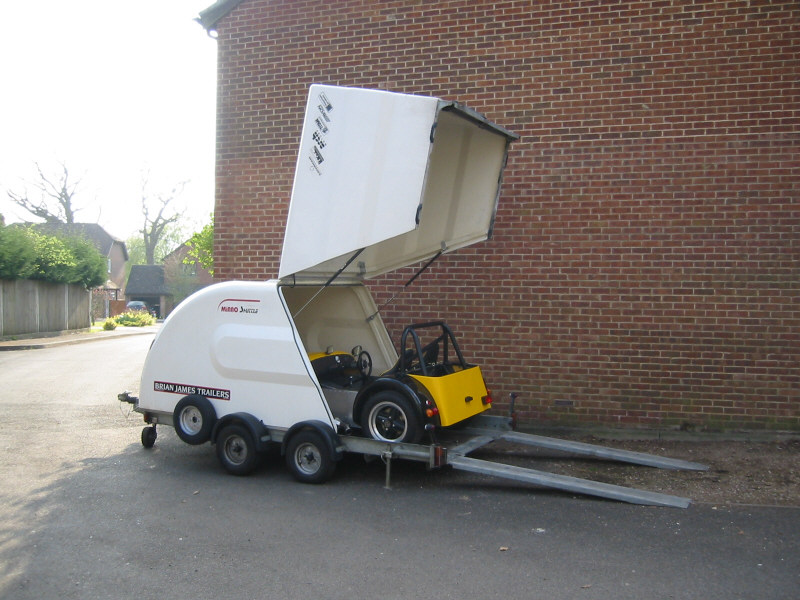
Long loading ramps |
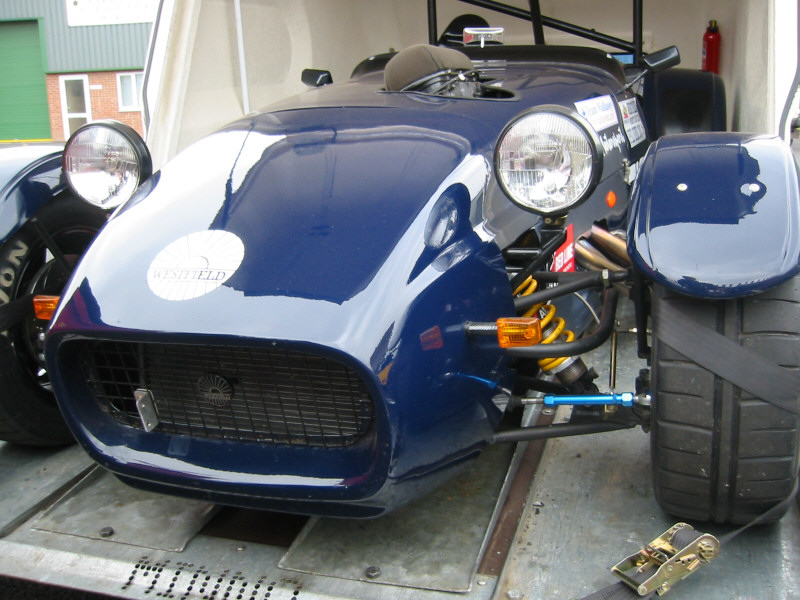
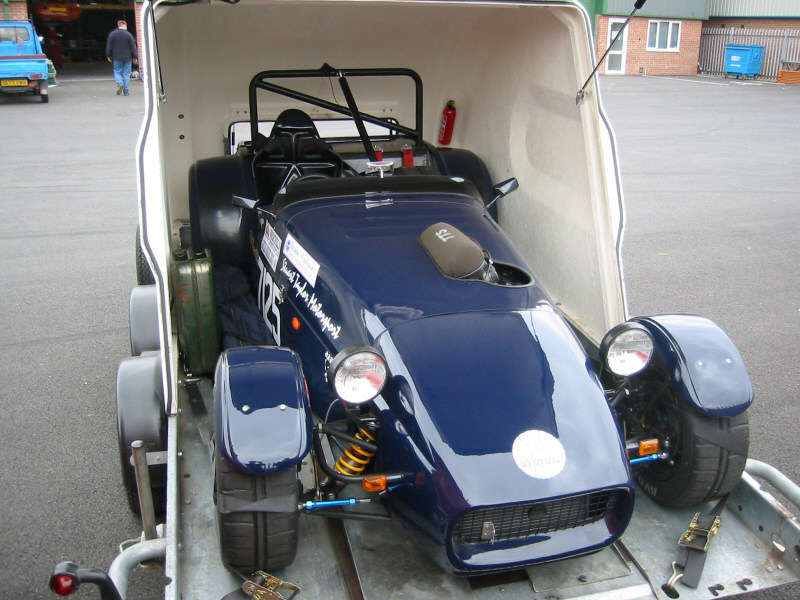
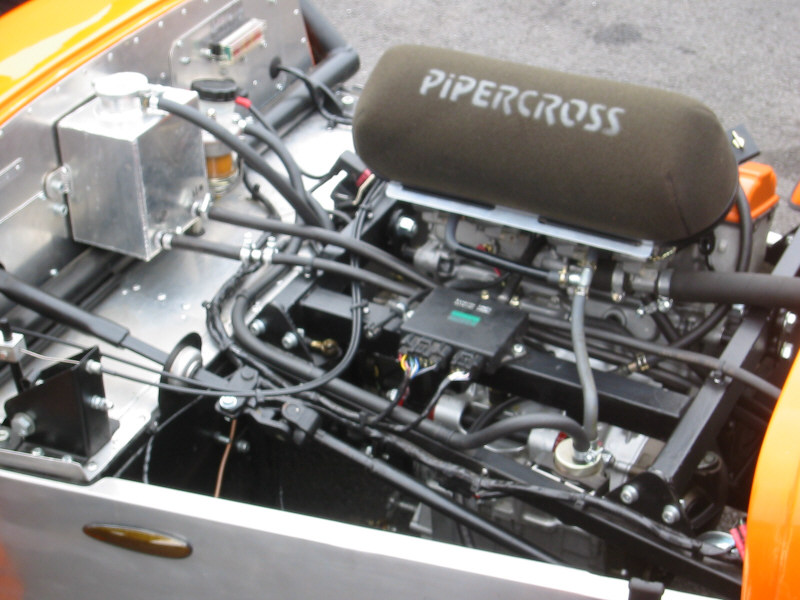
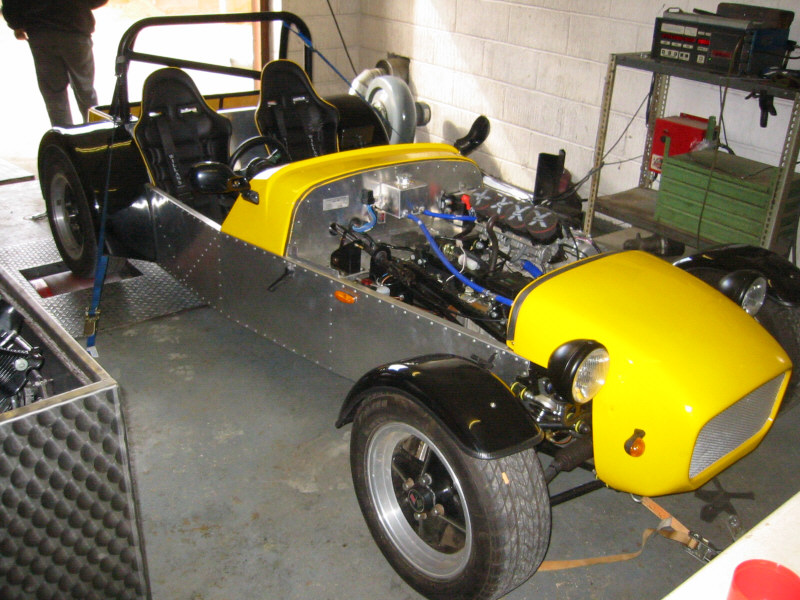
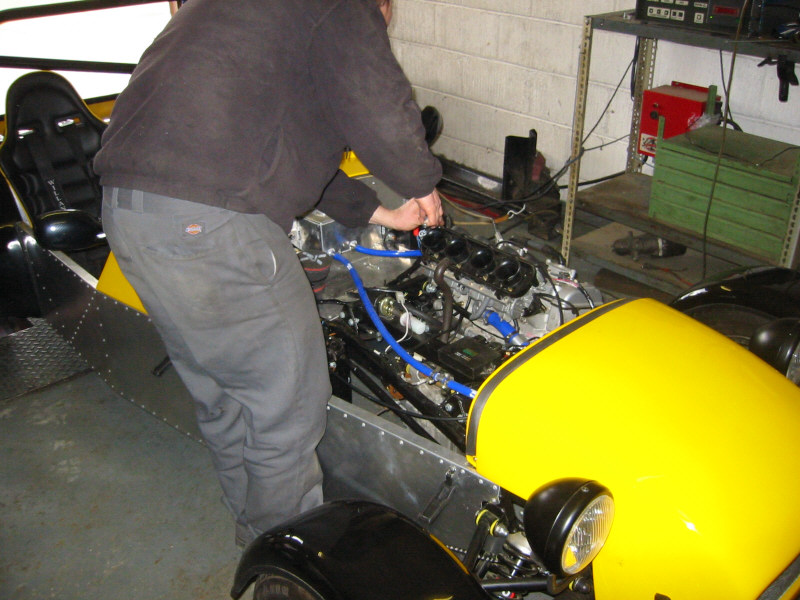
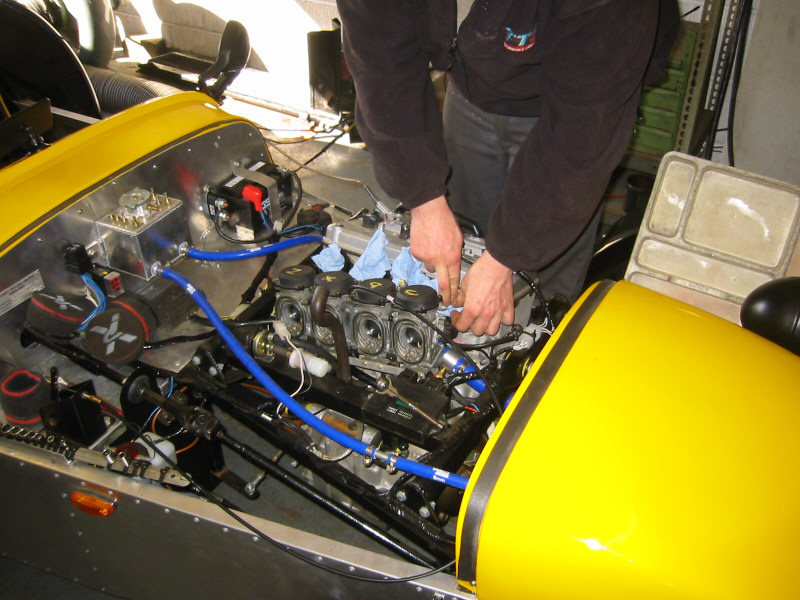
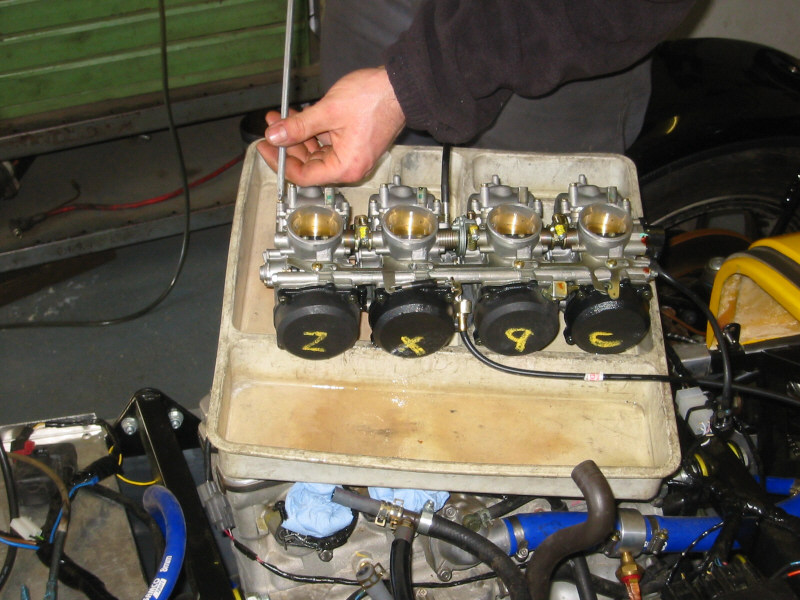
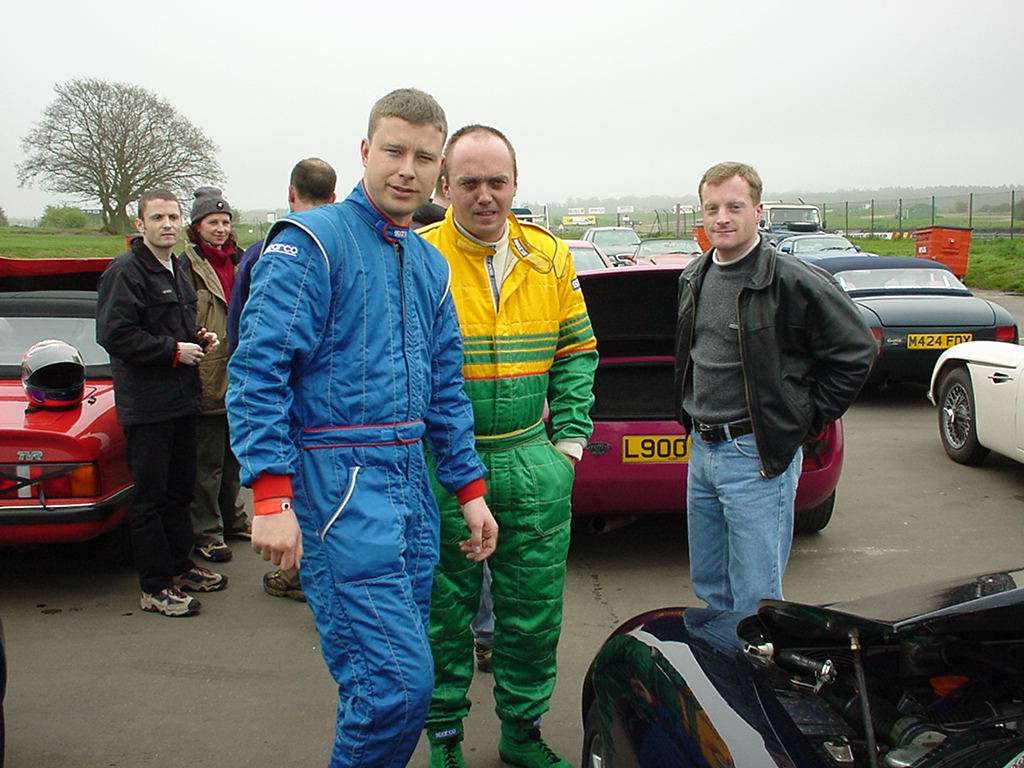
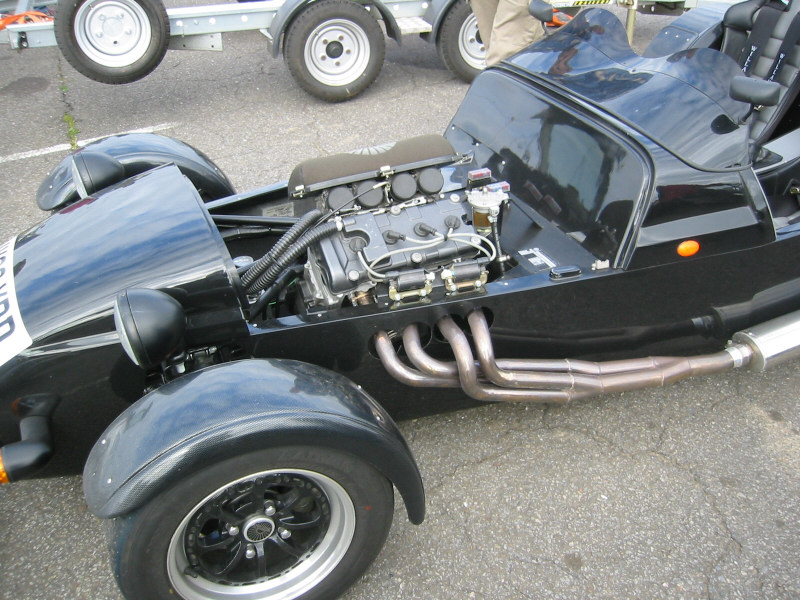
Spent all day at Stuart Taylor Motorsport getting ready for the SVA test on Monday. The main job was to fit the catalytic convertor and emissions ECU. The ECU takes readings fom a Lambda sensor fitted into the exhaust manifold and a temperature sensor attached to the cooling system. It uses these readings to adjust the amount of air allowed to bleed into the intake system. Unfortunately, Ian of ST was having problems with the emissions ECU. We decided to fit all the gear and go for the test anyway. Ian said that one of his customers had managed to get through the emissions test with the cat fitted without the ECU.
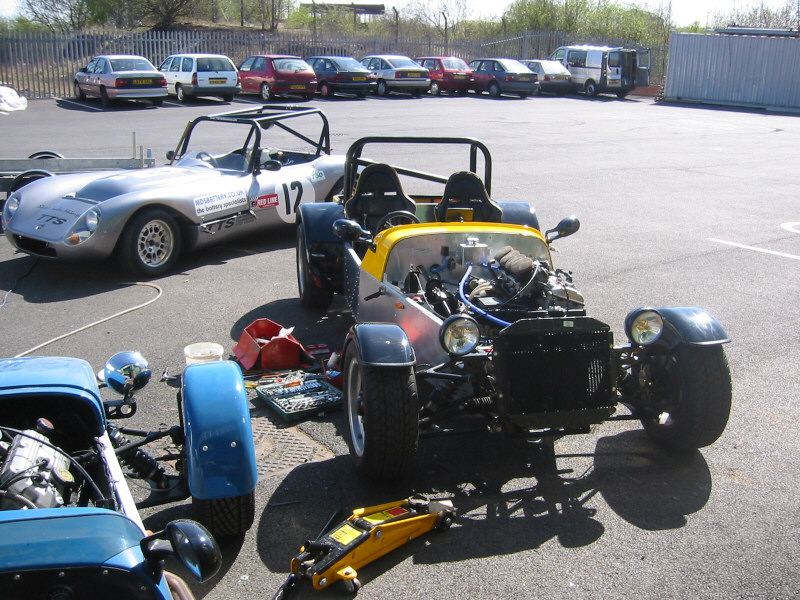
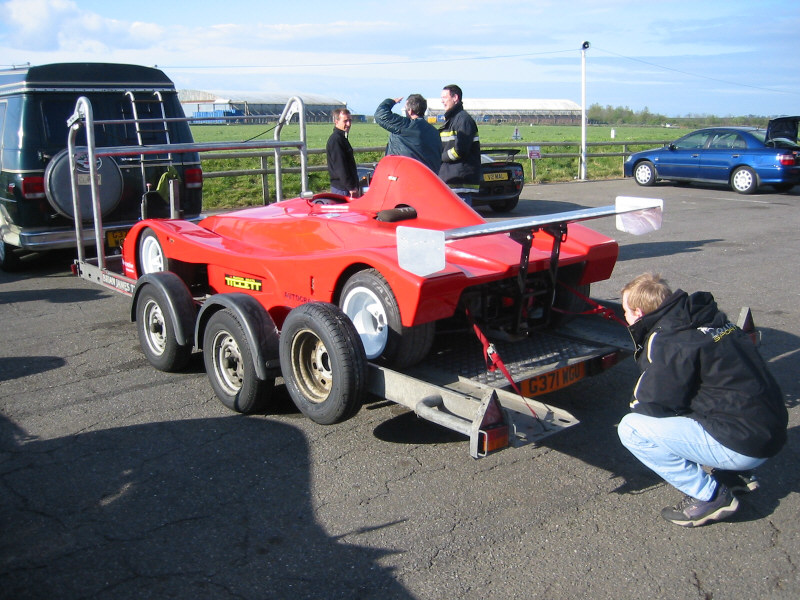
Whilst at Stuart Taylor, I chatted to the owner of this nifty Blade engined Westfield. Also, Ben Marriott turned up in his immaculate Locosaki.
Fireblade-engined Westfield |
|
|
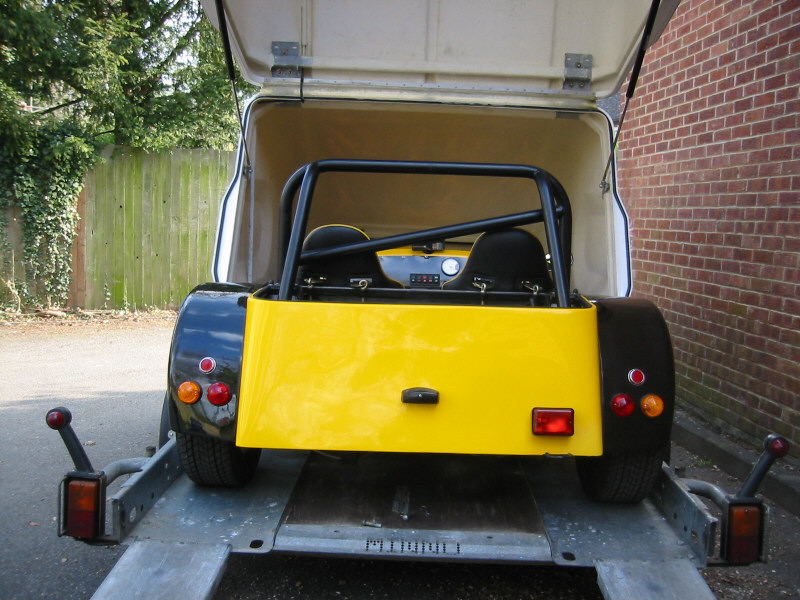
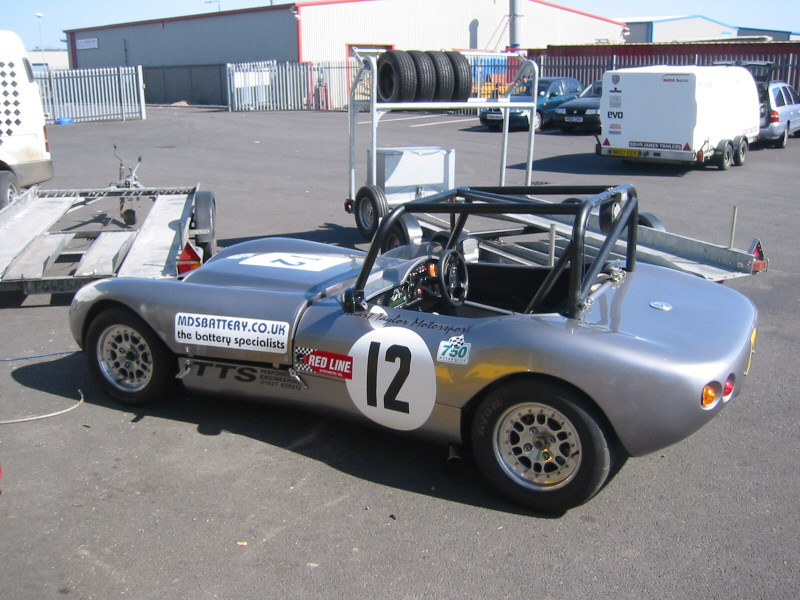
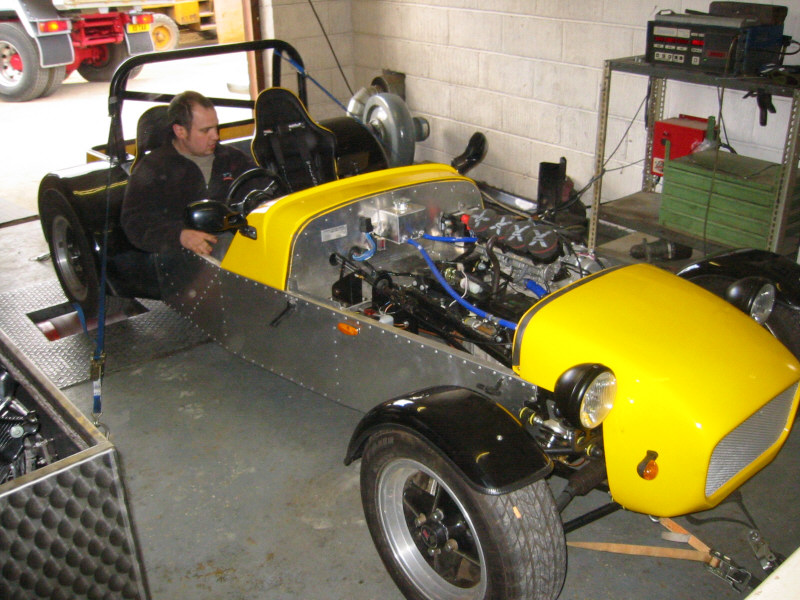
Just after unloading at Stuart Taylor motorsport |

Fireblade-engined Westfield dash |
The Westfield had a bullet cam fitted which took amazing footage |
Ian Gray's racing Phoenix |
New Stuart Taylor electric reverse mechanism! |
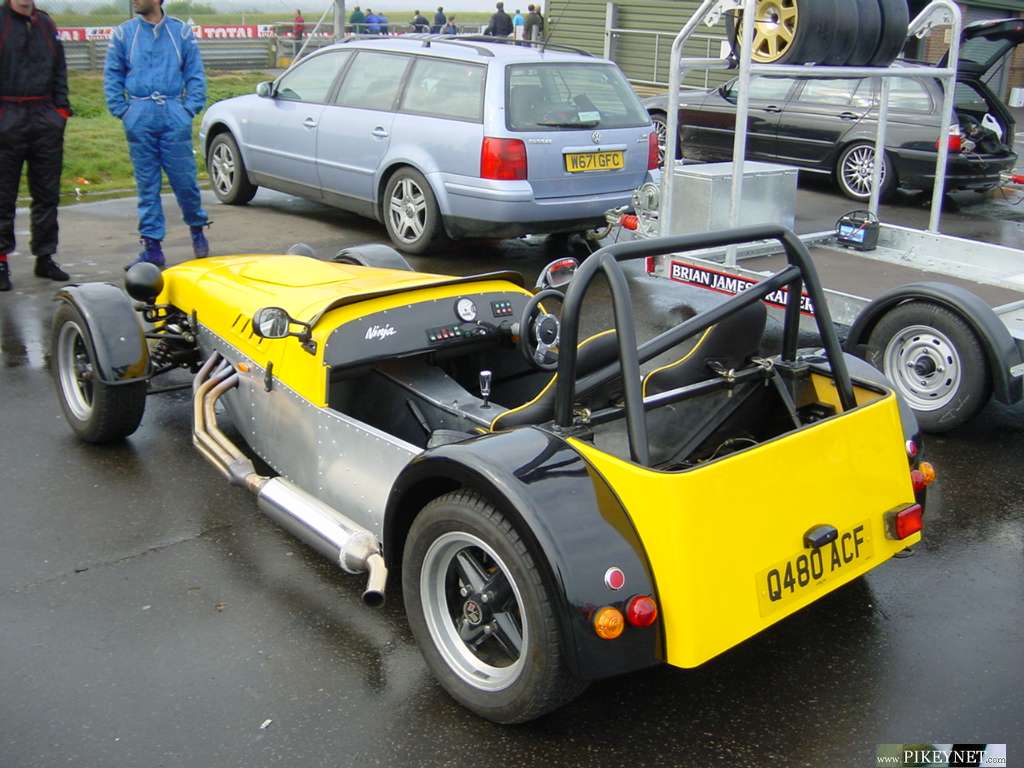
Stuart Taylor billet sump as fitted to Ben Marriott's Locosaki |
Ben Marriott's superb Locosaki |

|
|
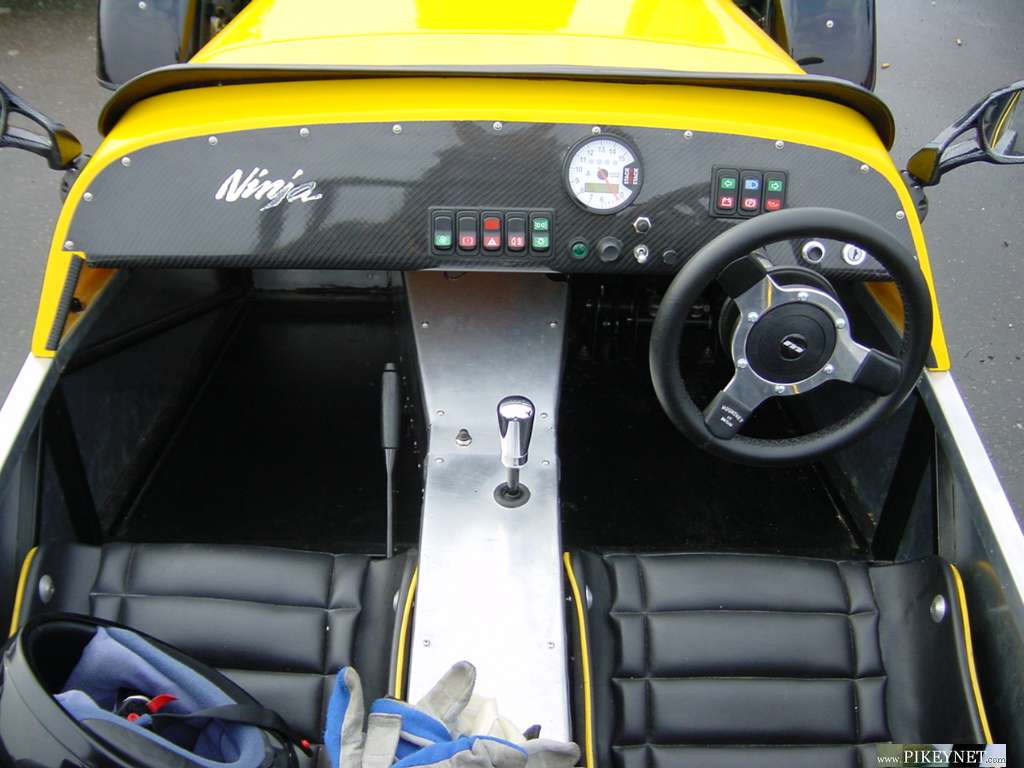
Ben's dash |

Ben's cam cover painted to match the bodywork |
|
|
Ben's reverse gearbox oil catch tank |
Stuart Taylor billet sump |
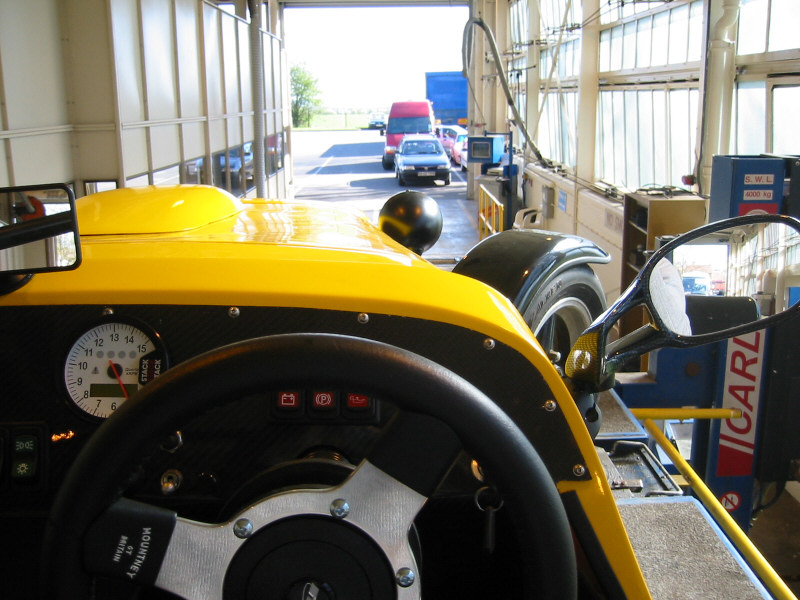
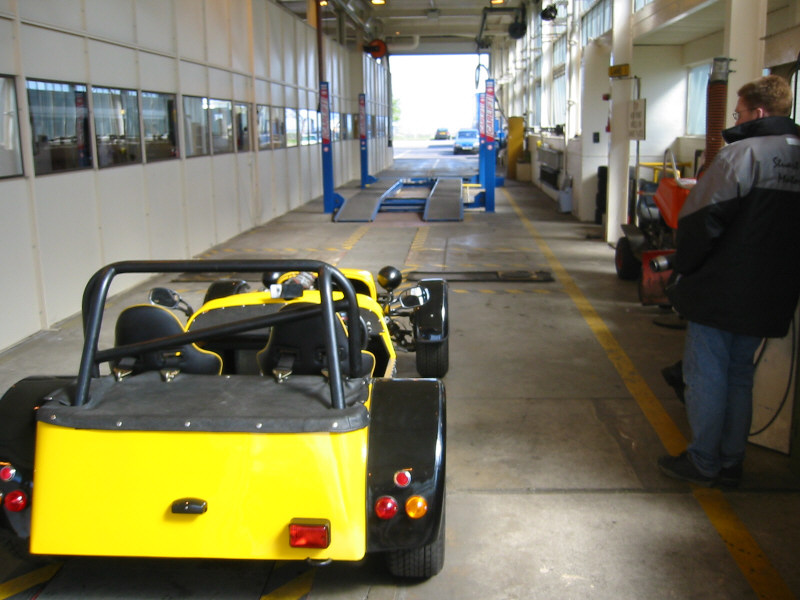
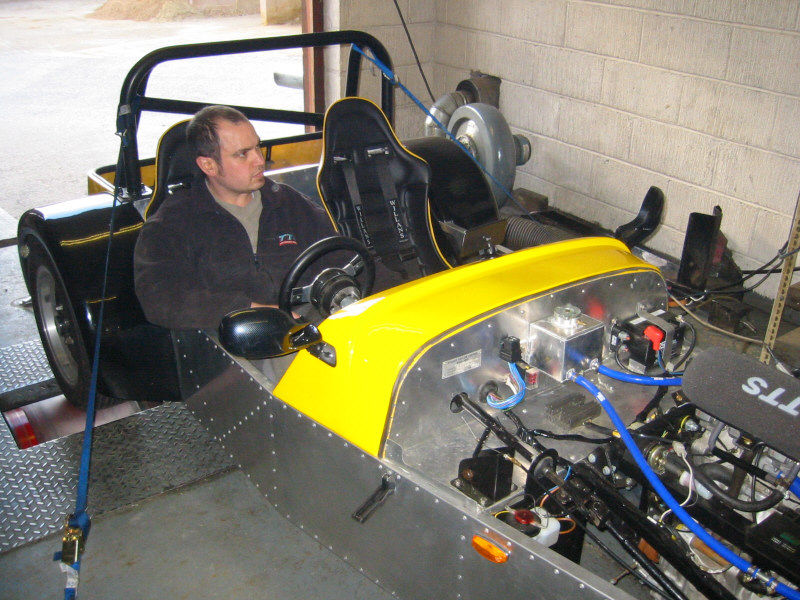
I arrived at Stuart Taylor Motorsport at 8am to collect the Loco on the trailer. I got stuck in traffic, but arrived at the Nottingham SVA Test Centre at 8:35. It looked very busy with HGVs, buses and coaches all queueing up for their checks. There are three test lanes at the centre and I was told to take my car to lane 3, the SVA lane.
My tester was called Andy and he was friendly and seemed very reasonable.
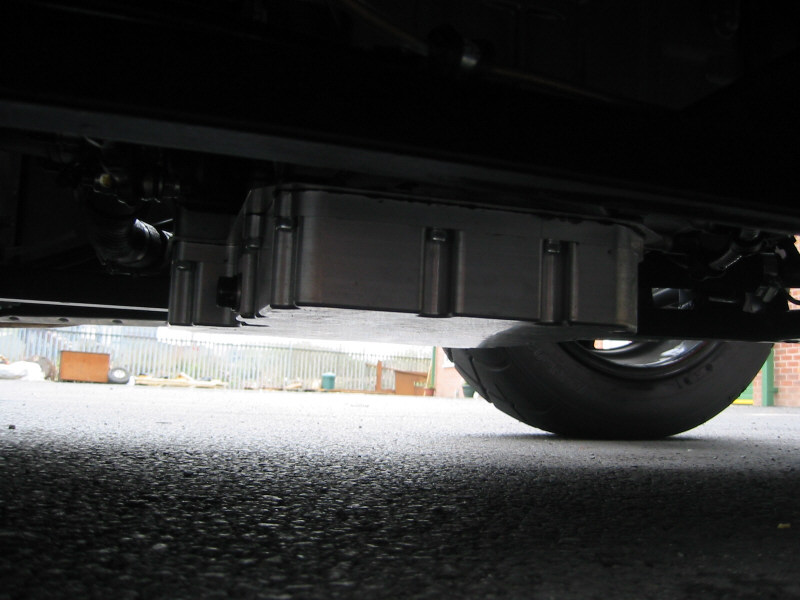
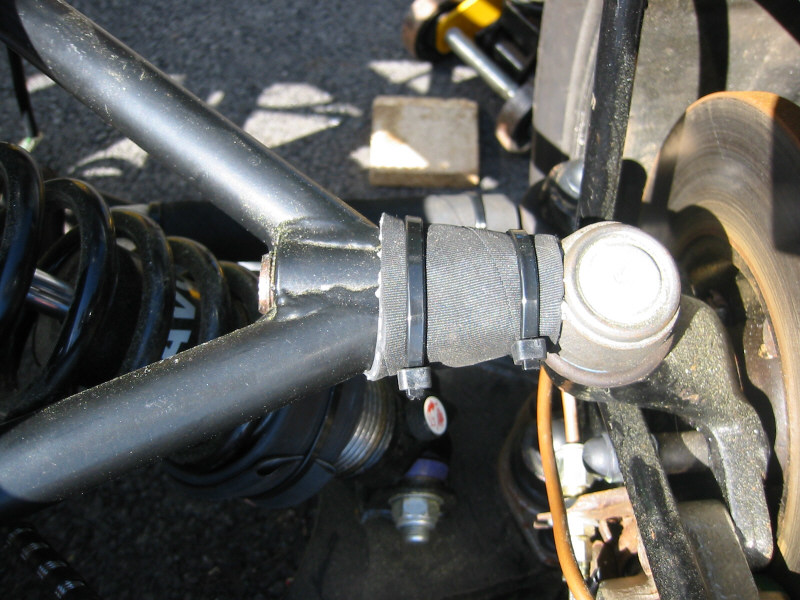
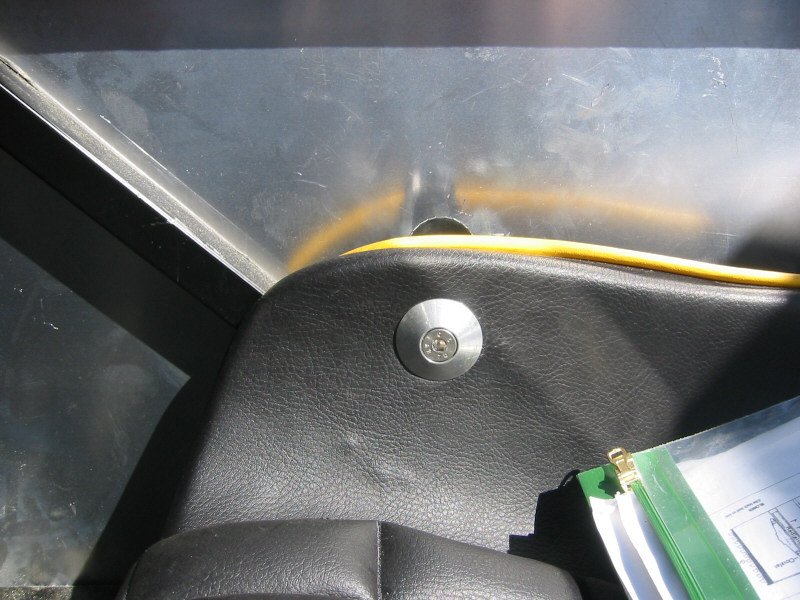
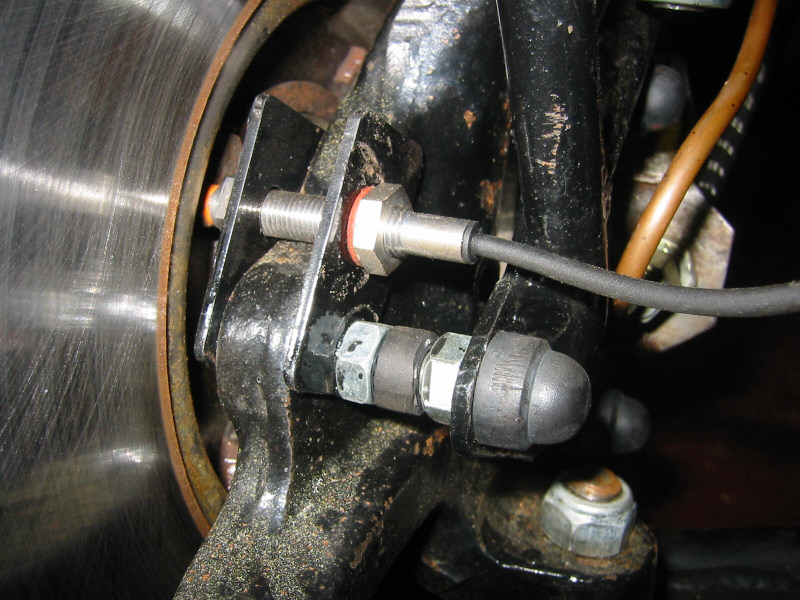
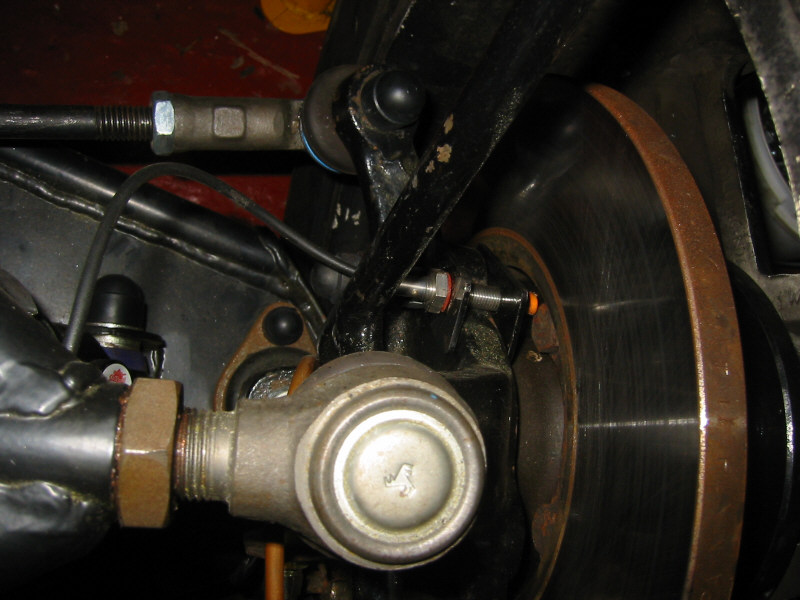
External radius checking was first. I had used pipe-lagging to cover the trackrods, but was told that this was too soft. I replaced it with some rubber heater hose and this was passed. Next failure was the headlamp brackets. I had put rubber trim aroaund the front, but was asked to put some around the rear of the brackets too. This I did and it was passed. I hadn't covered the heaight adjustment collars at the bottom of the springs, so tie-wrapped some bicycle inner tube round them and this was OK. Andy radius-checked the 'boot' area and said that this would have to be covered.
Next was under the bonnet checking. I was asked to tidy up some wiring which I did. Andy noticed that my front brake pipe union was leaking, so this was marked as a fail. I was aware of this, but thought I had fixed it. This meant that he was unable to do the full brake test. Andy also failed my steering rack mounts as I had not used locking nuts. Doh! He also noticed that I had forgotten to hammer over the locking tabs on the front caliper mounting bolts.
Andy asked me to sit in the car and operate all the lights while he checked that they worked. They did. However, he failed my foglamp as it was mounted flush to the rear panel and was not vertical.
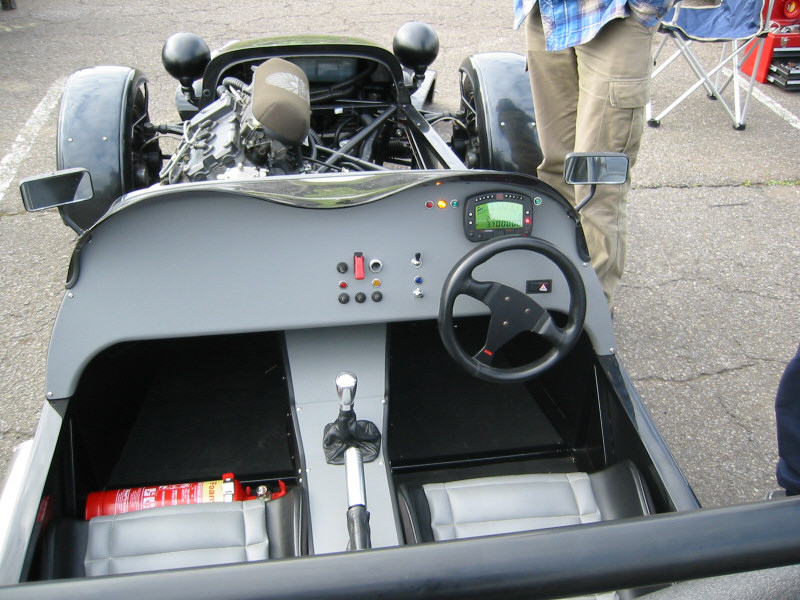
Next andy used his measuring device to check the position of the seatbelt mounts. I had position my seats in a fairly reclined position, but unfortunately this had the effect of shortening the bench to upper seatbelt mount distance and it failed by about an inch.
It was time for the emissions test. I was dreading this as although I had ST's cat system fitted, Ian had been having problems with the ECU which controls the air bleeding into the inlet manifold by measuring the Lambda and water temperature. Andy gave me plenty of time to adjust the mixture, but the ECU wasn't working and the emissions requirement could not be met. Also, it was almost impossible to get the engine to run steadily at the required 2500 to 3000 rpm. Another fail.
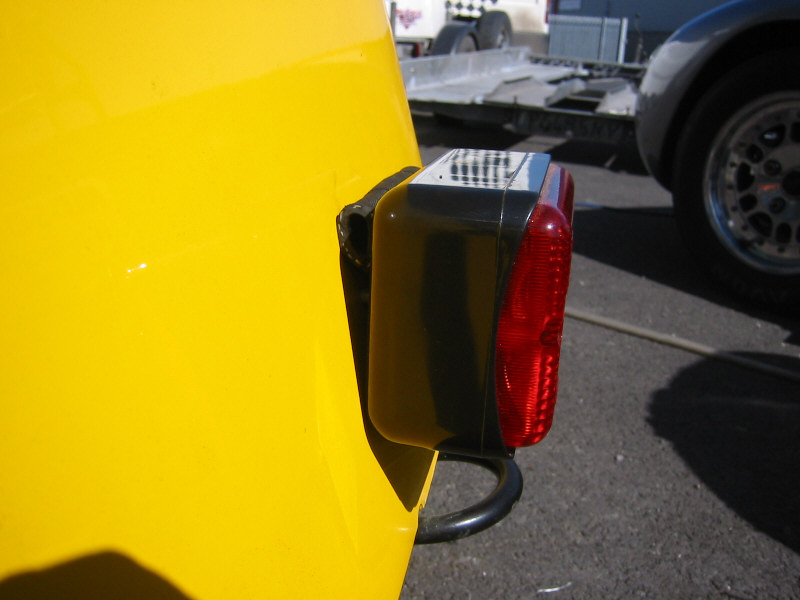
Finally it was outside for the mirror and noise checks. My driver's side mirror failed as it was mounted slightly too low. Bike-engined kitcars were, until recently, tested for noise at half maximum revs. Unfortunately that exemption has been removed and they are now tested at three quarter maximum revs like car-engined cars. I had specified 10,000rpm maximum on my application form so my car was tested at 7,500rpm. At 105db, it was way over the 101db. My final failure!
So, the only difficult things to fix were the emissions and the seat belt positions. Ian was expecting a new ECU to arrive on Tuesday, so I asked if I could come in for a retest on Tuesday afternoon.
High up on the ramps at Nottingham SVA Test Centre |
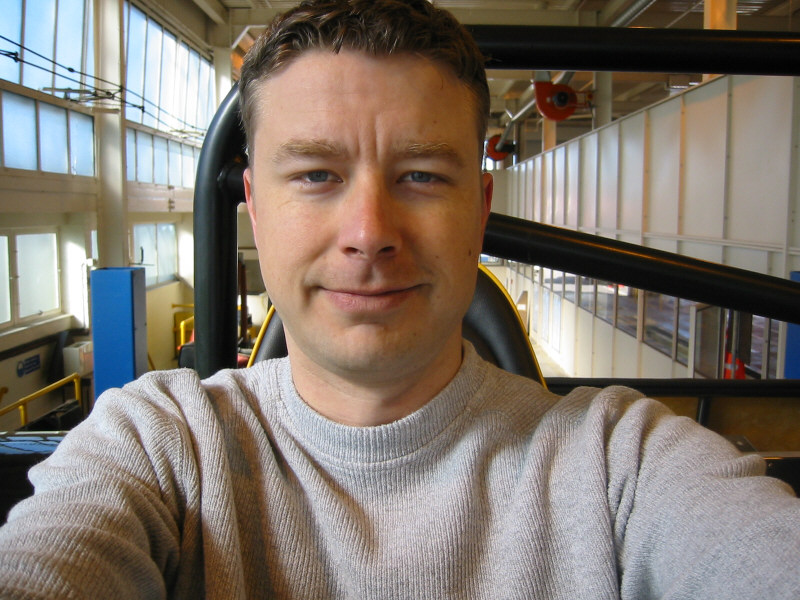
Yours truly! |
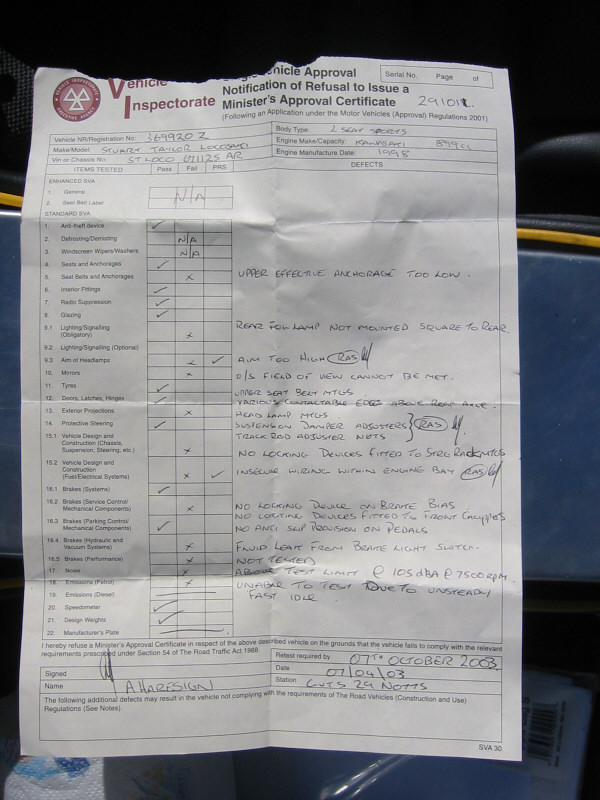
SVA failure notification |
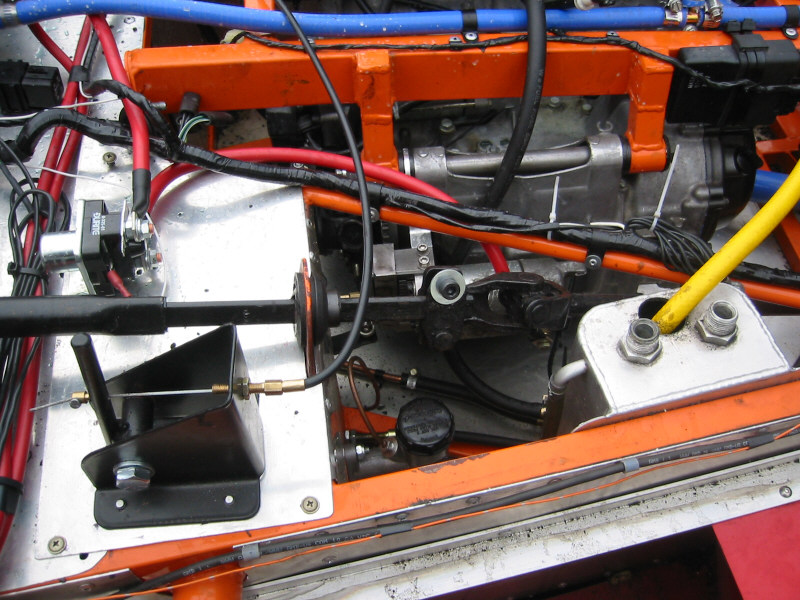
Rectifying the failure points back at Stuart Taylor Motorsport |
Fireblade-engined Phoenix racer |
In this picture you can see the re-positioned driver's seat; the passenger one is still to do |
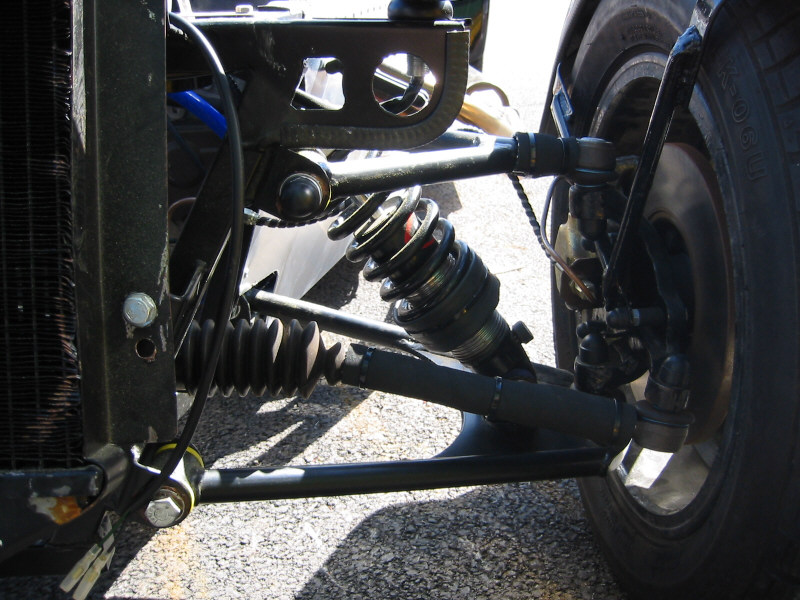
An example of SVA-passing front suspension! |
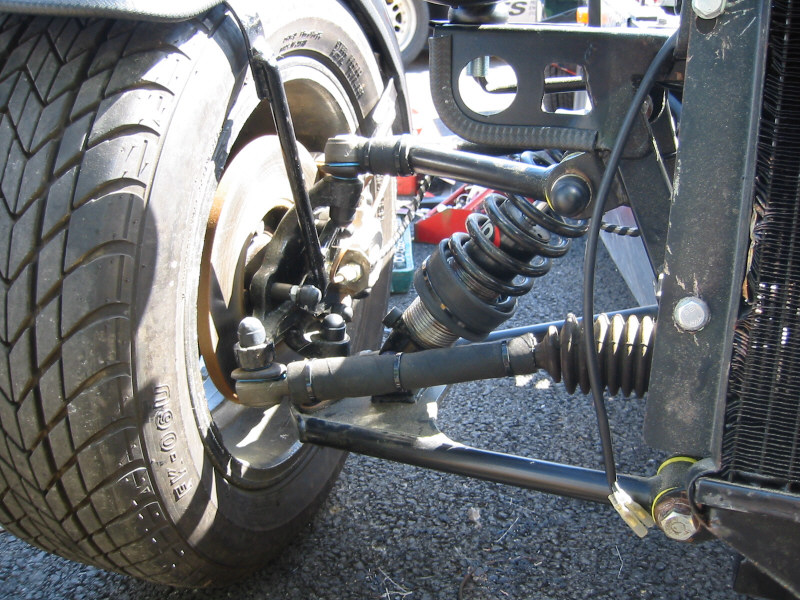
Other side |
From above |
Trim attached to rear of headlamp brackets |
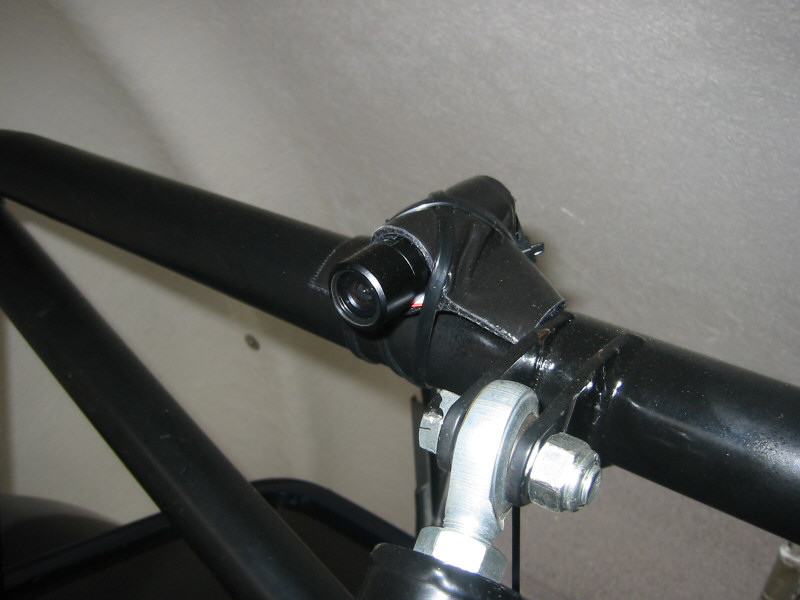
Lambda probe |
Original seat front position which failed on seatbelt position |
New front seat position for SVA |
Driver's seat in new position |
Foglamp made vertical by wedging a bit of hose behind the top half |
The new ECU arrived at 10:30am. We fitted it and checked that it was working. I borrowed Ian's trade plates and went for a blast (wahey!) to the nearest MOT station to check the emissions before the retest. After a bit of mixture adjustment the readings were within the limits!
Ian came with me to the SVA Centre for the retest. This time our tester was Nick. We had brought an exhaust baffle which we would insert if necessary for the noise test.
First it was time to re-check the emissions. The readings were looking much better, but the HC level was still too high. This was because the engine was running lean so I unscrewed the mixture screw on each carb by a quarter turn and we tried again. Success! The readings were all within the limits and we had passed emissions!
All the other points were passed one by one and then it was time for the brake test. Nick asked me to reduce the brake bias to the rear and we were awarded a pass. Finally it was time for the noise retest. With Ian's baffle, the noise was reduced to 98db and we had passed everything!
I took the car back to the trailer and when I returned to the office Nick handed me my MAC!
Ian Gray with my car at the SVA Centre |
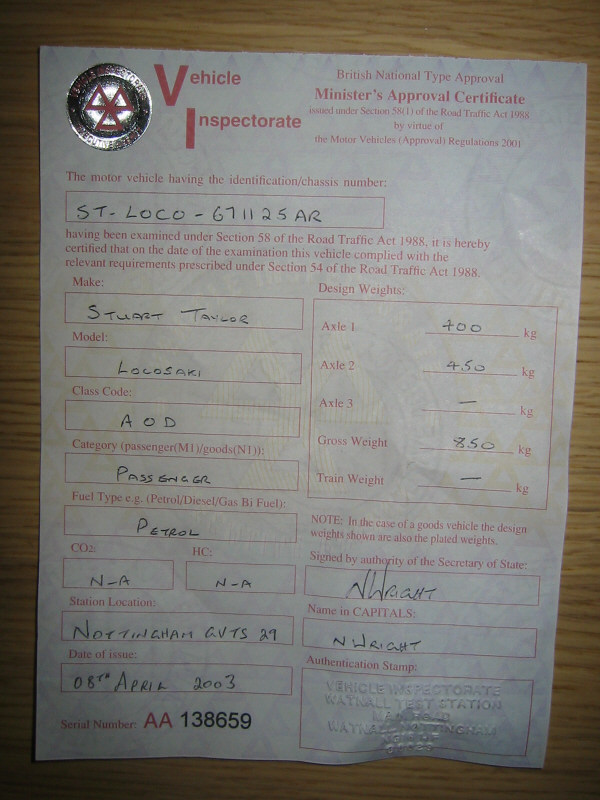
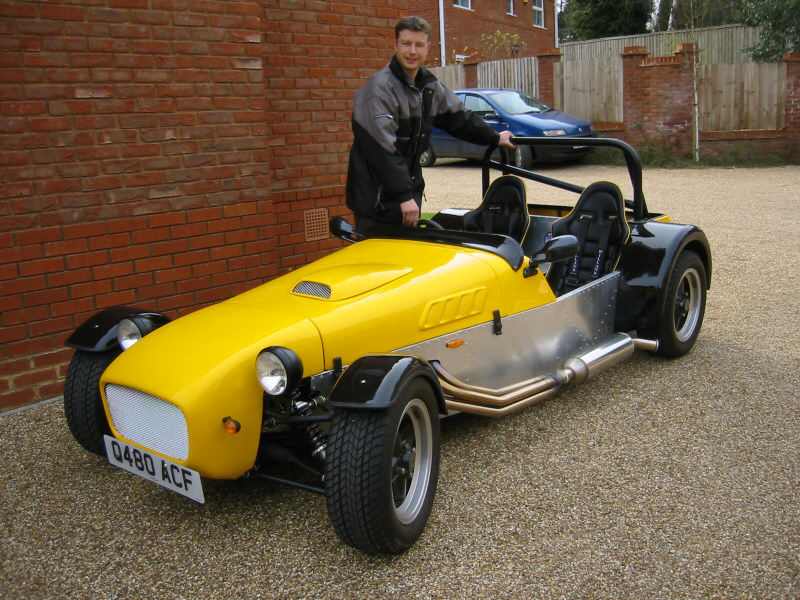
My MAC (Minister's Approval Certificate)! |
In the morning I took the car to JTD in Ilkeston for an MOT. Next the plan was to go to the VRO in Nottingham to get it registered. Or so I thought...
When I arrived at Nottingham DVLA Local Office the car park was full, so I had to park on the road and walk. I arrived at the office and the queue went all the way out of the door and down the disabled ramp. Someone coming out said that the waiting time from the door was 45 minutes! I didn't have the time to wait, so I decided to call at Northampton VRO on my way to TTS.
On my way back to ST's a lorry had over-turned on the A609 which delayed me by half an hour. I arrived back at 1pm. My appointment at TTS was for 1:30pm; I was not going to make it. I called TTS and luckily they said they could move my appointment to 3:30pm.
I arrived at Northampton VRO at about 3pm and there was no queue! I said, "I would like to register a kit-built car, please."
He said, "You realise that we will need to inspect the car sir?"
"No problem, I have it on a trailer outside."
"Er, we won't be able to do it today, sir."
"How long does it take?"
"Oh, ten or fifteen minutes."
"Surely you can have a look at it now?"
"No, I'm sorry sir, you'll have to make an appointment."
AARRGGHHHHH!!! What made it worse was that behind him, I could see that most of the office staff were enjoying some sort of "leaving do" party. I was not impressed. After a heated exchange, I realised that he was not going to budge, so I set off down the road to TTS.
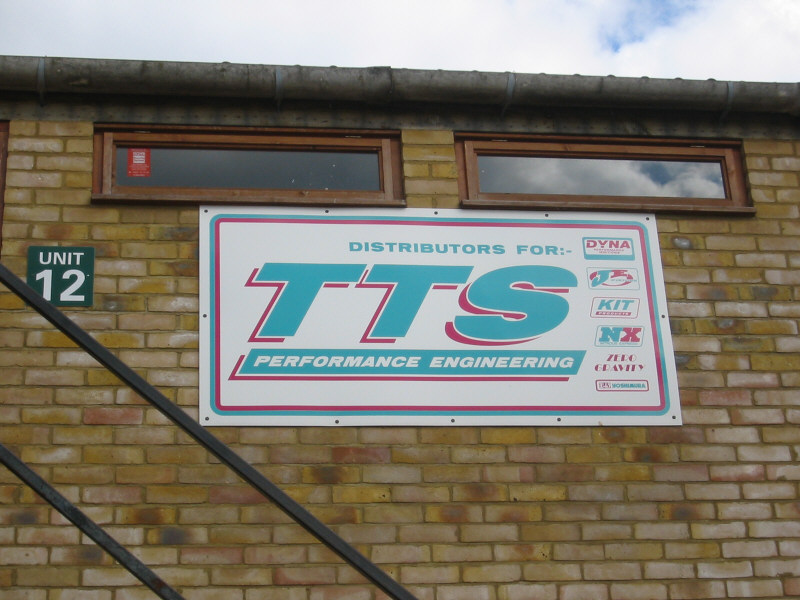
TTS Performance
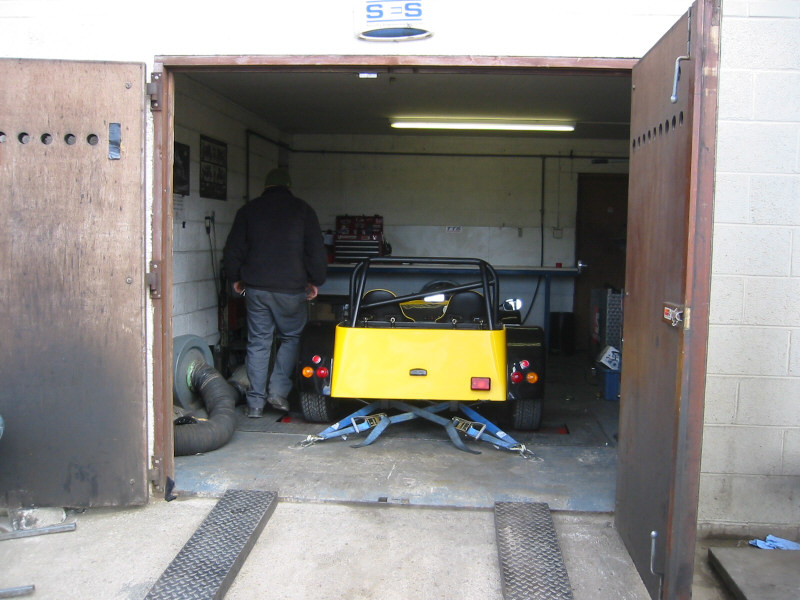
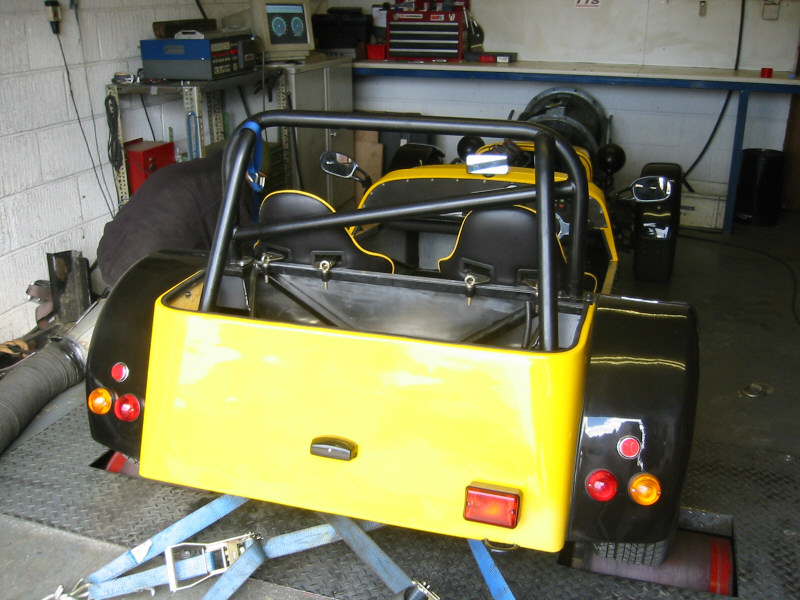
At TTS Performance in Silverstone, I was met by Curt. I unload the car and pushed it into the workshop and onto the rolling road. Curt attached what seemed like a dozen tie-down straps. He did a couple of power runs with the engine as it was.
TTS Performance Engineering! |
Strapping down to the rolling road |
On the rollers |
Nearly ready to go! |
Curt in the car ready to start the first power run |
Removing the trumpets |
Removing the carbs |
Replacing the jets |
Final power run with new jets and filter |
Almost done! |
Here are a few mpg's of the power runs. They were taken with my digital camera and reduced to mpg format so the sound isn't brilliant, but they give you an idea!
Initial power run before any changes (1,216 KB) |
First power run with new jets. Up 14bhp! (602 KB) |
Final power run (1,079 KB) |
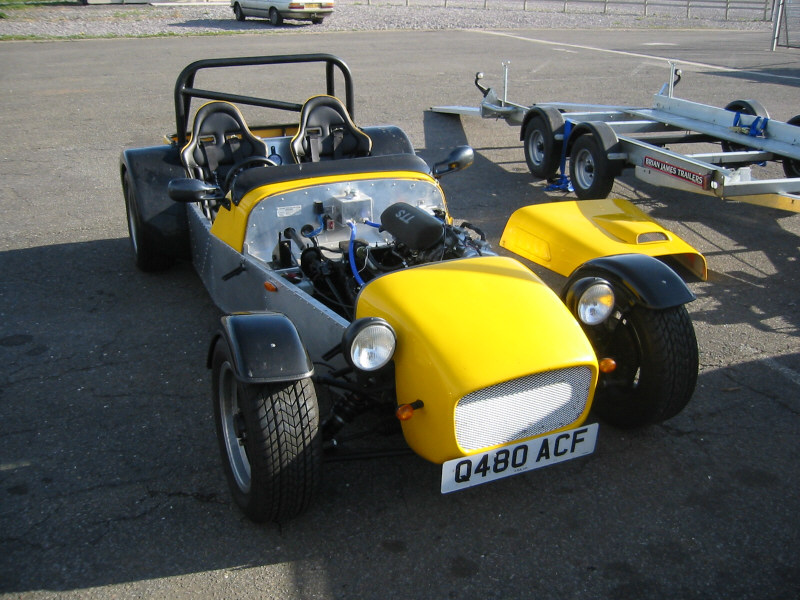
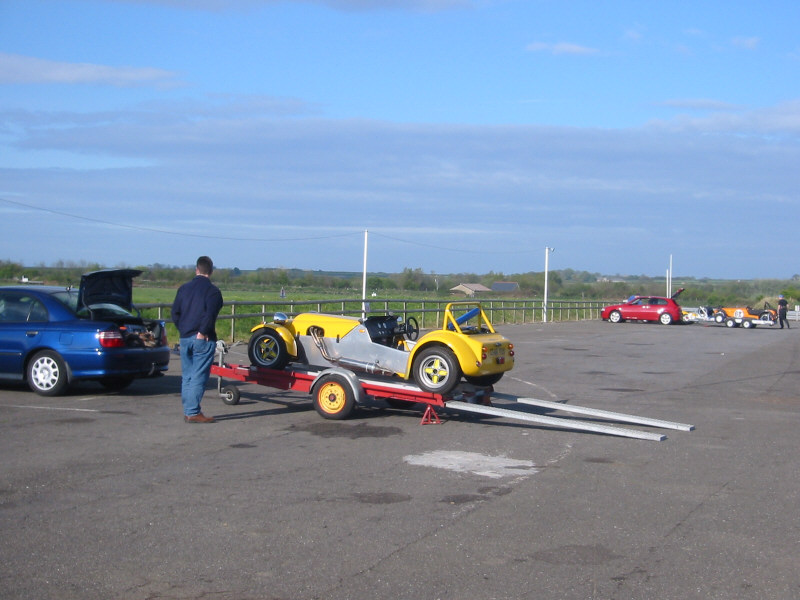
Took my borrowed Minno Shuttle back to Brian James and picked up my own Minno!
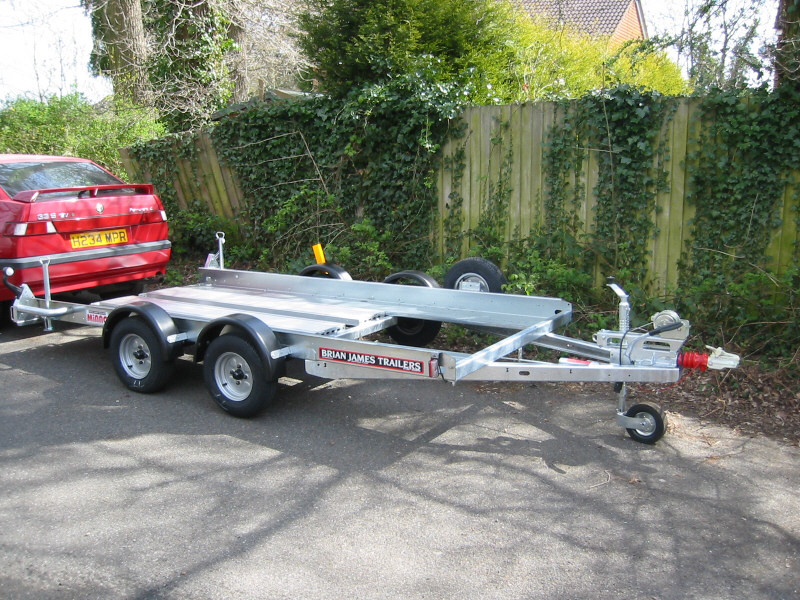
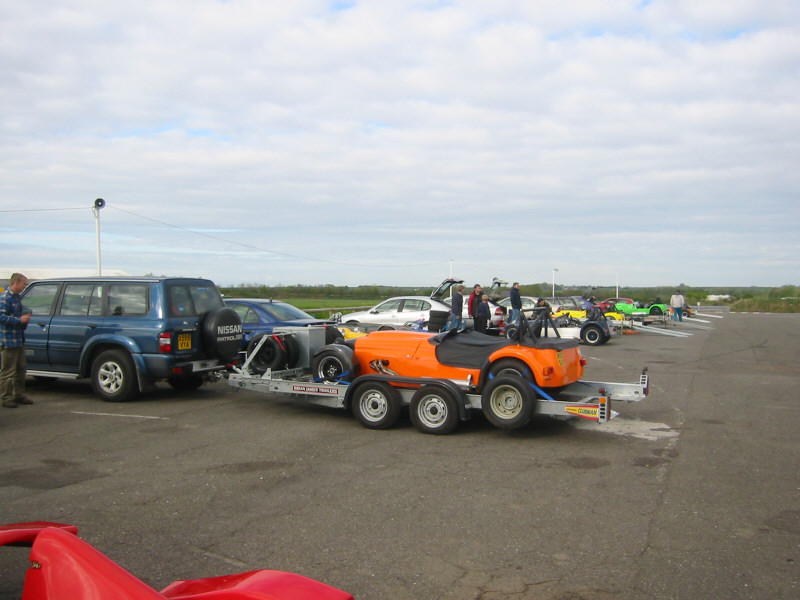
My new Brian James Minno trailer. The Alfa Permanent 4 in the picture is for sale. Drop me an e-mail if you're interested! |
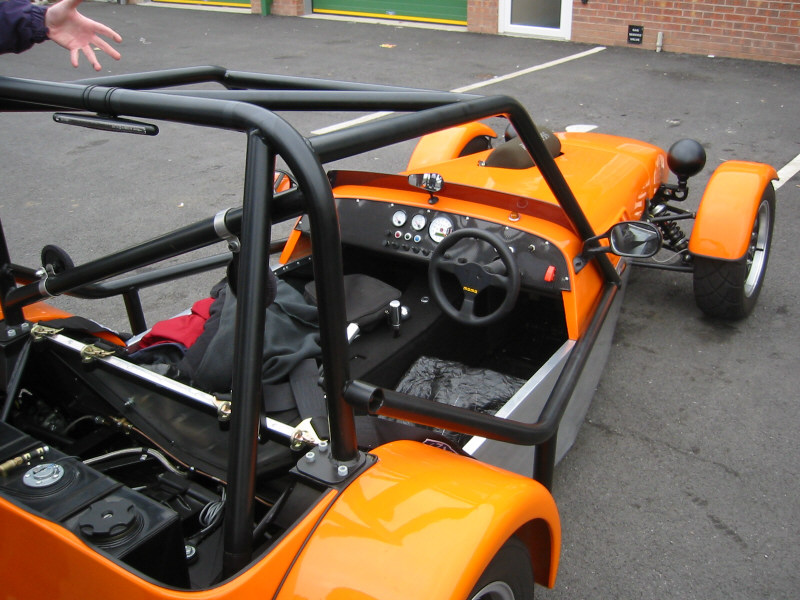
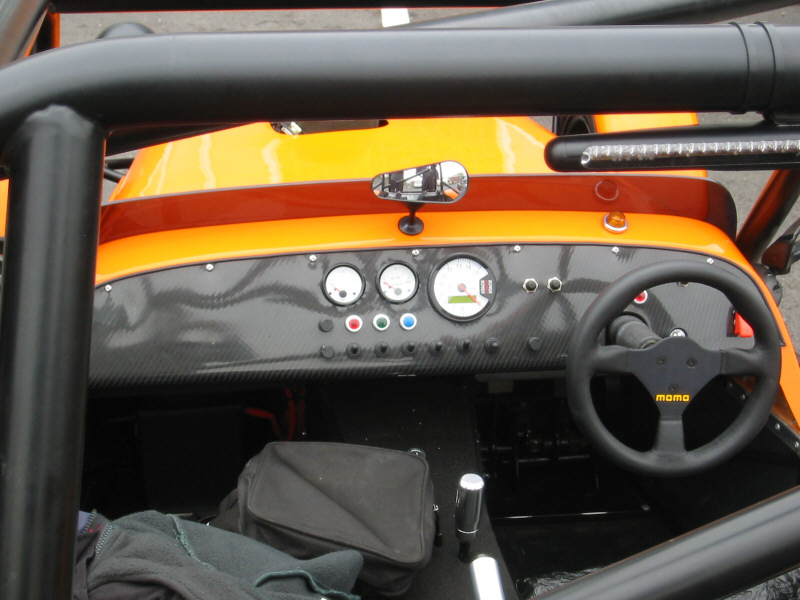
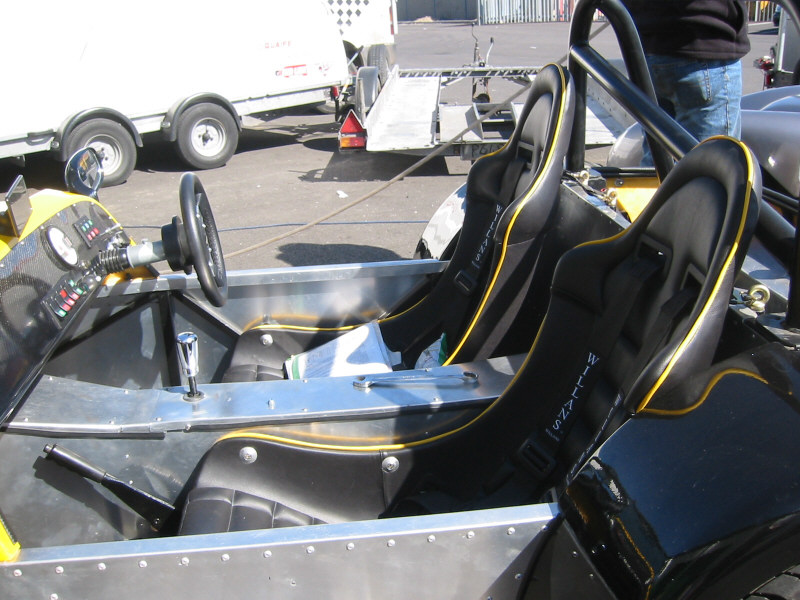
Made a new bracket for the speedo sensor as I didn't think the existing one was strong enough. Fitted the Stack lap-timing switch. I have positioned it just in front of the gear lever so I can press it without moving my hand.
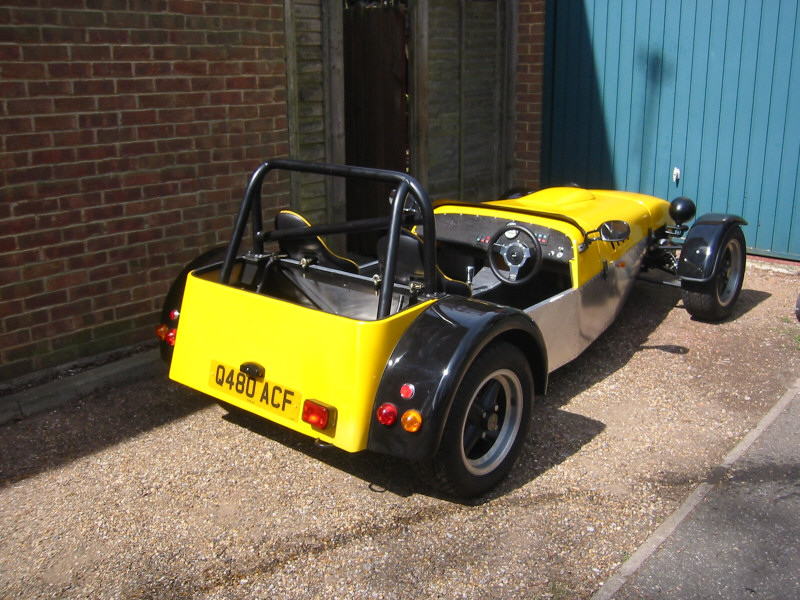
Fitted a Stuart Taylor wind deflector. This is a much better device than the perspex aeroscreen that they normally sell. Looks great too!
Complete with numberplate! |
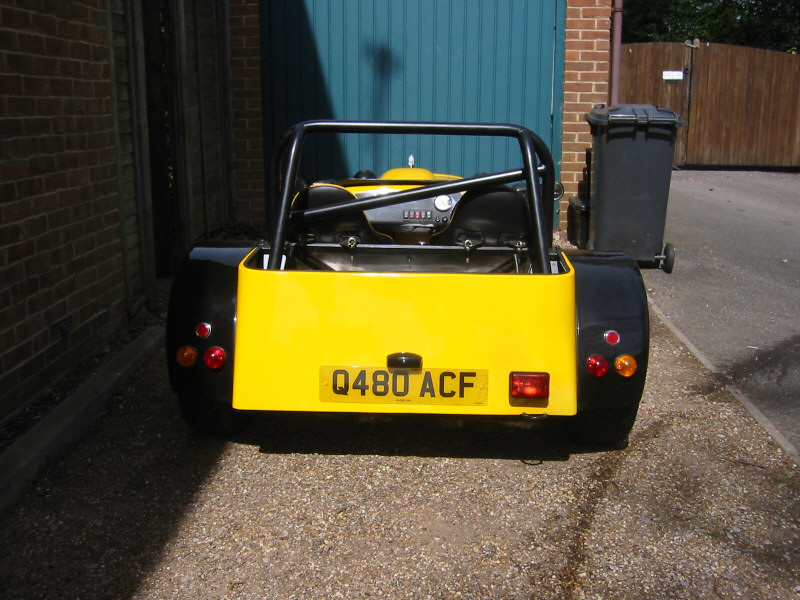
Road legal at last! |
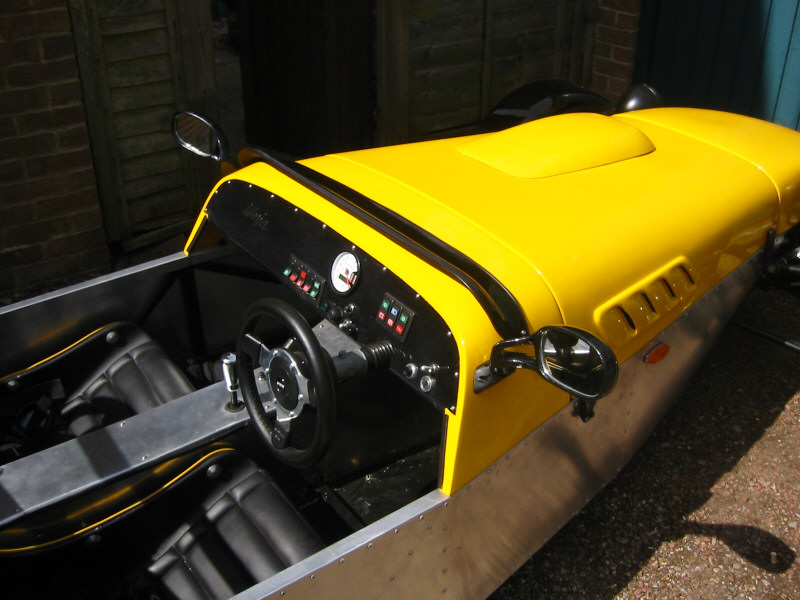
Wind deflector from Stuart Taylor Motorsport |
(A little) better at deflecting the wind |
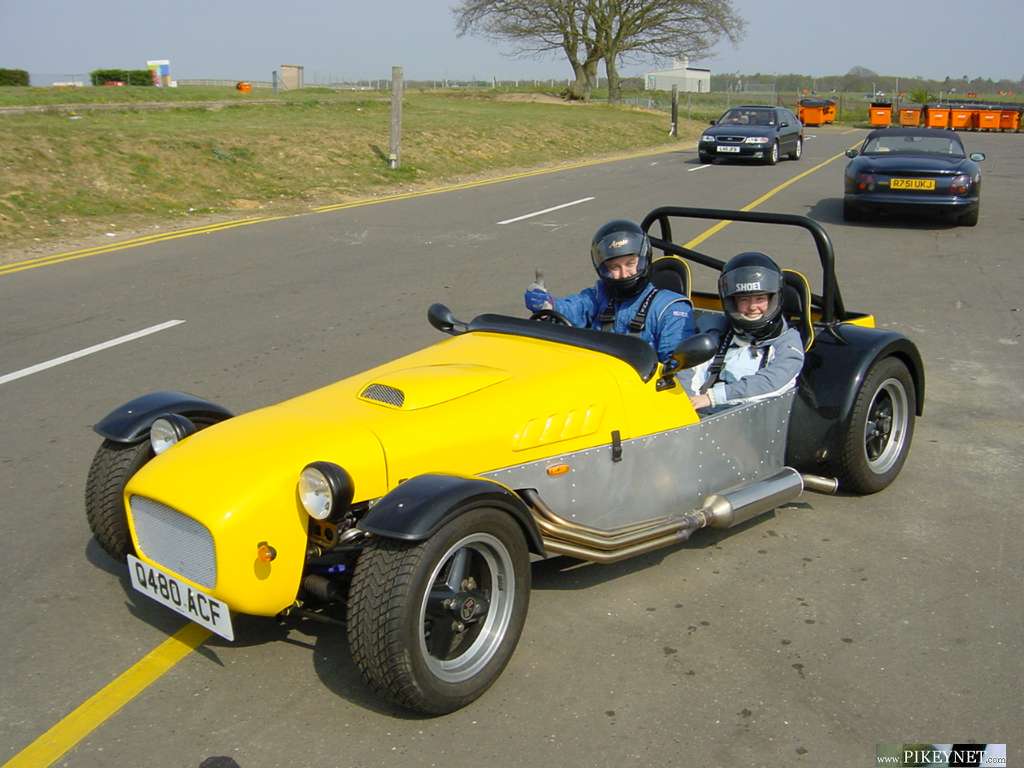
Took my brother for a quick blast, I think he was suitable amazed! He took a couple of pictures and a video clip (ignore my double-chin!)
"Reversing" ready to take my brother for a test-flight |

Back after a good blast! |
Short in-car video (this link has been fixed!) (1,383 KB) |
During the rolling road sessions at TTS and on my first "full-power" runs on the road, I was noticing some clutch slip at high-revs. I had ordered some stiffer clutch springs from TTS and they arrived this morning so I decided to fit them.
Getting at the clutch on a bike engine is much easier than on a car! First you drain the oil, although some people have managed to avoid this by jacking the car sufficiently high at the front so that the oil collects at the rear of the sump. Remove the magnesium alloy clutch coverplate by carefully undoing the mounting bolts in a criss-cross fashion. You have to rotate the actuator shaft so it disengages from the flange at the end of the clutch shaft. I managed to do this and remove the cover without disconnecting the clutch cable.
Once the cover is off, changing the springs is easy, if a little time-consuming. There are five springs and they are held in by Allen bolts. These must be unscrewed evenly in a criss-cross fashion. There's quite a long thread on them so it takes quite a lot of screwing (ooh, er, missus!) before they are free.
In true Haynes manual fashion, fitting the new springs is a reverse of the procedure.
To prevent further clutch slip, it is important to leave a tiny bit of slack in the clutch cable.
Took the Loco for a blast and ta da! no clutch slip! However, I noticed that my oil pressure reading was 99.9bar. I stopped and checked that the sender was still inserted in the block and carefully drove home. Ian Gray had warned me that it would fail due to vibration if screwed directly into the block, but I thought it would last longer than this! I have ordered a new sender from Stack and a length of Aeroquip with appropriate ends from Merlin Motorsport so I can remote-mount it.
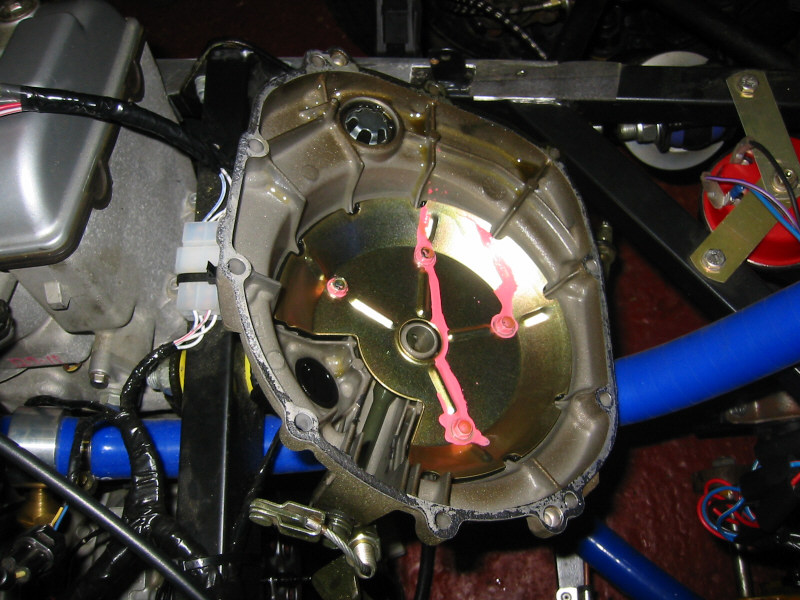
Clutch cover plate removed. |
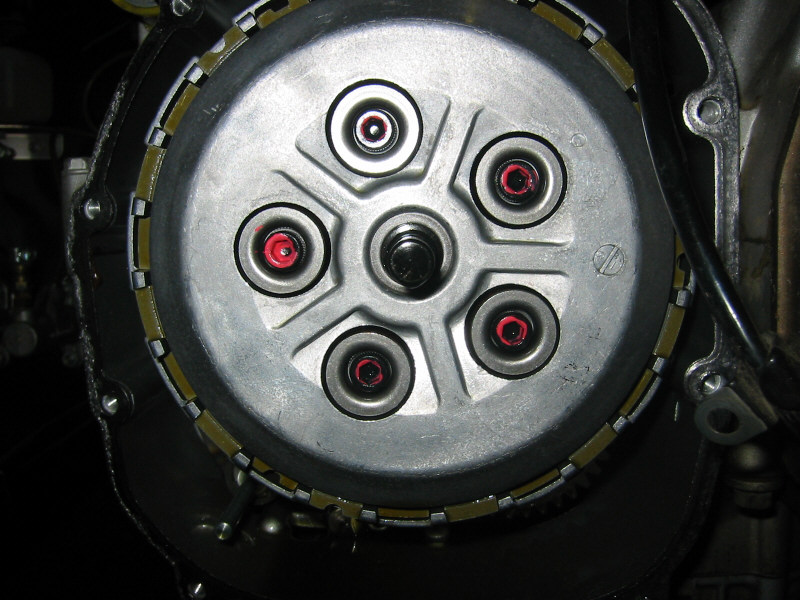
Clutch springs before removal. |
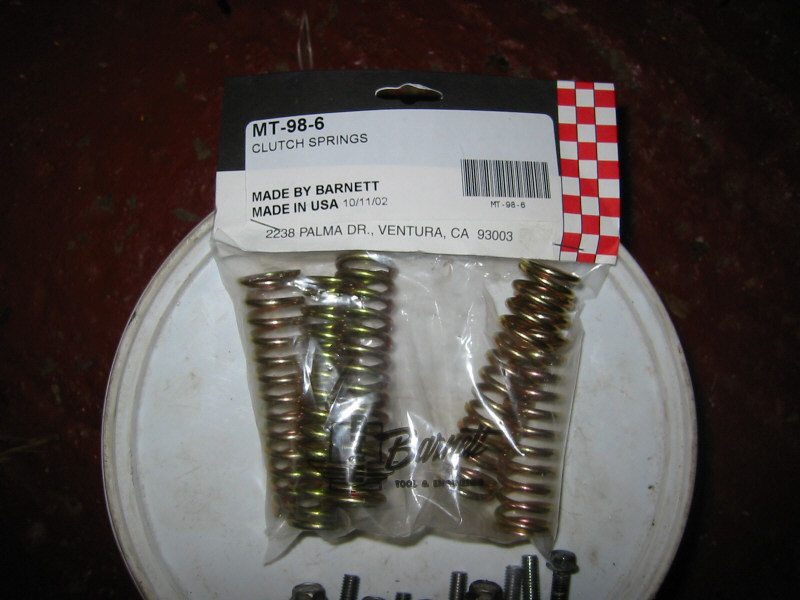
New Barnett springs from TTS. |
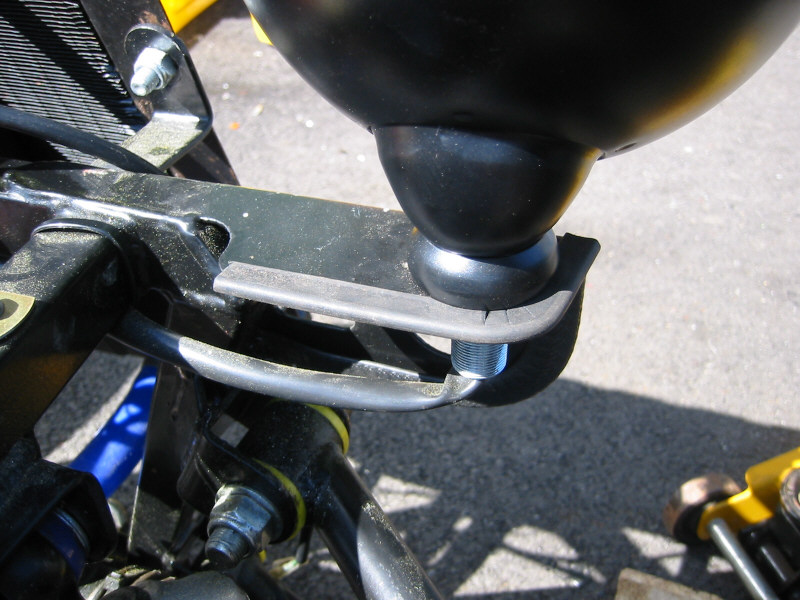
Took the car to a top secret location in Berkshire to get the suspension geometry checked and adjusted. Actually it was the workshop of my racing friends James 'Slappy' Hall and Steve 'Mad Dog' Barber. They have loads of fancy gear including suspension alignment equipment. Unfortunately Steve hadn't used it recently, so we spent a lot of time reading the rather concise instructions! However, after a bit of trial and error, we had it sussed.
While Steve was getting the equipment ready, I decided to lower the ride-height. It was set extra high whilst I was running with the original sump, but I was due to receive a new shortened billet sump from Stuart Taylor Motorsport tomorrow, so we needed to set up the suspension at the desired ride height. Ian Gray suggested 4 1/2" at the front and 4 3/4" at the rear. This is incredibly low and as I will be using my car on the (bumpy) road I decided to set it to 5" at the front and 5 1/4" at the rear.
Once done, Steve fitted the alignment gear to the front wheels. Before taking any readings, you have to adjust for "run-out". This was by far the most complicated task it was only after doing the rear wheels that we realised we had done it wrong on the fronts. Basically, car wheels are rarely "true" and the equipment incorporates a compensator block to negate the effect of any variations when taking measurements.
Ian Gray had recommended the following initial setup: 1 to 1.5 degree negative camber and 2mm toe-in at the front; 0.5 to 1 degree negative camber and 0.5 to 1mm toe-in at the rear.
The gauges showed that I currently had about a degree of toe-out at the front, so the trackrods were adjusted to get the required toe-in. According to the instructions, 2mm toe-in is the equivalent to an angle of about 15" total toe-in with 14" wheels.
Next we checked the front camber-angle. The alignment gear provided an ingenius device for doing the which was basically an adjustable spirit level that rotated through 90 degrees. The camber was massively out. I was running about 4 degrees neg. camber on the NS wheel and about 1 degree on the OS wheel.
The camber is adjusted by rotating the top wishbone balljoint, so I undid it while Steve held the wheel and, after a couple of attempts we got the camber correct on each side. One thing I noticed was that the amount of thread showing on the balljoint on each side was quite different. This seems to imply that the chassis/suspension are not very symmetrical (or we got the measurements all wrong!).
Next it was onto the rear wheels using the same procedure. The rear toe is a little more fiddly to adjust as you have to undo the bottom suspension locating bar and remove it sufficiently to be able to turn the rose-joint at the front. After setting the required amount of toe, it was getting quite tight to get the bar back into the rose-joint.
Adjusting the camber is similar to the front except the rear has no balljoints to split which makes it a bit easier.
We were all done! A massive thank you to Steve for staying up so late and letting me use the gear. Let's hope the results are positive when I get onto Snetterton on Monday!
Loaded on my Minno for the first time! |
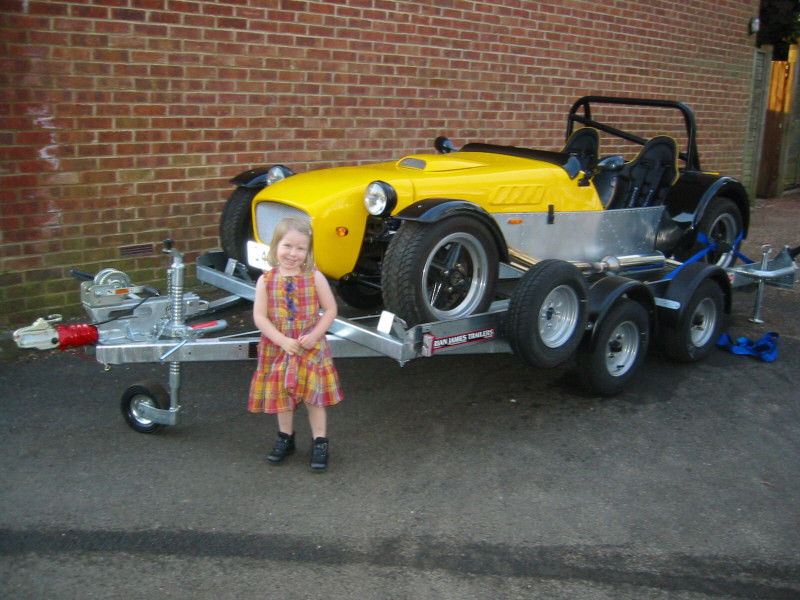
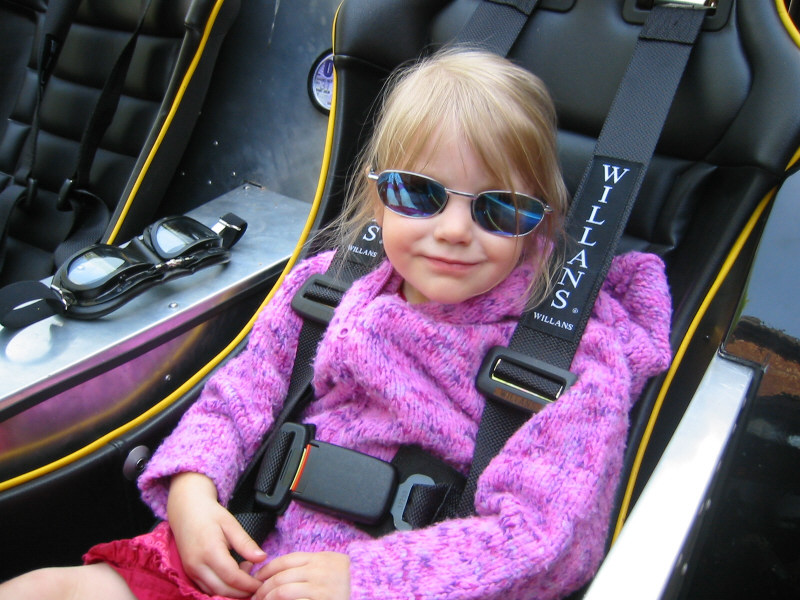
My daughter Evie posing in front of the car. |
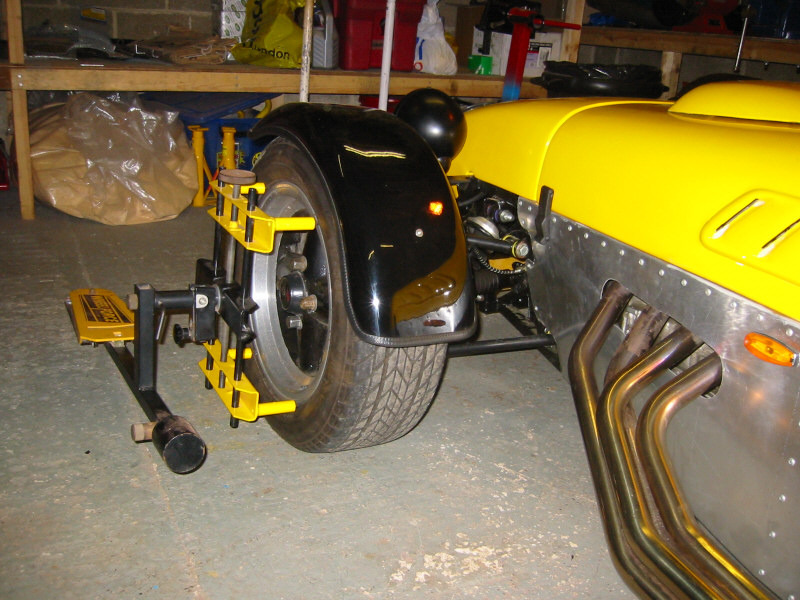
Fitting the alignment gear. |
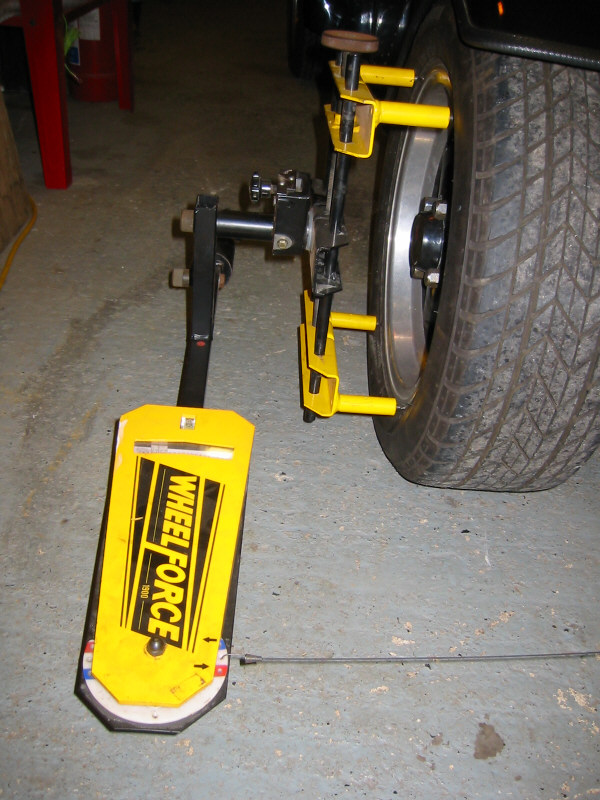
Alignment gear fitted. |
Steve making adjustments. |
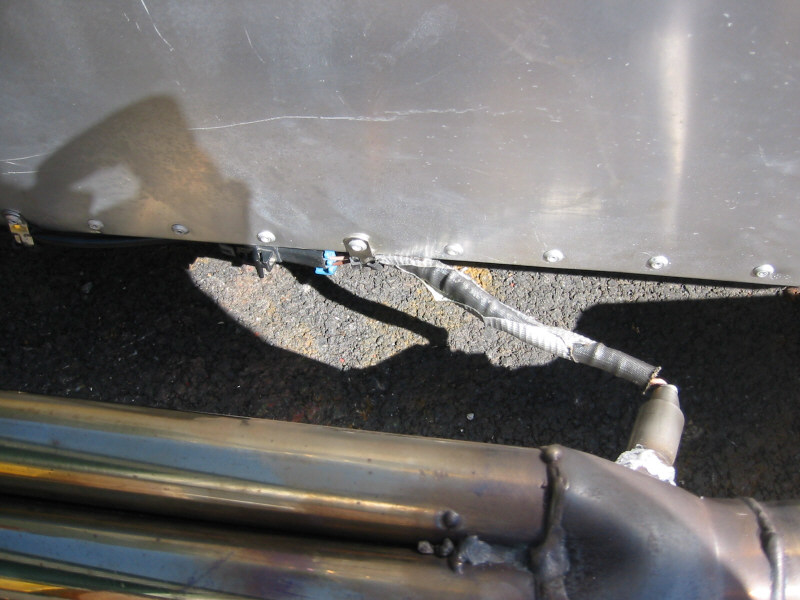
The speed sensor was still giving me erratic results where I had mounted it. It was OK at constant speed, but failed to read under acceleration. I wasn't too fussed about knowing how fast I was going, but I was really keen to use some of the performance measurement features of the Stack, which require the speed sensor to be working. I think that the diff is twisting slightly on its mounts when accelerating which is having the effect of moving the driveshaft bolts away from the sensor. I decided to investigate making a bracket for one of the front wheels. There was just enough space for the sensor to be mounted on the edge of the upright pointing at the disc mounting bolts.
To fit my new bracket involved removing the front cycle wing and hub. I also had to remove the transmission tunnel cover so that I could extricate the sensor wire from its previous route.
New speed sensor bracket on front upright. |
New sensor mount from above. |
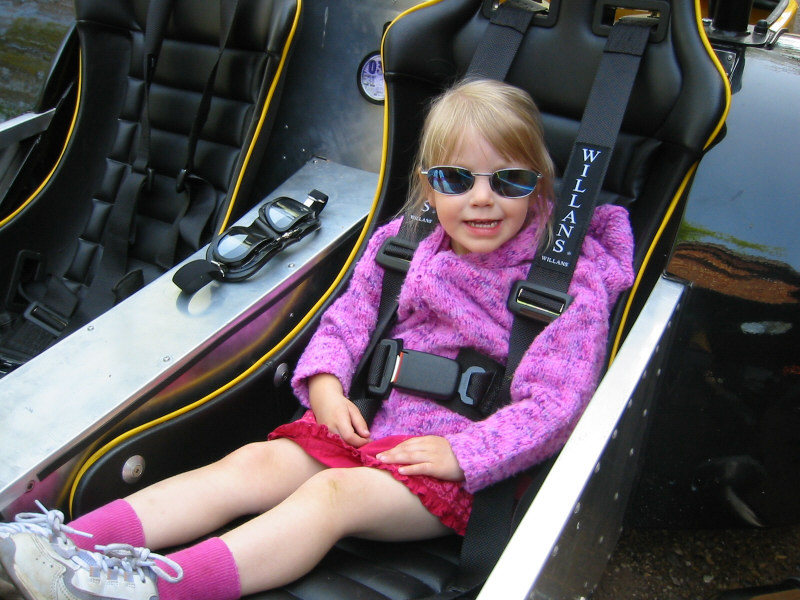
To test the new sensor position, I took Evie out for a blast! |
Ready to go! |
Spent the morning getting the car on the trailer and loading my tools into the Mondeo ready for the journey to Snetterton for Monday's trackday. Called in at my wife's parents to drop off some Easter eggs and the Mondeo decided to dump all its coolant on the floor! Bugger! Called the AA (excellent response time, they were there in 15 minutes!) and the AA man discovered a big hole in the radiator. Not serious, but no way to fix it on Easter Sunday :-(. I decided that I would ask the AA to tow the cars back home and I would drive the Loco to Snett!
I transferred all the tools from the Mondeo to our Punto and I set off in the Loco with Jenny following. Driving the Loco around the M25 wasn't exactly fun, but as long as you wear a helmet and wrap up well, it isn't too bad.
Monday 21st - TVRCC Trackday at Snetterton
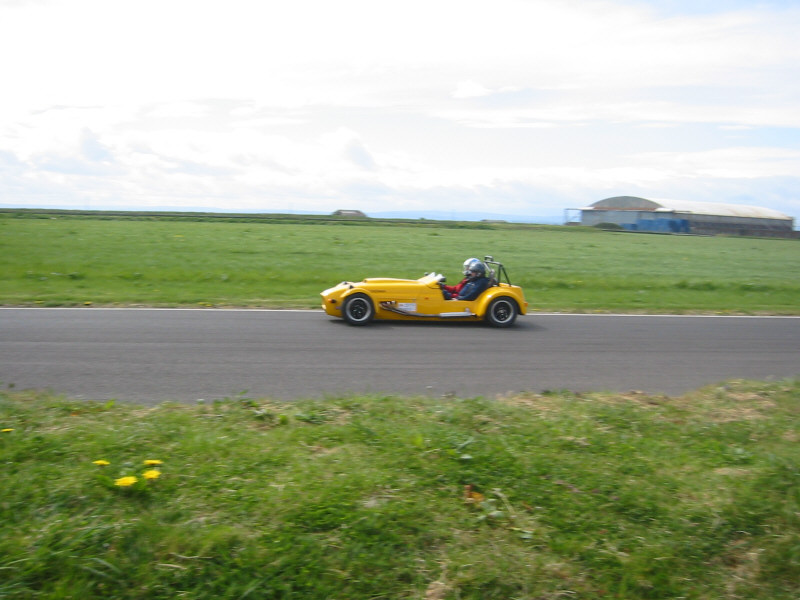
The weather forecast was for thundery showers, and we awoke to fins it gently drizzling outside. Got in the car and drove to the circuit. After signing-on and the driver briefing the first session went out on the track. The word was that it was VERY slippery. Hmm, better take it easy...
By the time we went out for our first session, the sun was already beginning to shine, and in fact, it stayed sunny all day! Jenny came with me on my first session and as it was the Loco's first track outing and the track was still damp, I drove fairly steadily. Gratifyingly, the car performed beautifully. The handling seemed excellent following our geometry setup the other day and I was absolutely chuffed to bits with the car's performance.
We spent the time between our sessions drooling over Andrew Derodra's and Danny Luhde-Thompson's awesome Radical SR3s. I was kicking myself for being in the same session which meant that I didn't get a ride in either of them. Definitely a must for Folembray.
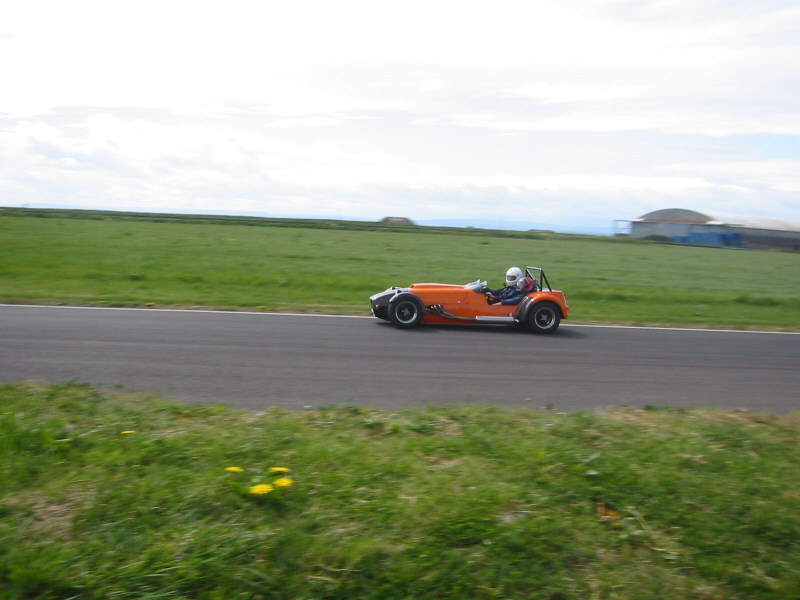
By our next session, the track was bone dry, and I began to build the speed up quite significantly. I drove four 20 minute sessions during the day and car performed faultlessly with no problems at all. An excellent first trackday! Many thanks to Peter, Andrew, Steve and Ian from the TVRCC City Region for organising the day.
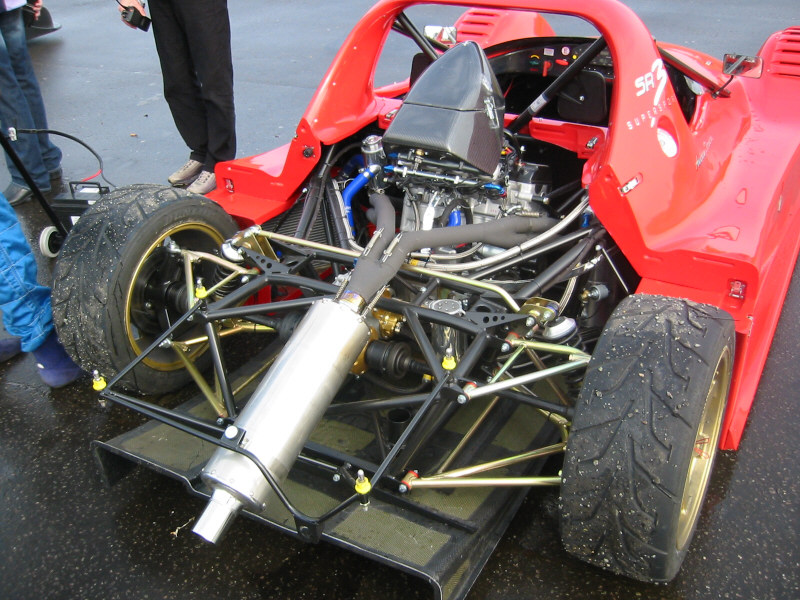
Andrew's Radical SR3 with the rear canopy removed. |
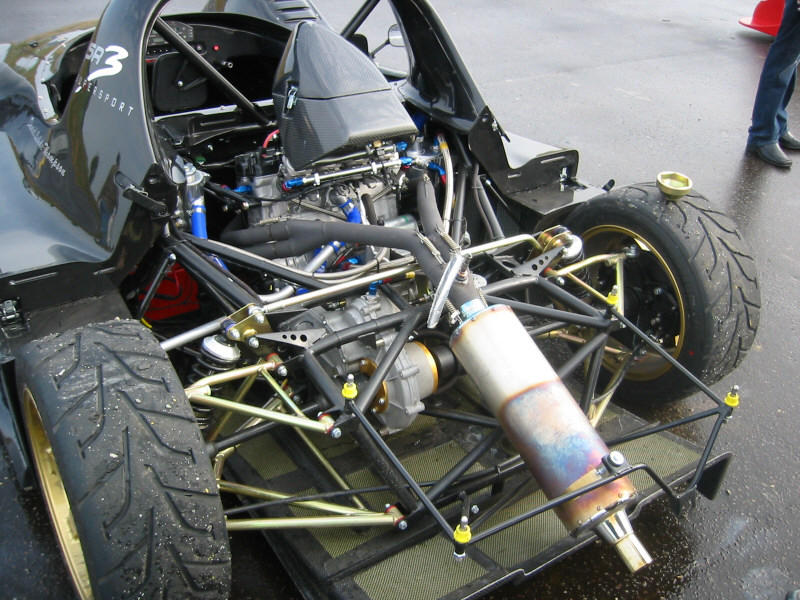
Danny's Radical SR3 with the rear canopy removed. |
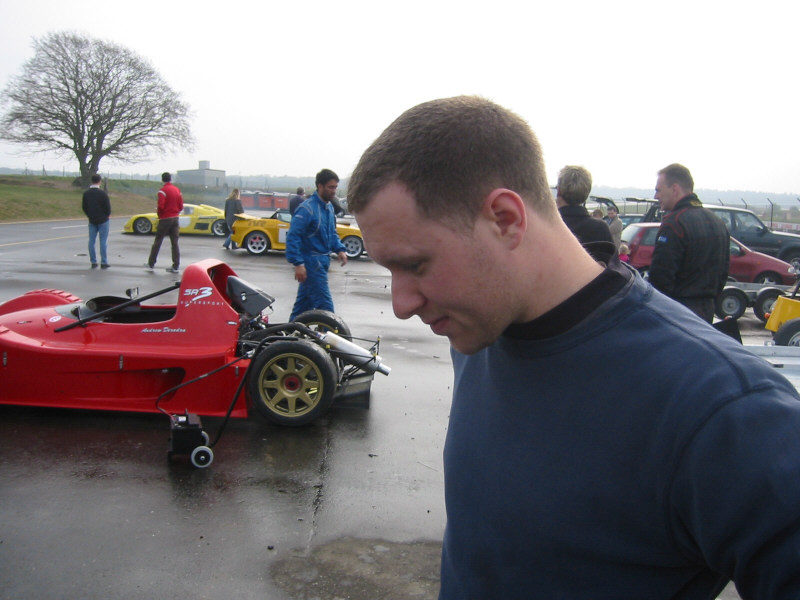
Danny London-Transport admiring his Radical. Well, who wouldn't? |
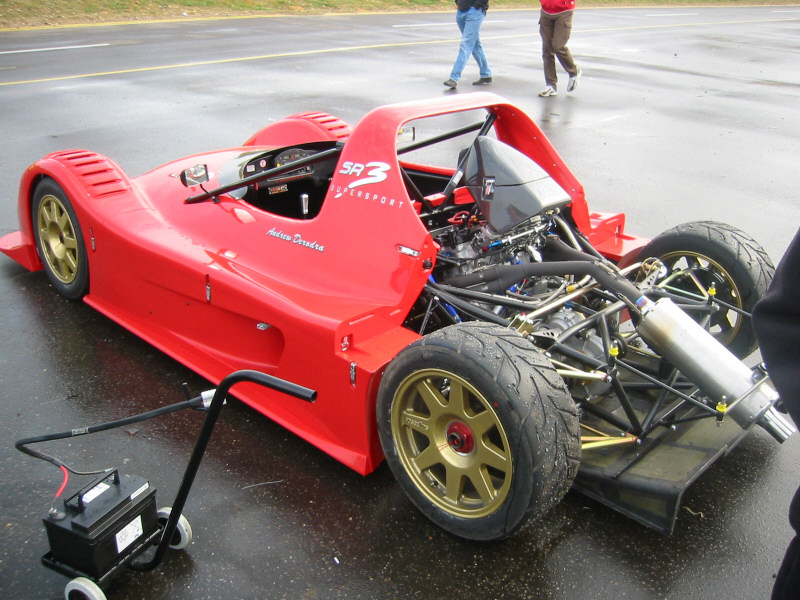
Andrew Derodra's Radical SR3. |
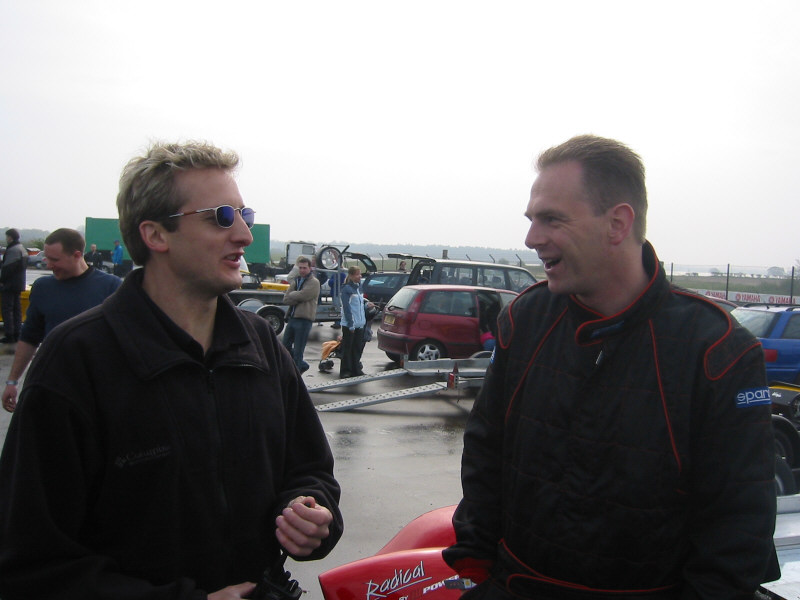
Steve Barber and Jeremy Copp. |
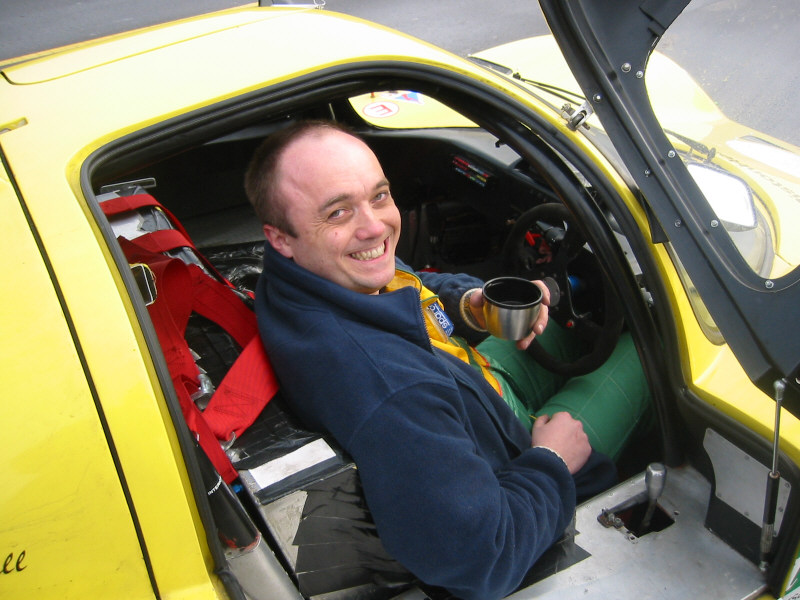
James 'Slappy' Hall having a quick cuppa in his Ultima . |
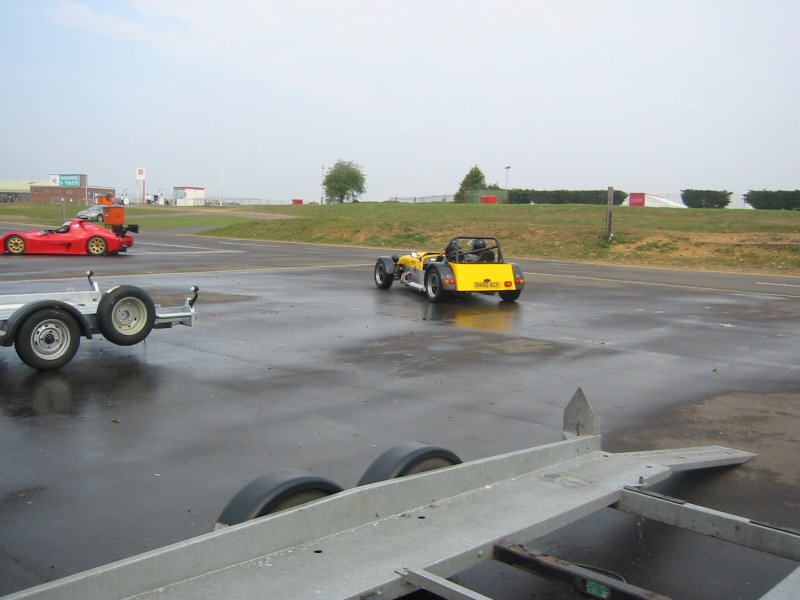
Going out for my first session. |
Getting ready for my second session with my sister, Karen. |
Short video clip of me being chased up the pit straight by Danny's Radical. (387KB) |
My car in the paddock. |
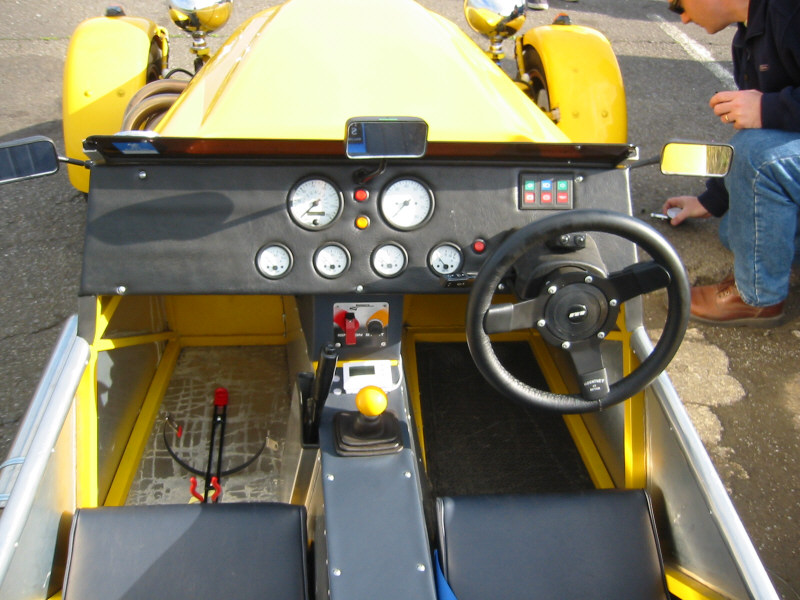
Cockpit view. |
Me, Slappy and Nobby Scott. Hang on a minute, he wasn't even there! |
Taking Karen out for a few laps. |
Me with Rosie. |
Got up at 4am(!) to load the Loco onto the trailer and tow it to its second trackday at Llandow Circuit, South Wales. The forecast was for showers in the afternoon, but the weather seemed fine in the morning at least, and I finally hit the road at 5:30am.
There was little traffic and I arrived at the circuit at 8:30am to find that I was the first one there! After a while, people started turning up and I introduced myself to as many people as possible, whose names I knew from e-mail, but whose faces I was seeing for the first time!
Llandow is a great little circuit for BECs and, unlike Snetterton the week before, there are a couple of tight sections which gave me the chance to explore the car's handling. The car's natural stance is to understeer slightly (especially in tight corners), but oversteer is always available with a bit more throttle. And boy, is it controllable! Compared to my Griff, the Loco is an absolute dream to drive at the limit. You can always feel if one end is slipping and the amount of under/oversteer is directly proportional to the amount of throttle applied. Now I know why I built a bike-engined Seven!
Thanks to Simon Neill of the bike-engined-car Yahoogroup for organising the day and helping me find a replacement for a missing nosecone mounting nut!
Here are the photos I took on the day. Many apologies if I've got anyone's name/car wrong, drop me an e-mail with corrections!
A few checks before the first session. |
Andy B's Phoenix being unloaded. |
Tom Sadler's amazing self-designed and built mid-Blackbird-engined special. |
Yellow Stryker being unloaded. |

Simon and Tom with Mike's Exige in the background. |
Pete Collingridge's Stryker. |
Yellow Stryker dash. |
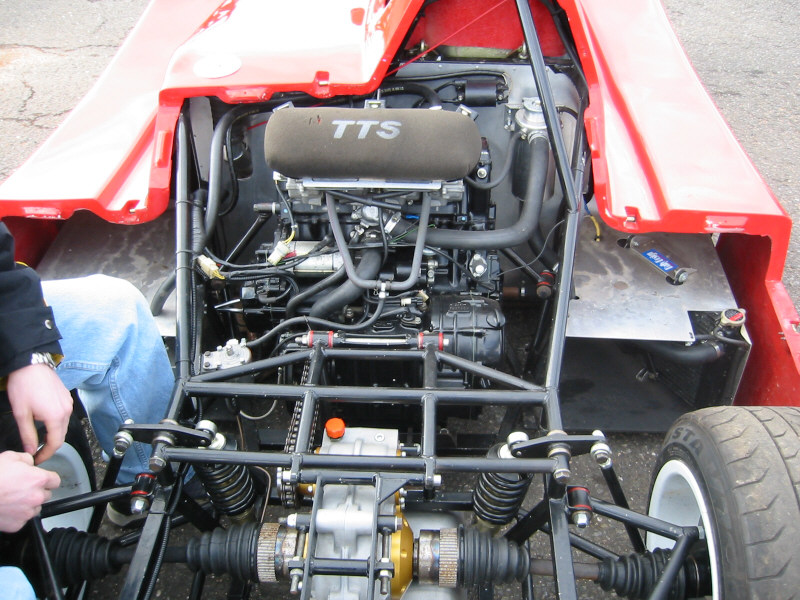
Tom's engine and drivetrain installation. Look at the beautiful suspension design. |
Darcy Smith's orange and carbon Westfield Megabusa being unloaded. |
Yellow Westie arriving. Nice tow car! |
Rhodri Moore's black Megablade. |
Superb all-in-one dash unit in Rhodri's Megablade. |

Tom's special on-track. |
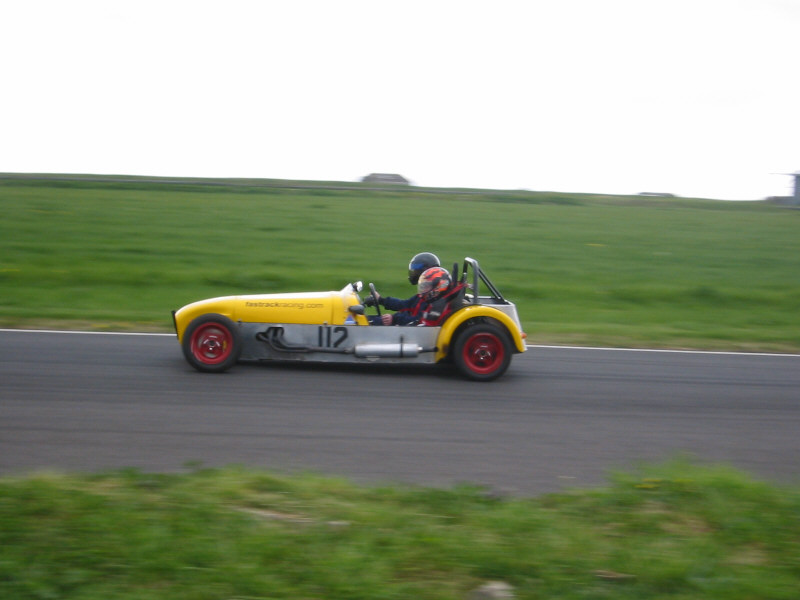
Yellow Westfield on-track. |
Darcy's Busa on-track. His 13 year-old son Josh even had a go! |
John Fack on-track. |
Tom's special from the front. |
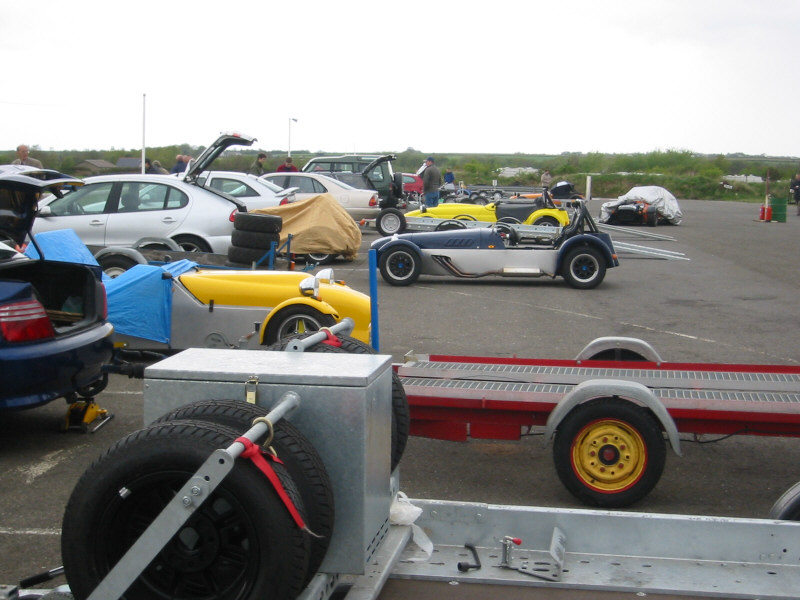
Scene in the paddock. |
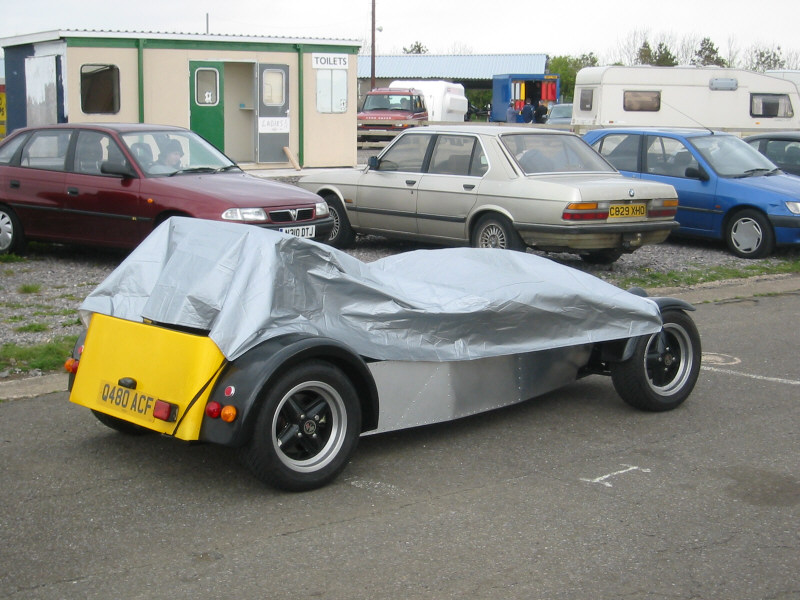
My car covered, waiting for the rain to go away! |
Trusty tow-car and trailer. |