June 2002
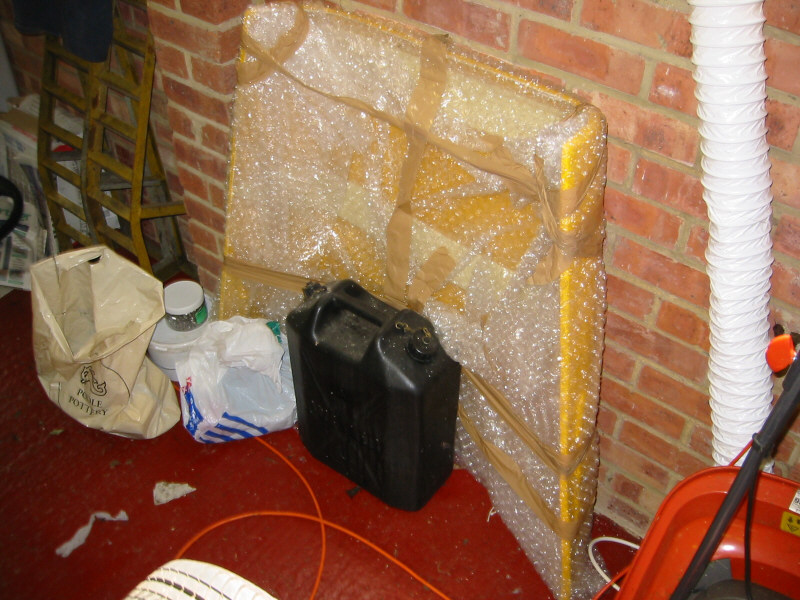
Saturday 1stDrove up to Stuart Taylor's and picked up my fibreglass panels (nose cone, bonnet, scuttle and wheel arches), fuel tank and wiring loom. Ian asked me if I'd ordered a fibreglass rear panel as there was one matching my other panels, I said "No, but I'll have it!" The panel is shaped to fit the rear of the chassis and I think it will be easier to achieve a nice finish with the fibreglass panel. Also, it is coloured to match the other panels.
 Fibreglass bonnet (bright yellow)
|
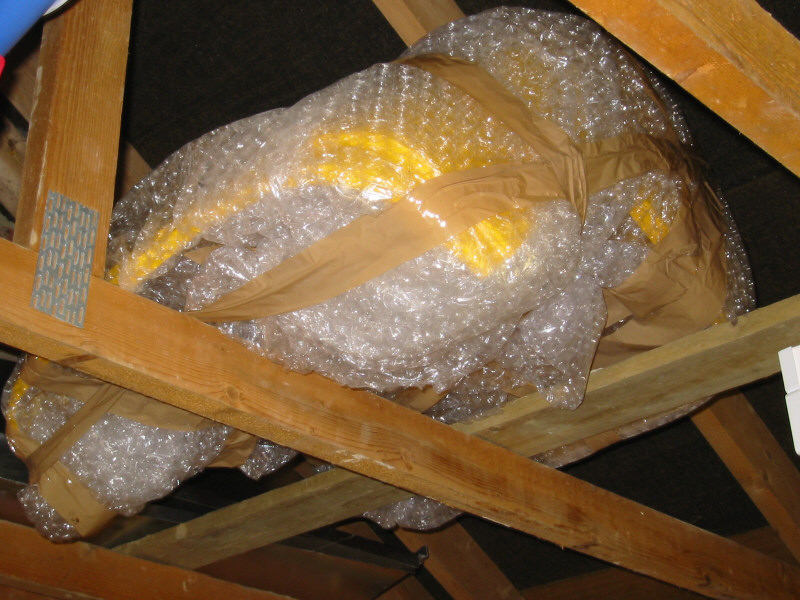 Fibreglass nose cone stored in the garage roof
|
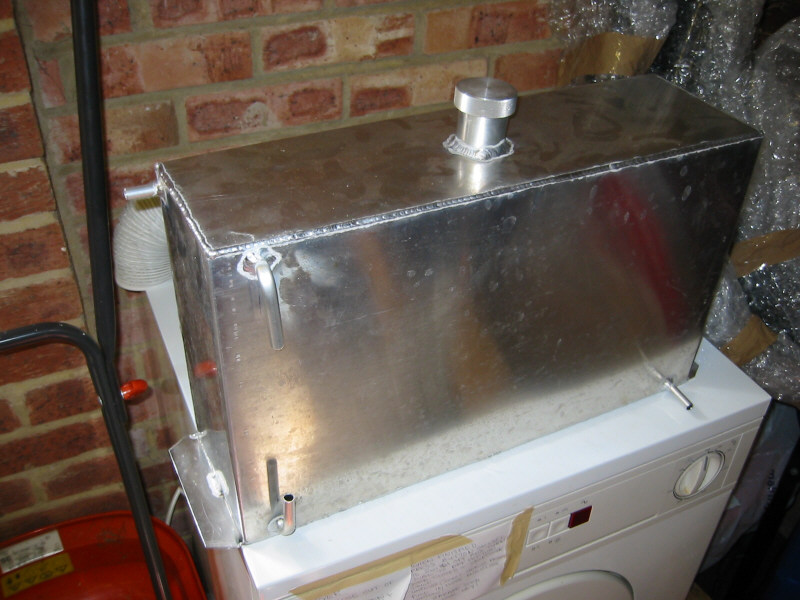 Stuart Taylor alloy fuel tank
|
|
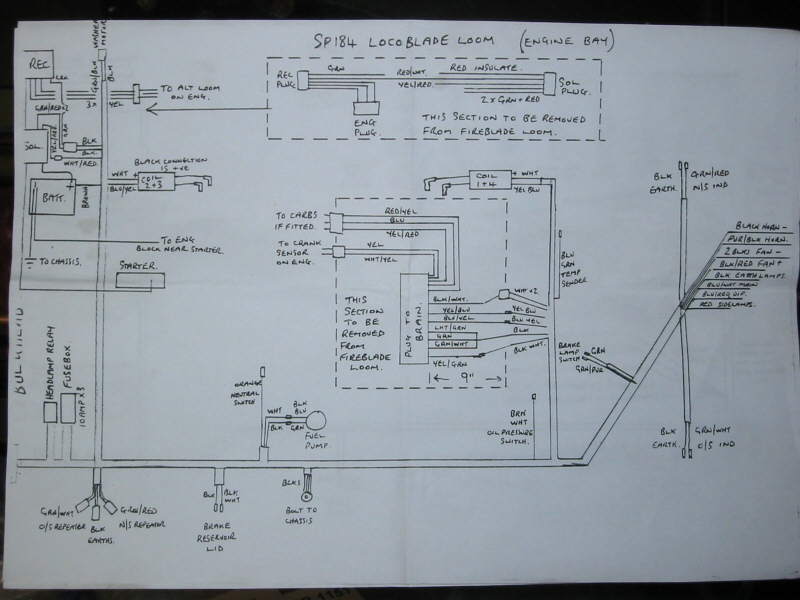
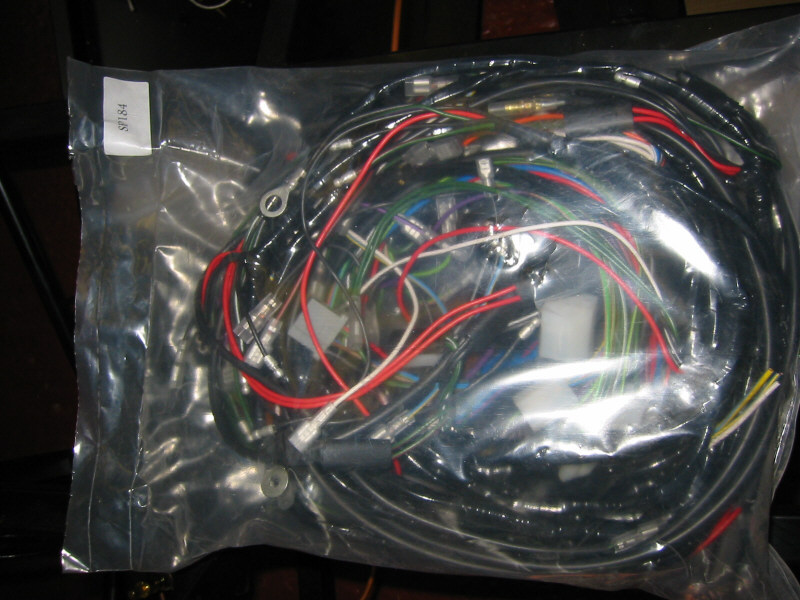 Locoblade wiring loom
|
 Loom wiring diagram page 1
|
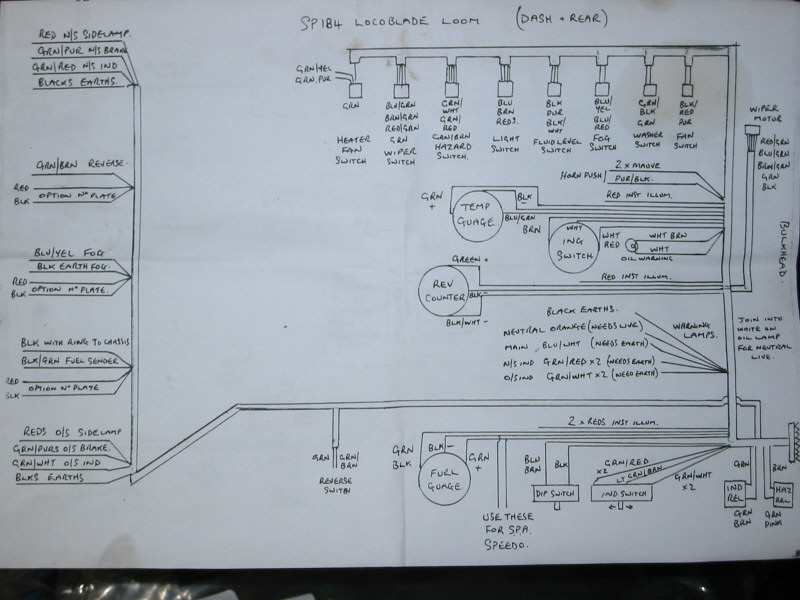 Loom wiring diagram page 2
|
Fitted the main front-to-rear brakepipe, but it seems too long for the route I want to follow. I'll either have to put a few extra bends in it or get a shorter one made up. Whilst at Stuart Taylor's I noticed that they route the brakepipe along the passenger side of the top of the transmission tunnel and route the fuelpipe along the bottom. I've fitted my rear 'T' piece on the driver's side so I want to route the pipe on the driver's side of the transmission tunnel. Also I need to leave room for the gear linkage, when I get it. I'm thinking of fitting a Westfield gear linkage as the Stuart Taylor one has a long shaft that pivots in a tube which seems liable to seizure to me.
Tuesday 4nd
Spotted some Revolution alloys with tyres for sale in the WSCC magazine. Drove to the seller's house in Southampton to have a look and they were in pretty good nick so I bought them. When I go back I 'trial' fitted them to the chassis. With the bonnet and nosecone in position too, it almost looks like a car! Wheels will enable me to work on the car outdoors when the weather is nice.

Saturday 8th
Extracted a handbrake lever from a MK3 Escort in Aldershot Car Spares (Ł5). Also, bought a new Sierra handbrake cable from A.R.E. for a very reasonable Ł14.99.
MK3 Escort handbrake lever
The Stuart Taylor chassis provides handbrake cable mounting guides on the bottom of the transmission tunnel on the passenger side. This allows for fitment of the handbrake in the passenger footwell. I toyed with the idea of fitting the lever on top of the transmission tunnel, but this would require making up mounting brackets and moving the cable guides so I decided that it wasn't worth the effort (and I don't have welding facilities in any case), so into the passenger footwell it goes.
The cable mounting on the rear calipers points downwards meaning the the cable must come in from beneath. There is very little room between the caliper and the lower wishbone rosejoint through which to fit the cable. A quick call to Ian at ST revealed the following little trick: Undo the top caliper mounting bolt and rotate the caliper forward a few degrees on the lower bolt. This bring the cable mounting abutment clear of the lower wishbone enabling easy fitment of the handbrake cable. Once fitted the caliper can be rotated back into position and the top bolt re-fitted. The cable does finish up very close to the lower wishbone, but this is OK.
 Handbrake cable mounting brackets
|
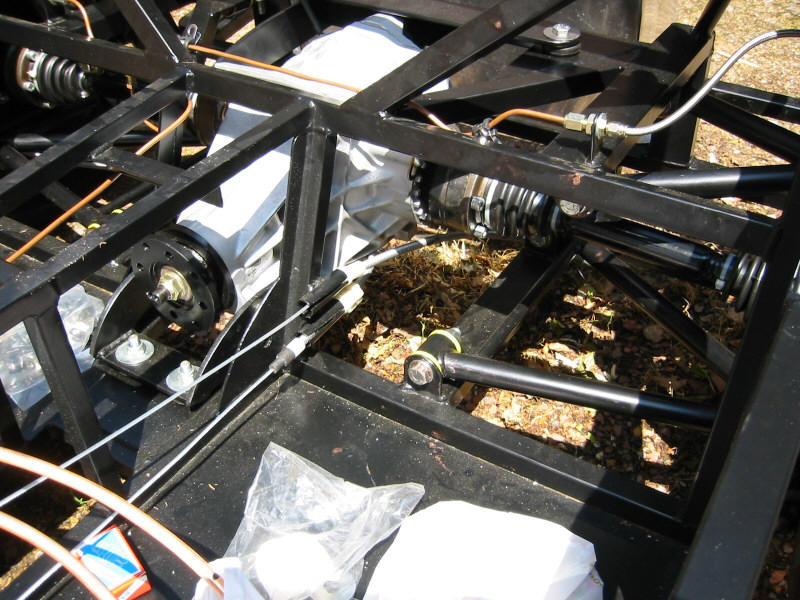
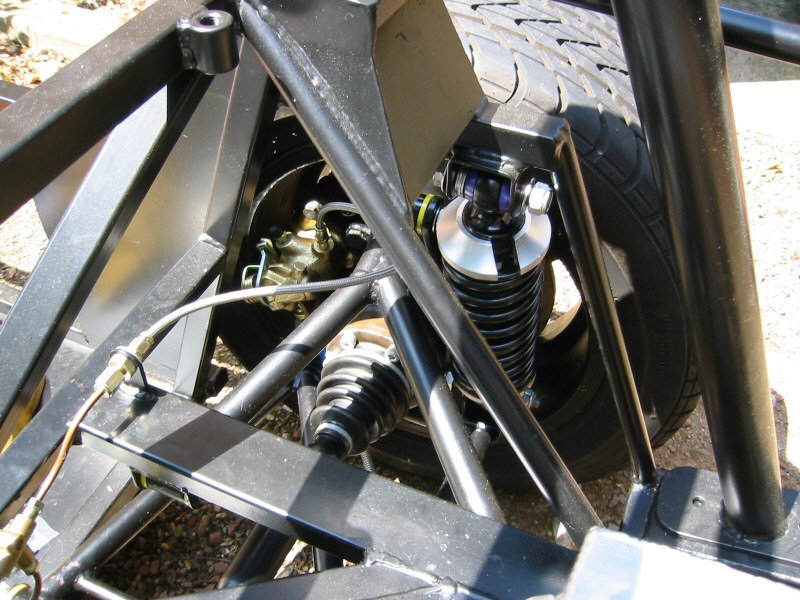 Rear suspension and brakes
|
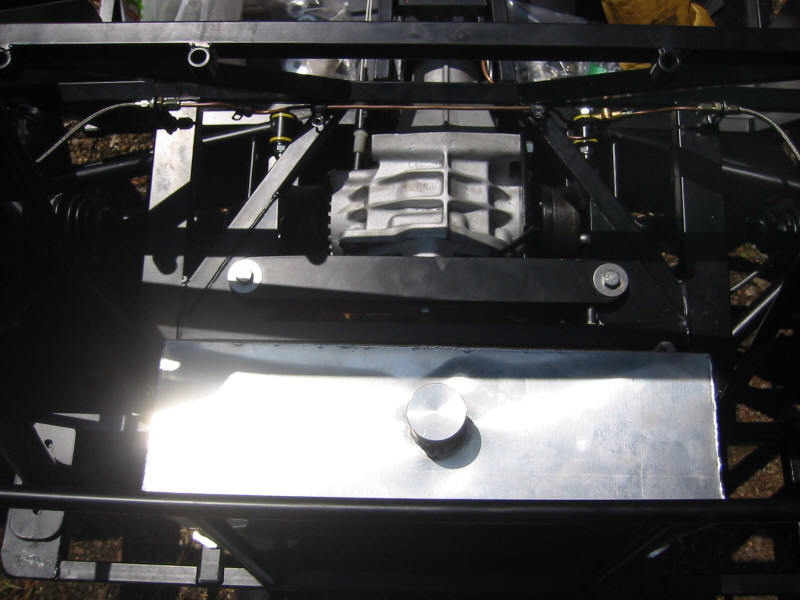 Stuart Taylor fuel tank
|
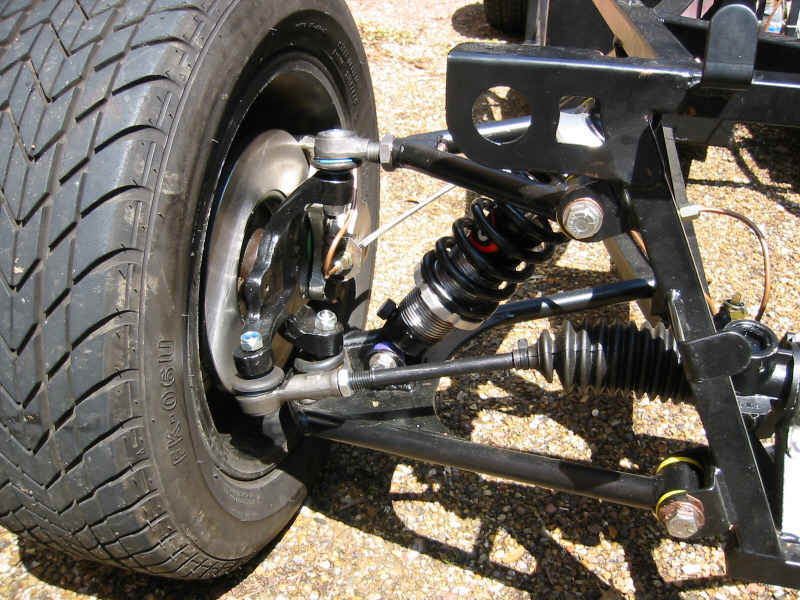 Front suspension, upright and brakes
|
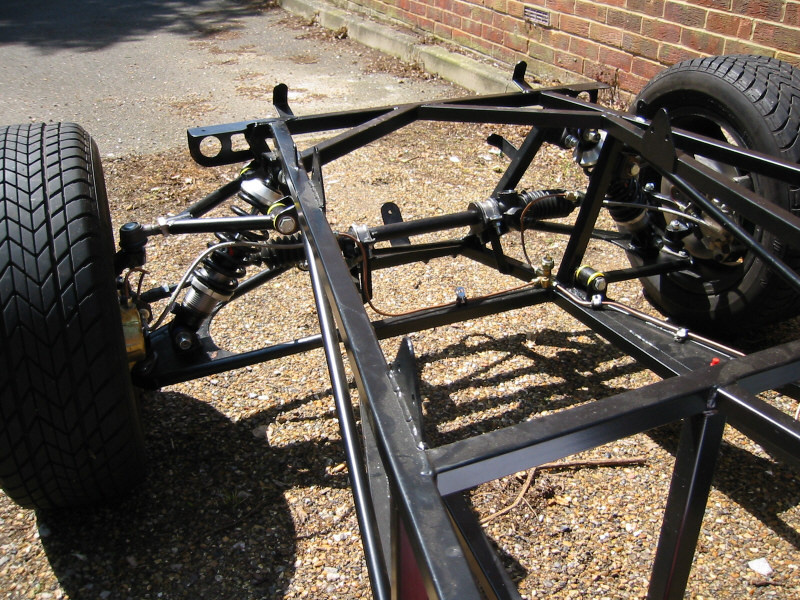 Front suspension and steering
|
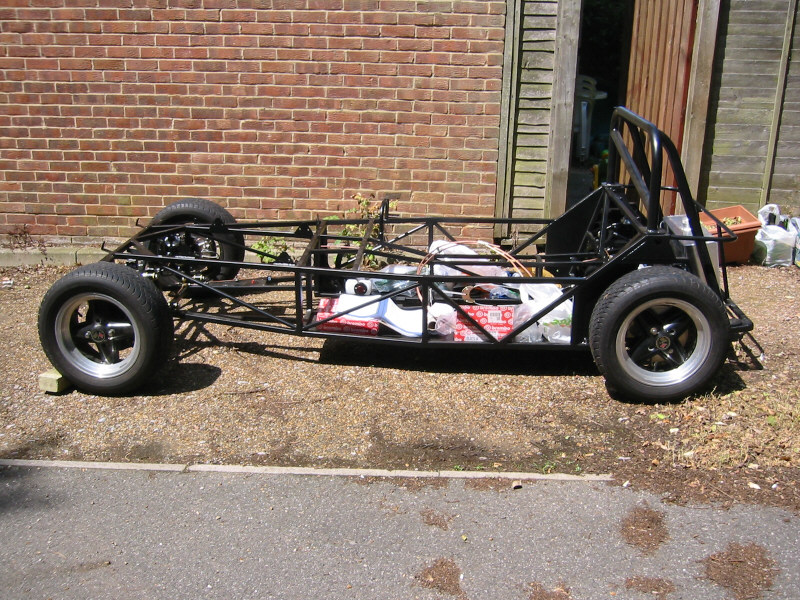
My plan now was to fit the wheels and drop the car off the axle stands for the first time (and push it around making vroom! vroom! noises!). I fitted the front wheels first, no problem. Fitted a rear wheel and...it wouldn't turn. I had a look and the wheel was touching the outside of the caliper; I was beginning to worry that I'd got the wrong wheels. They came from a Westfield so I assumed they would fit (although you know what they say about assuming!). Wheel spacers would solve the problem, but would that affect the handling? I decided to sleep on it and call Ian on Monday.
Monday 10th
Called Ian at Stuart Taylor (by the way, did you know that Stuart and Taylor are Ian's middle names?) about the rear wheels. He said 'they all do that sir' (at least I haven't got the wrong wheels!) and that I need to 'shave' a few millimetres from the outside of the caliper using an angle grinder. Hmm, hadn't thought of that. He said that fitting wheel spacers is also an acceptable solution and that I wouldn't notice any difference in handling. Ian said that there is plenty of metal in the caliper casing and that removing it with a grinder is what ST do. Think of the unsprung weight saving! However, I am a bit terrified of using the grinder in anger as the first time I tested it, the disc flew off because I hadn't tightened it enough! Wear those safety goggles folks...
Wednesday 11th
Bought some wheel spacers from Halfords. Fitted the rear wheels and dropped the car down onto its wheels for the first time. Jumped up and down on the chassis to test the suspension; seems to work OK!
 The chassis also makes a useful storage shelf for parts still to be fitted!
|
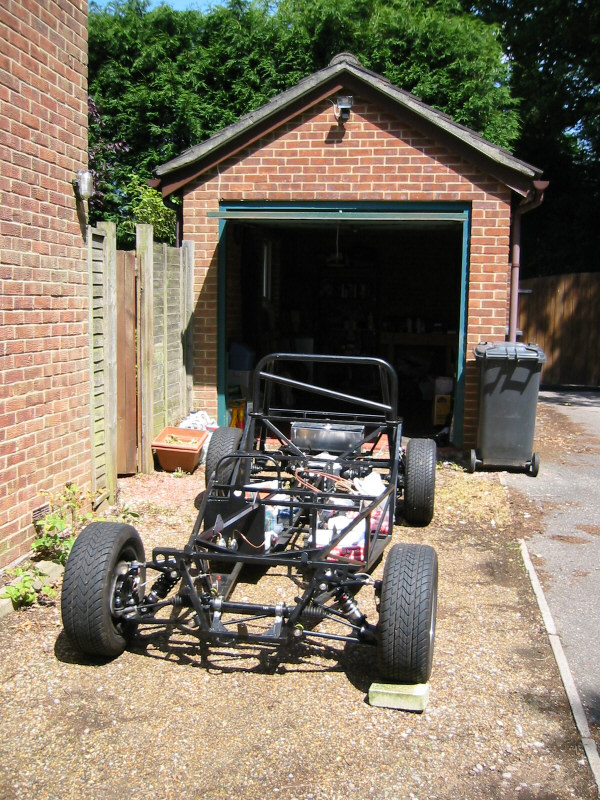 Rolling chassis is easy to push in and out of the garage
|
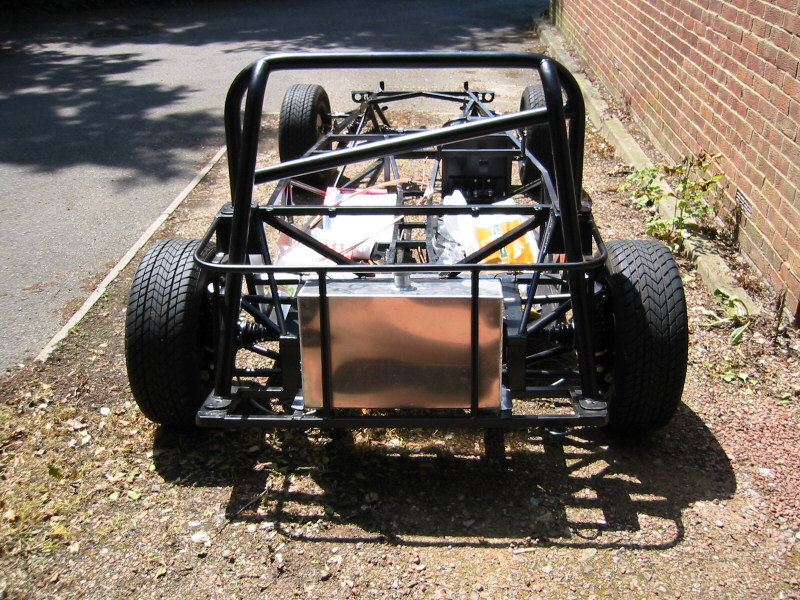 The fuel tank is just resting in position at the moment
|
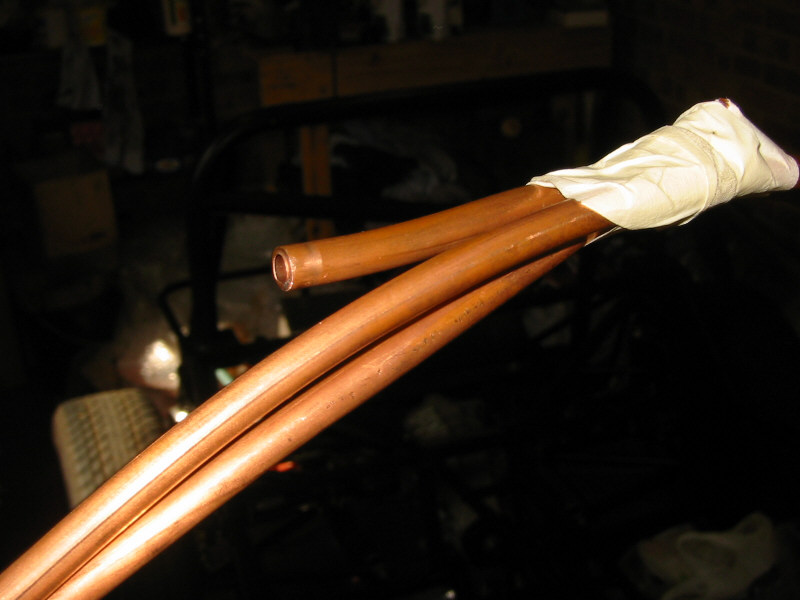 8mm copper fuel pipe
|
Wednesday 26th
Bought a new steering column bush from A.R.E.
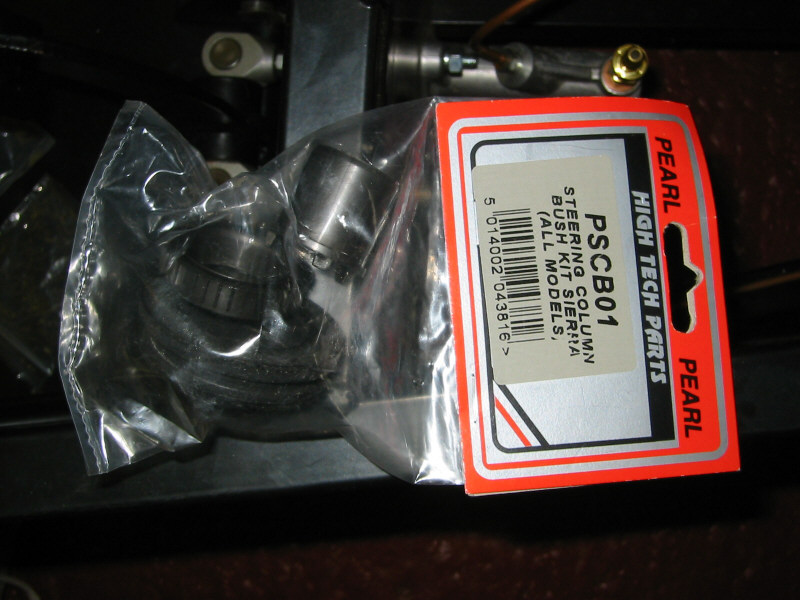 Sierra steering column bush
|
Thursday 27th
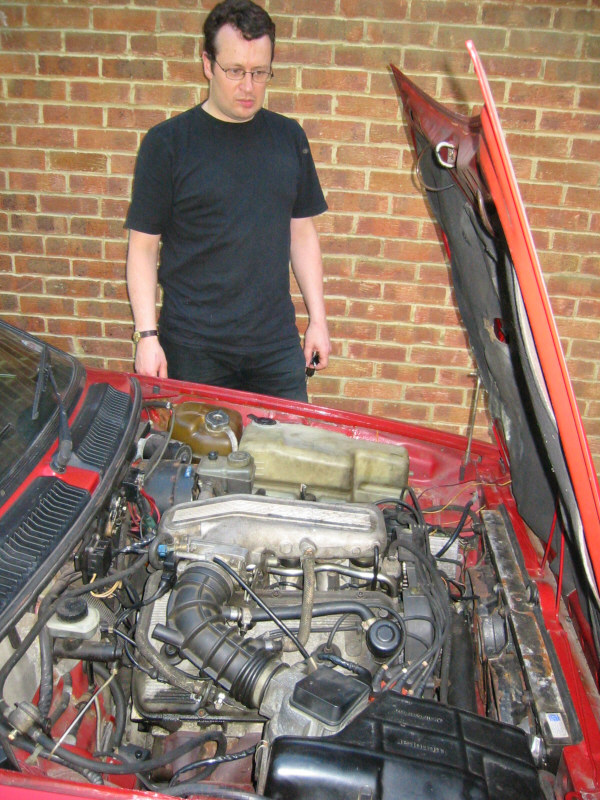
Had a welcome surprise visit from Mark "Gearbox" Guerin and his Alfa GTV6 fitted with a 3.0l engine from an Alfa 75 and camshafts from an Alfa SZ.
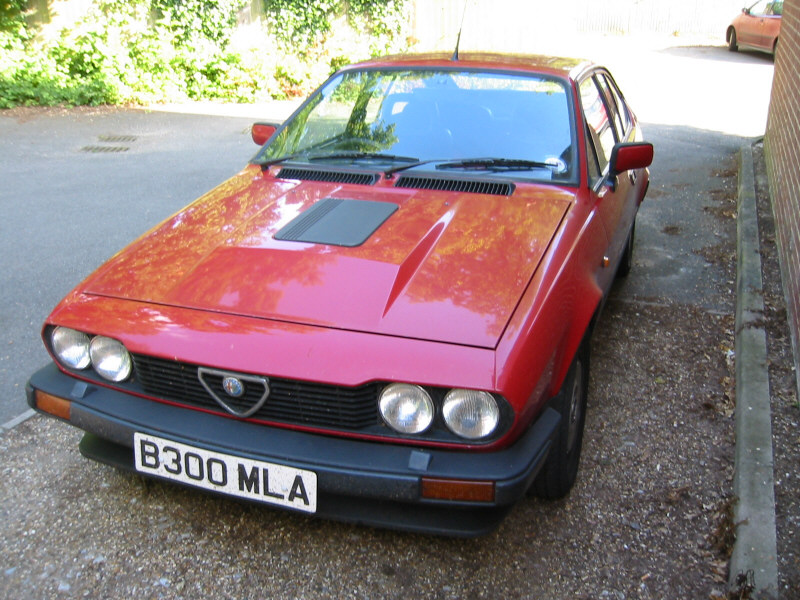 GTV6 front view
|
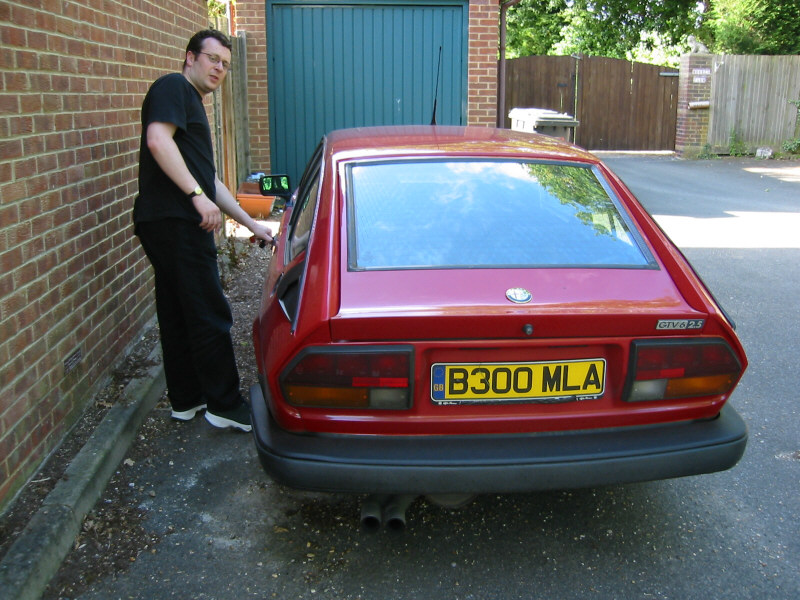 Mark Guerin and GTV6
|
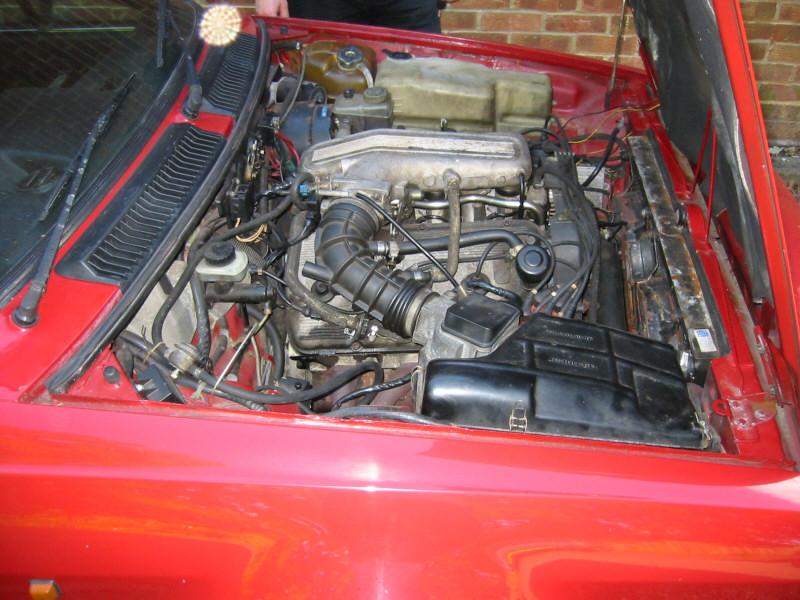 3.0l V6 engine from an Alfa 75 (Notice the interesting lens flare in the top left of this picture. No, I
can't explain it either)
3.0l V6 engine from an Alfa 75 (Notice the interesting lens flare in the top left of this picture. No, I
can't explain it either)
|
|
Mark and Alfa V6 |
Bought a rivnut tool from Hunter Tools.
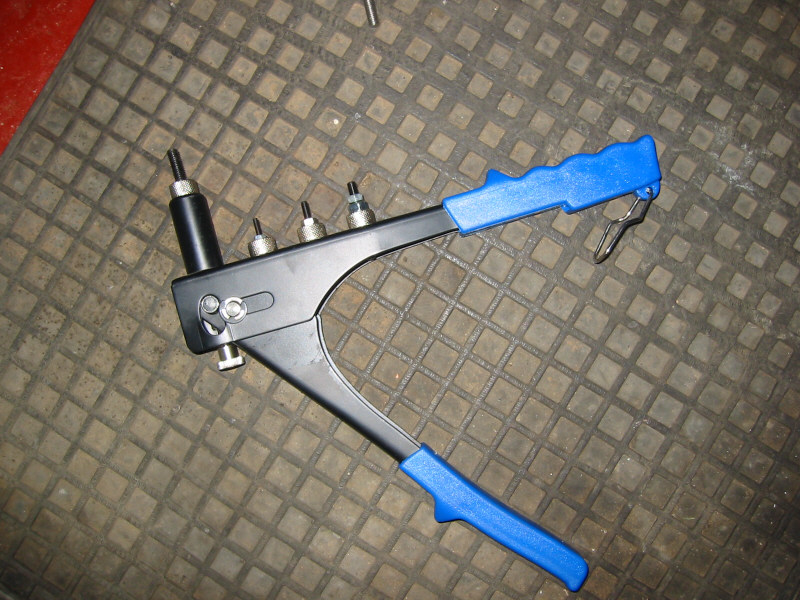
Rivnut tool
Sunday 30th
Decided to do my first rivetting. I've been dreading this moment as it means drilling holes in the chassis. If I get it wrong, I can't fill them in again!
The rivnut tool will fit upto M6 rivnuts. I determined that an M6 rivnut required a 9mm hole to be drilled.
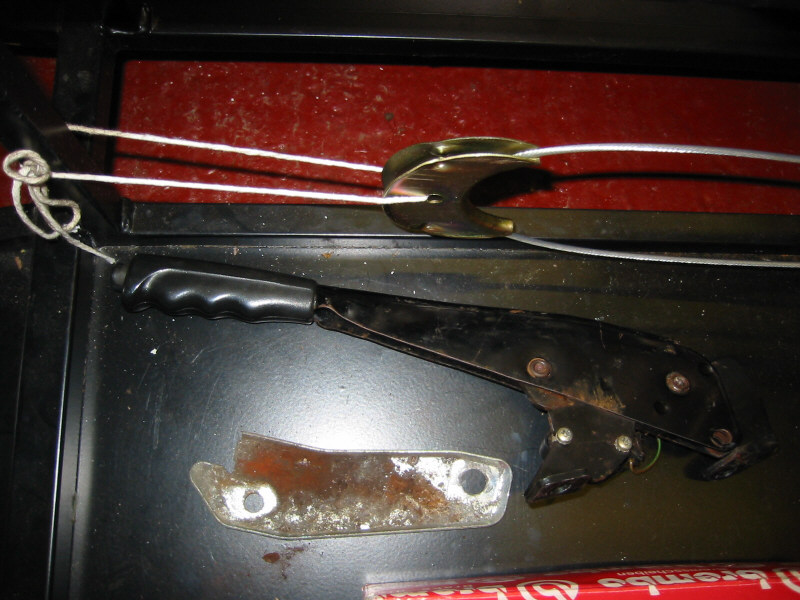
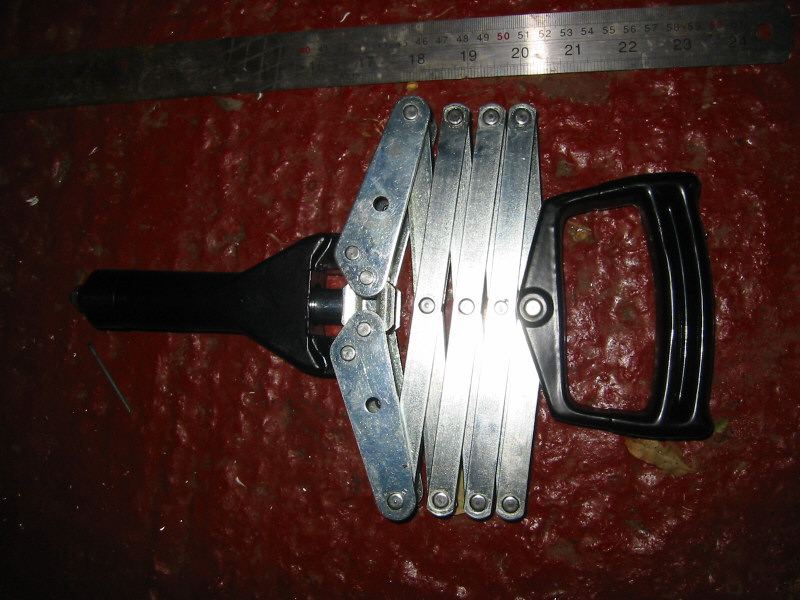 The 'Lazy Tongs' rivetter makes rivetting much easier, but requires good clearance
|
 Brake pipes secured to chassis with rubber-lined stainless steel P-Clips using 4.8mm rivets
|
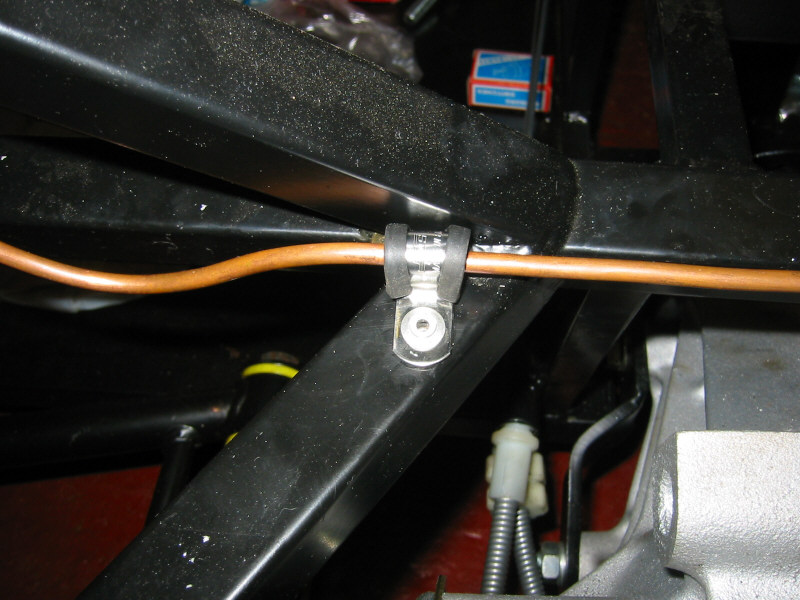
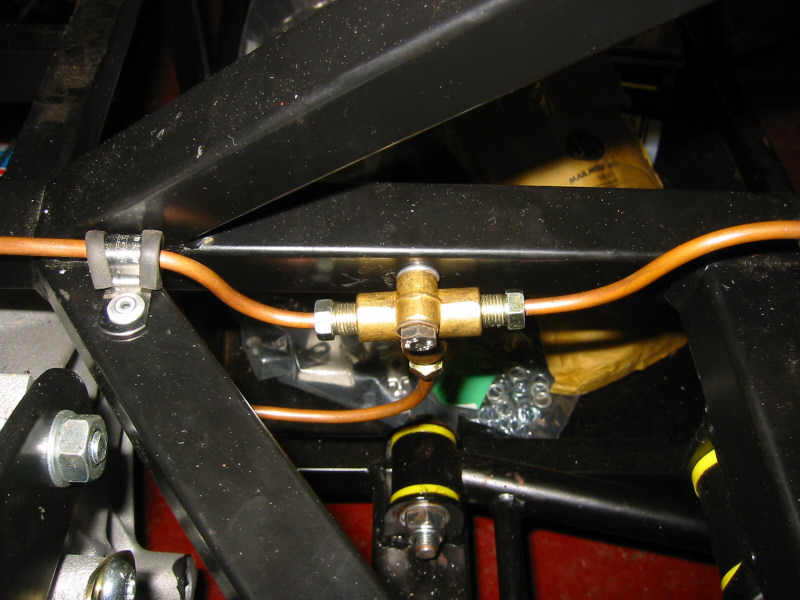 Rear brake union fitted to the chassis using an M6 rivnut and stainless steel setscrew
|
The passenger footwell panel seemed appropriate as the first panel to attempt to fit. It's out of sight in the engine compartment, so if I made a mess of it, at least no-one would see it! I noticed that the cutout at the bottom of the panel was not right for my chassis, so I used a hacksaw to cut out the correct profile. I the smoothed off all the edges of the panel using a fine file.
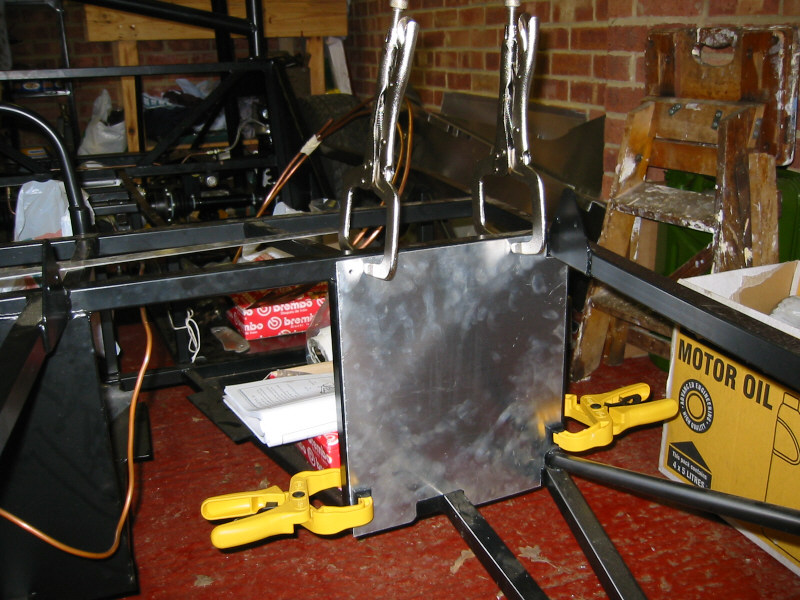 Panel held in position with clamps
|
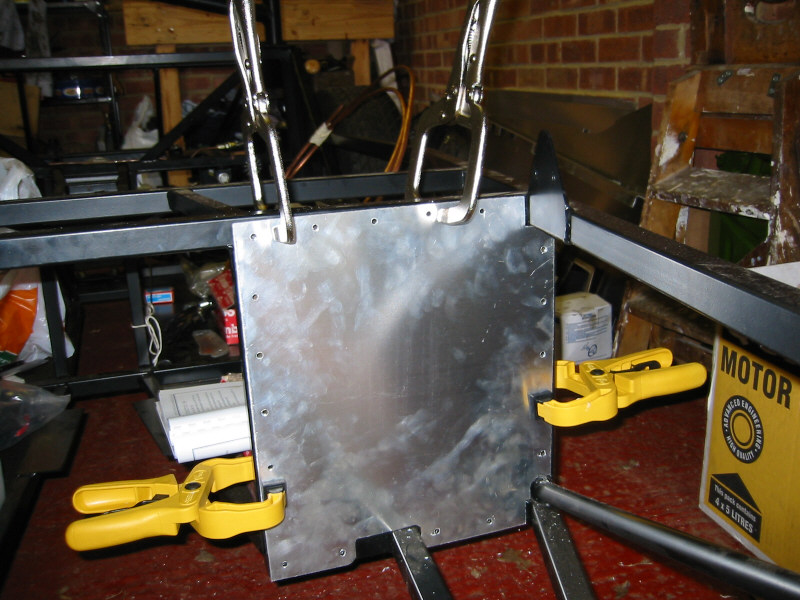 I drilled holes at 5cm intervals using a 4.8mm drillbit. It was not easy getting the drill in place for some of them
|
 Close-up of panel ready for rivets
|
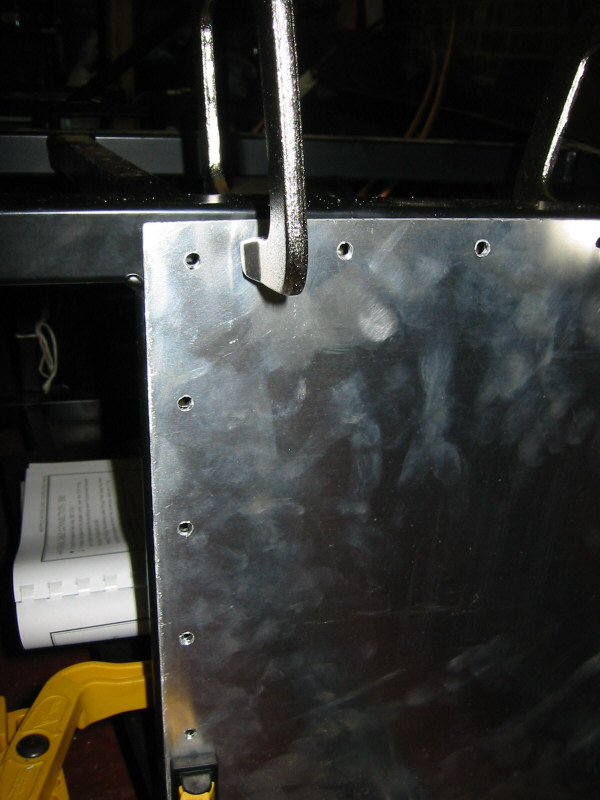
Once I'd drilled all the holes, I removed the panel and de-burred all the holes using some fine emery paper. I applied silicone sealant to the chassis and placed the panel back in position ready for rivetting. The rivets were a very tight fit in the holes and some of them needed a gentle tap with a hammer. Where space allowed, I used the lazy tongs to fit the rivets, otherwise the convential hand rivetter. When the rivet 'snaps' off, you have to be careful not to jerk and dent the panel with the rivetgun.
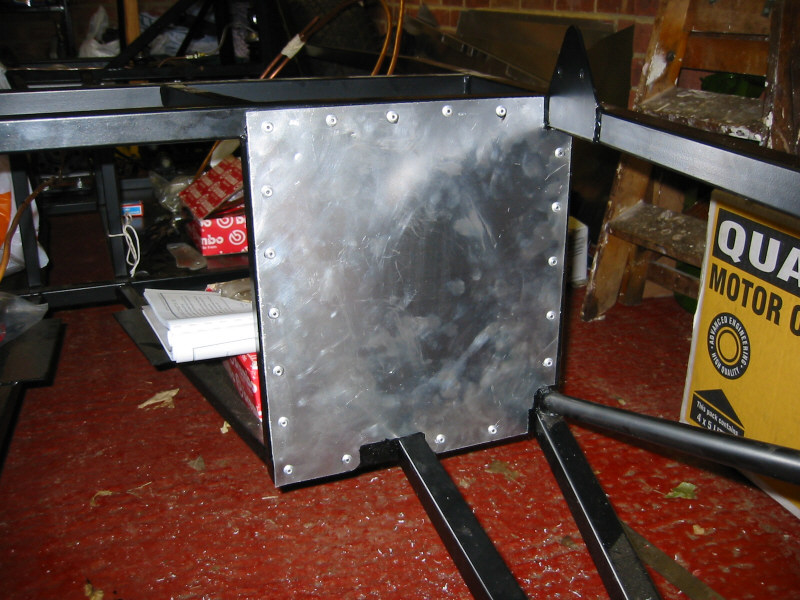 Panel rivetted in position
|
 I used more silicone sealant on the inside of the panel to ensure a water-tight fit, although it's not really necessary on a car that will have no roof and no windscreen!
|