July 2002 - Page 1
July 2002 - Page 2Friday 5th
I bent the 6mm mandrel on my rivnut tool last weekend so I e-mailed the manufacturers Laser Tools to see if I could buy a new one and to my surprise they replied within two hours to say that they would send me a replacement free-of-charge! Excellent service.
Sunday 7th
Trimmed and trial-fitted one of the alloy side panels. Looks like it will be a very nice fit.
Tuesday 9th
New 6mm rivnut mandrel arrived from Laser Tools. Very impressed.
Wednesday 10th
Phoned Ian at Stuart Taylor to see if he had a ZX-9R engine in stock. He had, so I thought 'f**k it' and said I would pick it up on Saturday. Also fetching engine cradle, prop flange adaptor, propshaft, centre bearing mount, gear linkage, header tank, radiator, alloy pipe set and a complete exhaust. It all comes to quite a tidy sum. I'll update the Costs page as soon as I can bear to see the total in black and white(!)
Saturday 13th
Drove up to Stuart Taylor Motorsport to pick up my engine and a few other bits.
Steve very kindly spent half an hour with me explaining how the engine loom should be connected to the engine and main loom. Ian showed me where to fit the cooling pipes. Hopefully I won't have fogotten all this when the time comes!
I took loads of photos, so here they are: Stuart Taylor Motorsport - July 2002
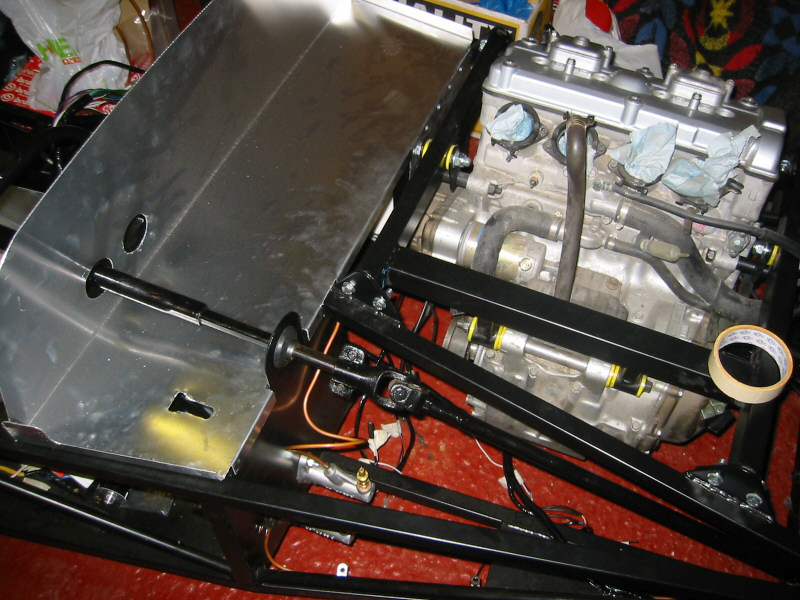
When we got home, I immediately used the services of my soon-to-be brother-in-law Will and his friend Mark to lift the engine into the chassis (whilst I inserted the bolts).
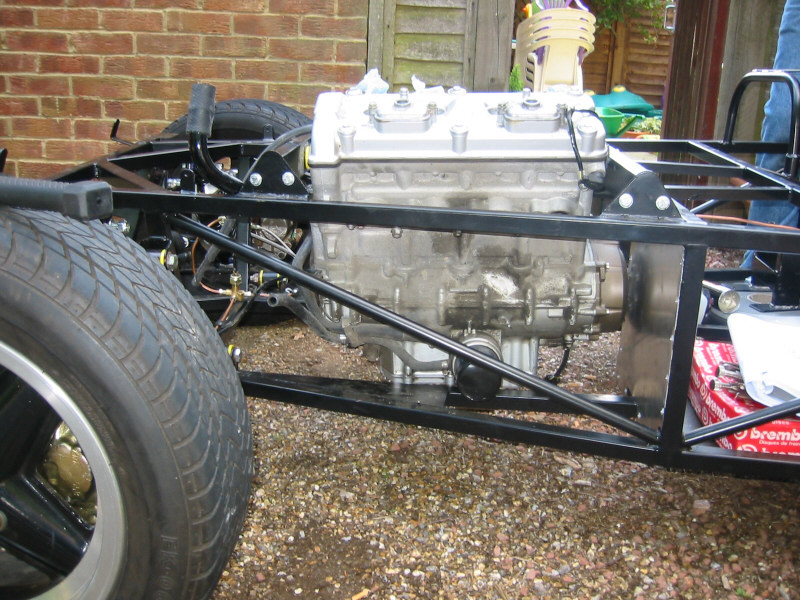
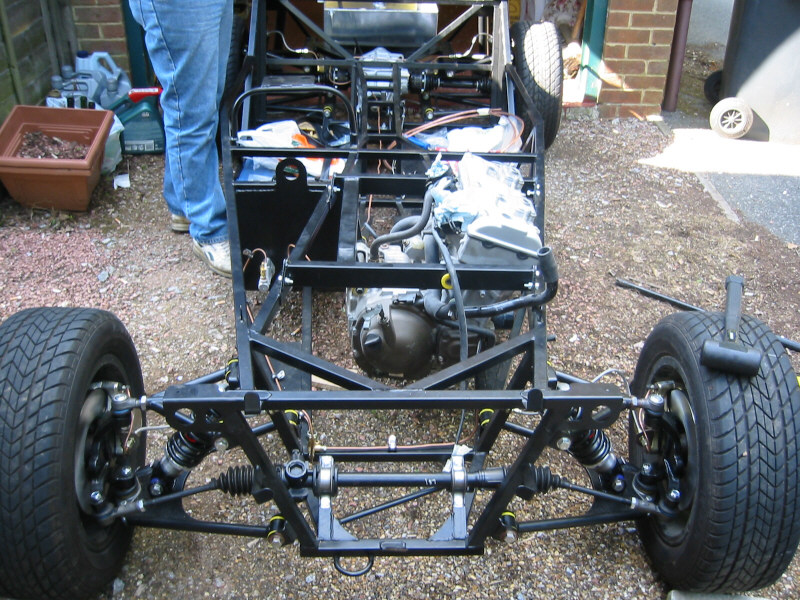 Engine installed!
|
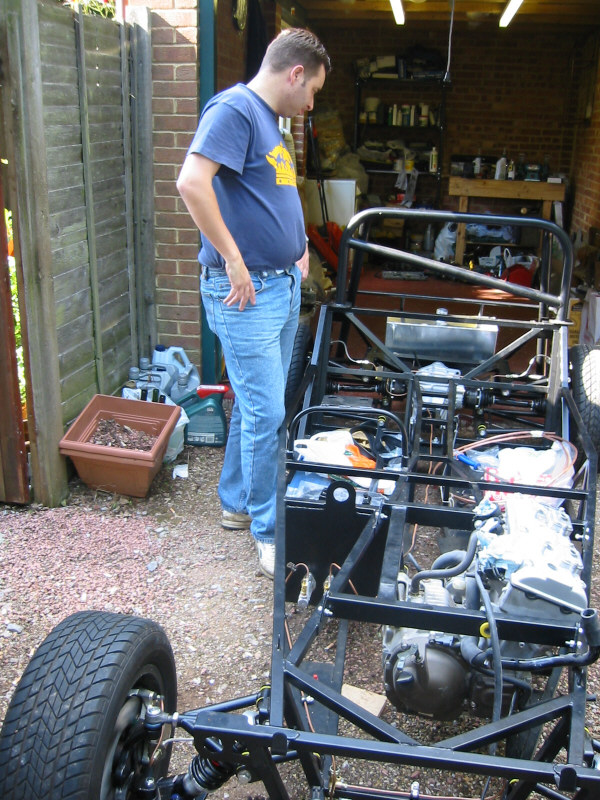
Will acted as engine hoist |
|
|
Sunday 14th
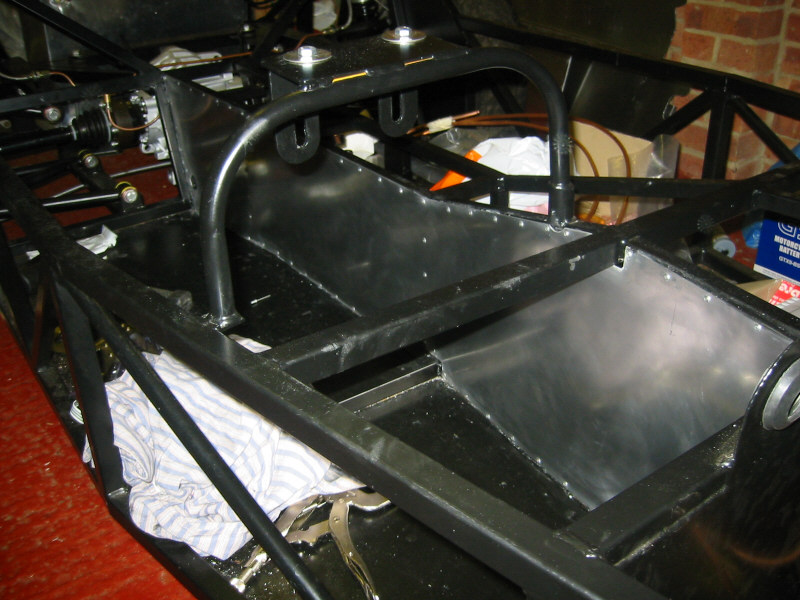
Got quite a bit done today. Removed all the column stalks from the secondhand steering column. Cleaned and painted the steering column, downlink and gearchange linkage. The steering column passes through a hole in the bulkhead panel which means that this panel must be fitted before the steering column, however I cannot rivet it yet as it fits over the side panels which I have not yet fitted. There is a fold at the front of the bulkhead panel that overlaps the passenger footwell panel. I decided to trim this where it overlaps to enable the bulkhead panel to fit flush against the chassis.
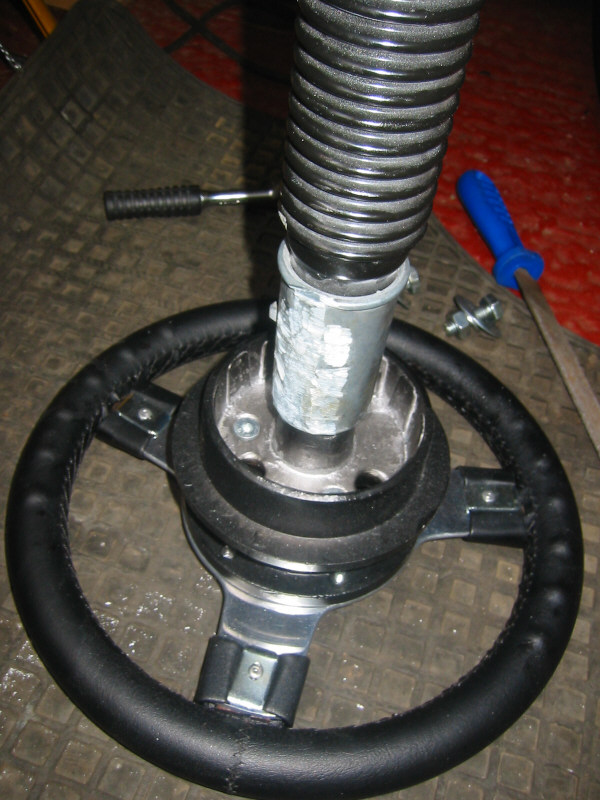
The old Sierra steering wheel came off quite easily so I trial-fitted the Mountney boss and wheel to see what it looked like. I had complained to Ian that he had sold me a 10" wheel, which would be too small, however I measured it and it is 11" after all. Sorry Ian!
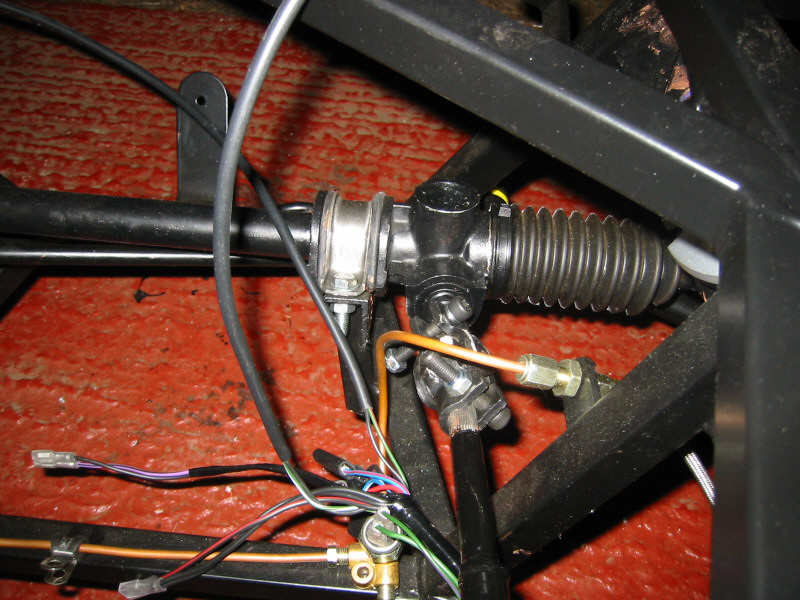
Downlink connected to rack |
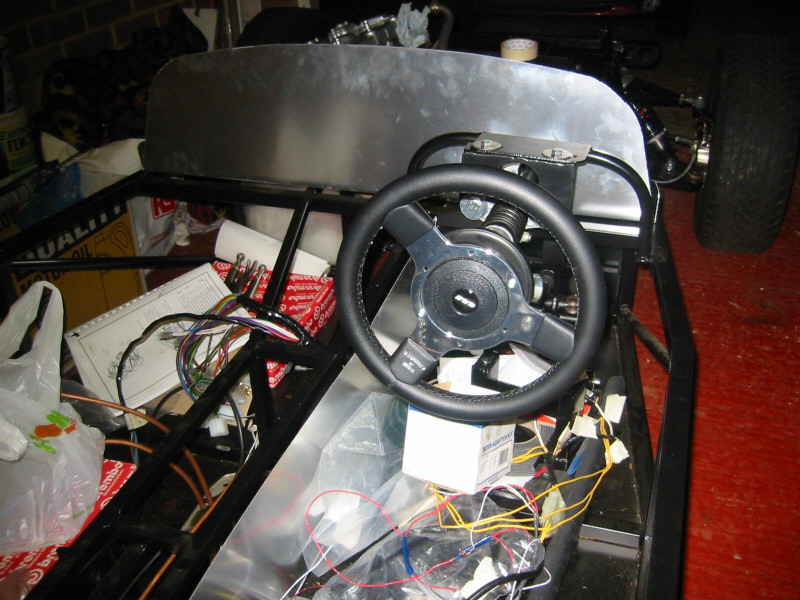
Trial fit of Mountney steering wheel |
Steering column and bush |
Gradually beginning to look like a car! |
Wiring Loom from front |
Wiring Loom from rear |
Managed to find an elusive Kawasaki ZX-9R Haynes manual. I had tried three Halfords Superstores (Guildford, Woking and Derby) and none of them had it. Eventually found a copy at Portman Kawasaki Dealers in Guildford. Also bought a battery and some oil.
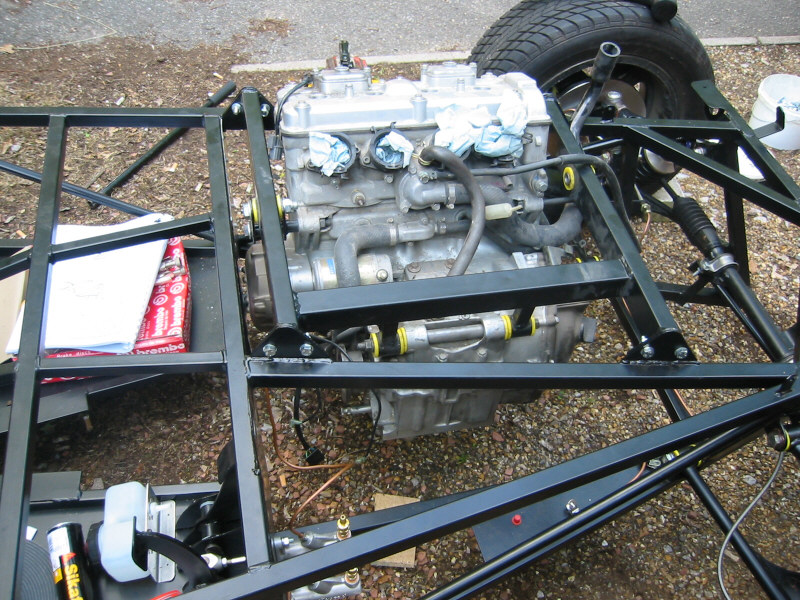
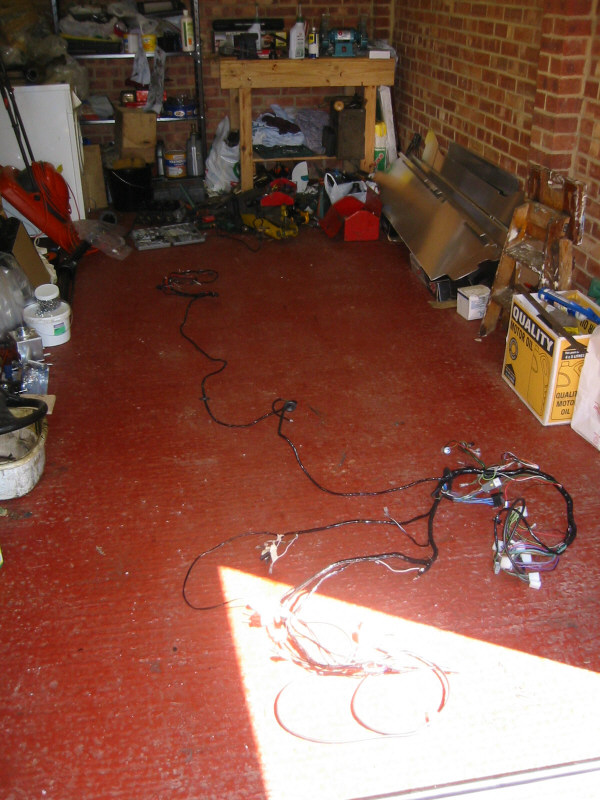
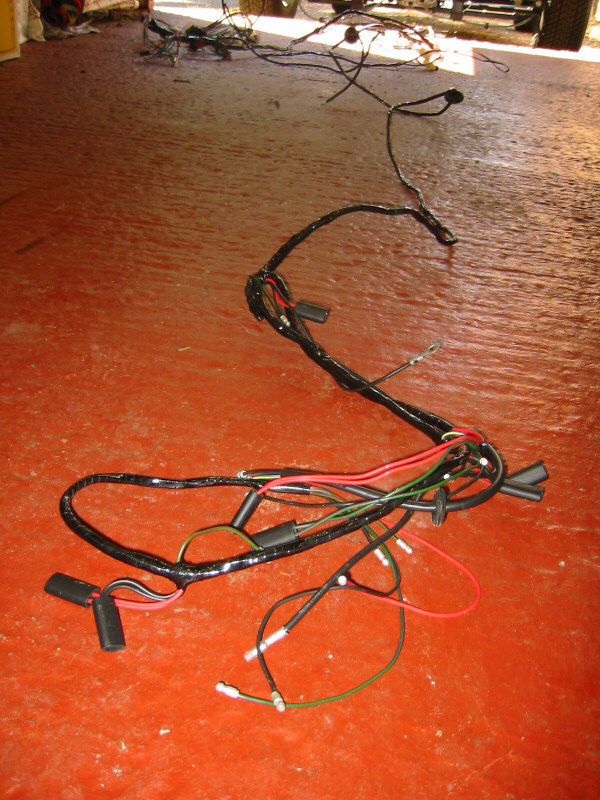
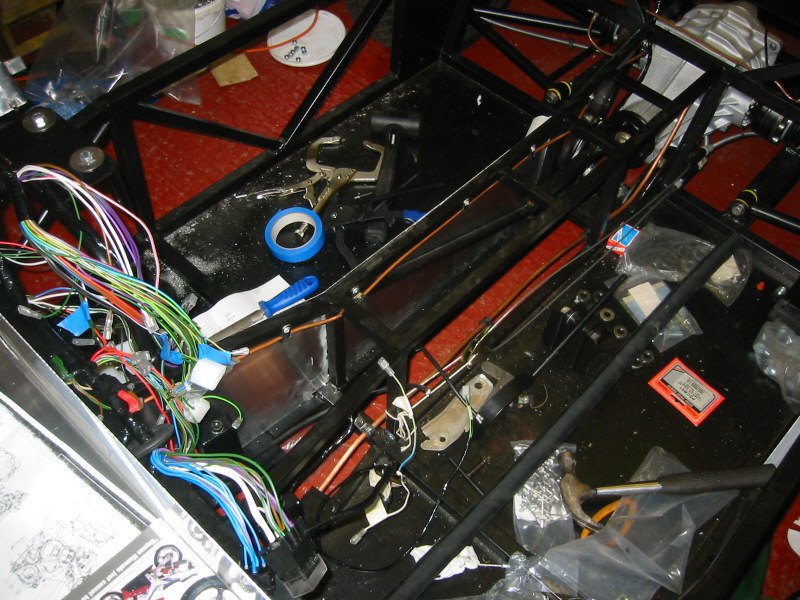
I laid out the engine loom in the engine bay and I think I know where every wire goes, now I just need to find a way of routing them neatly...
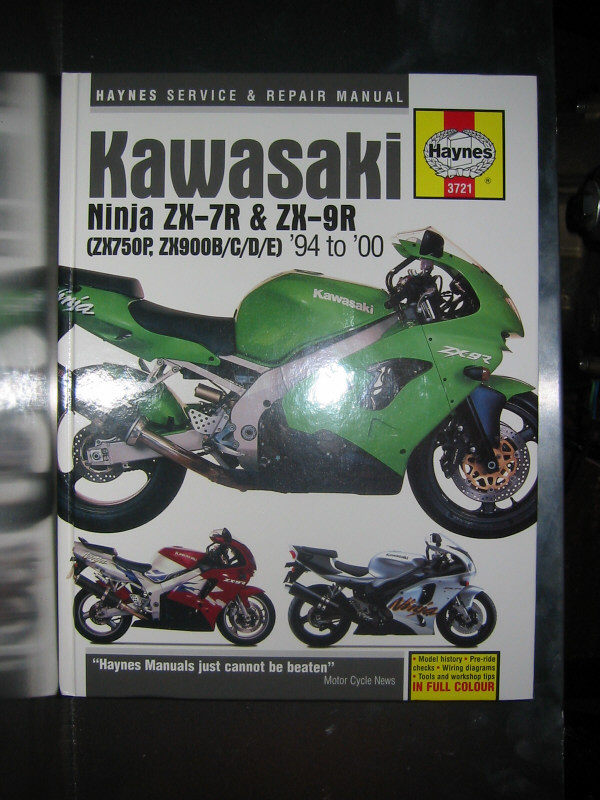
Finally found a Haynes manual! |
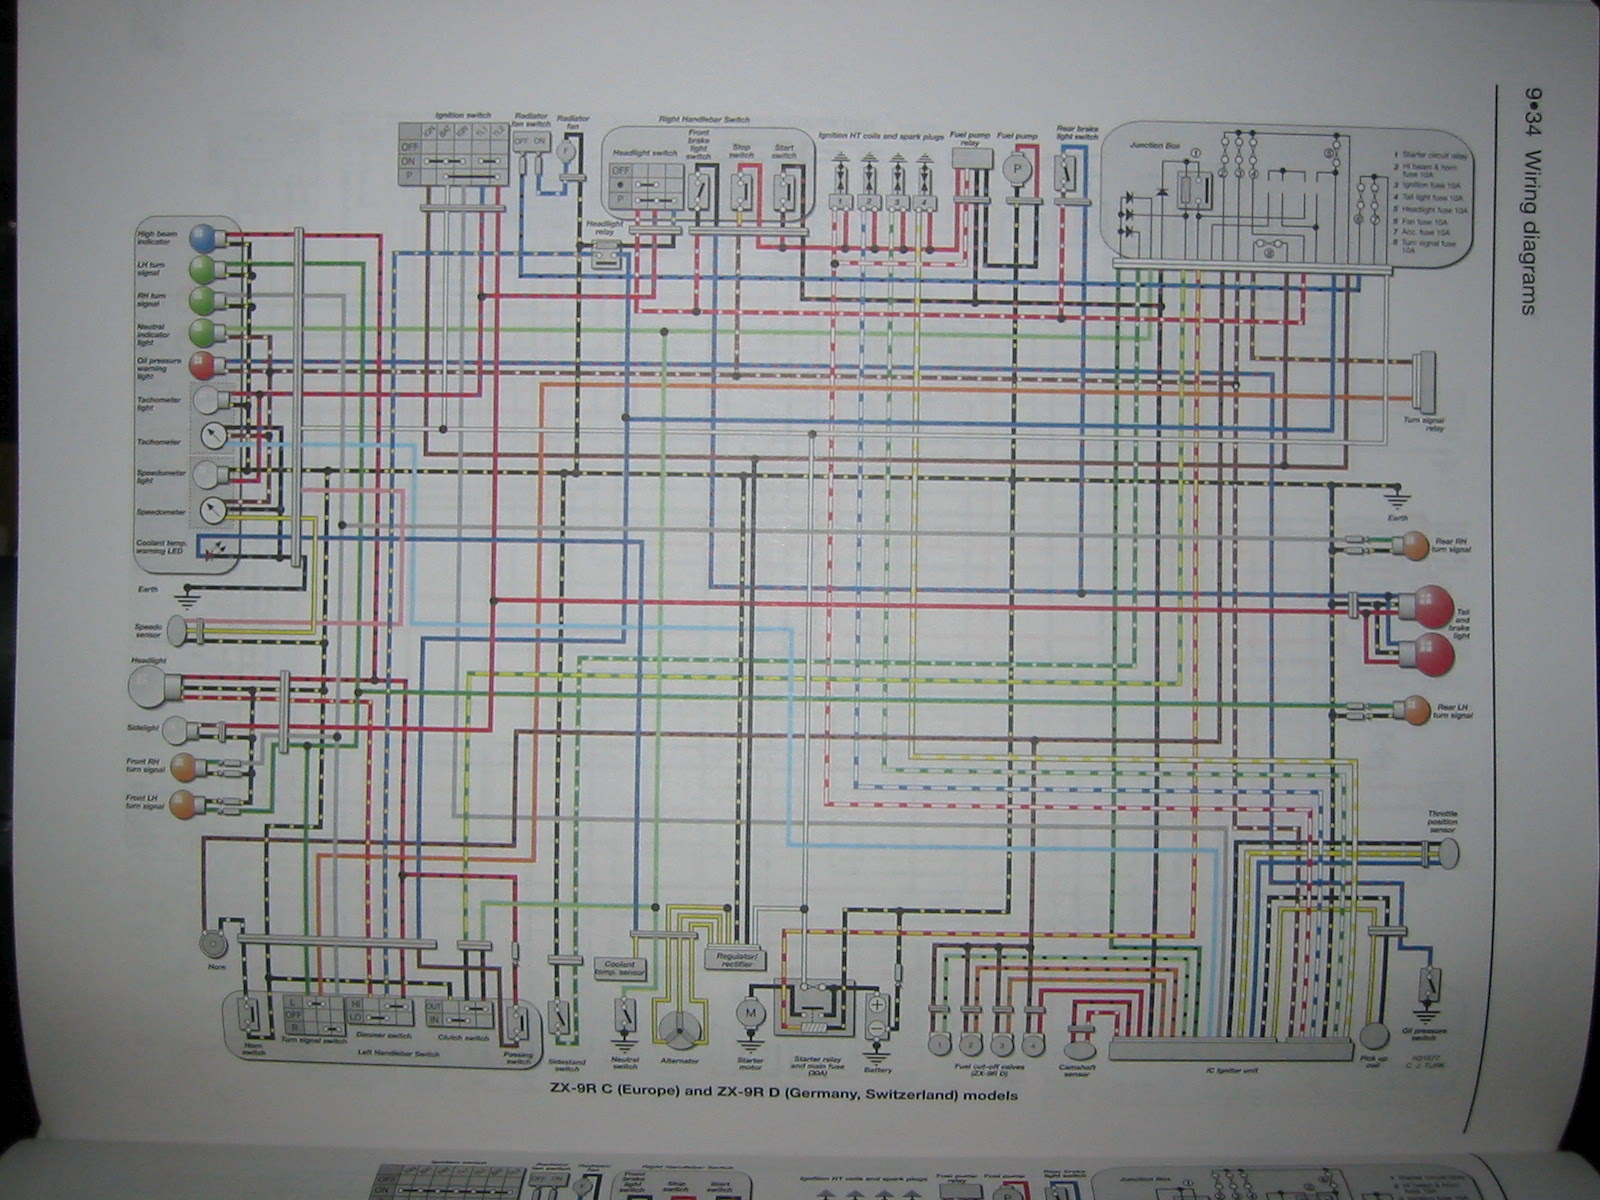
Wiring diagram from the Haynes Manual |
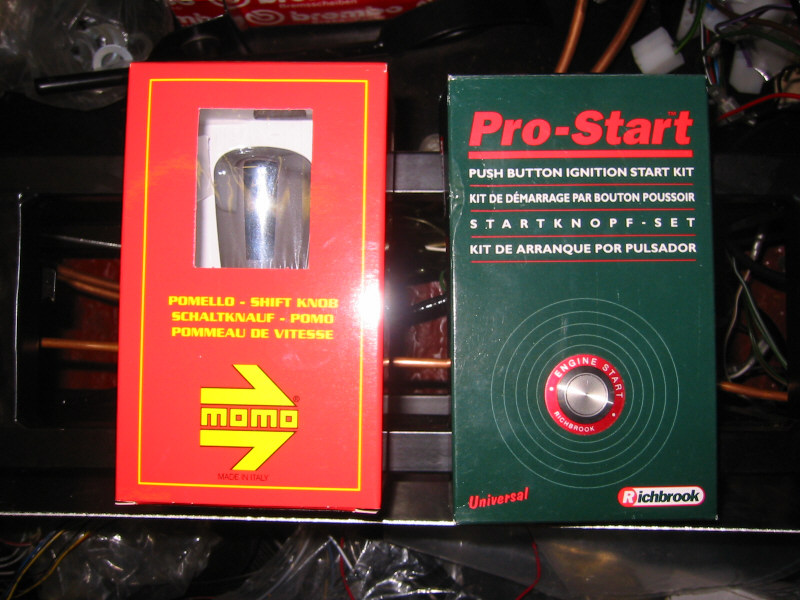
Got a bit carried away in Halfords and bought a Momo Competizione gear knob and a Richbrook engine start button |
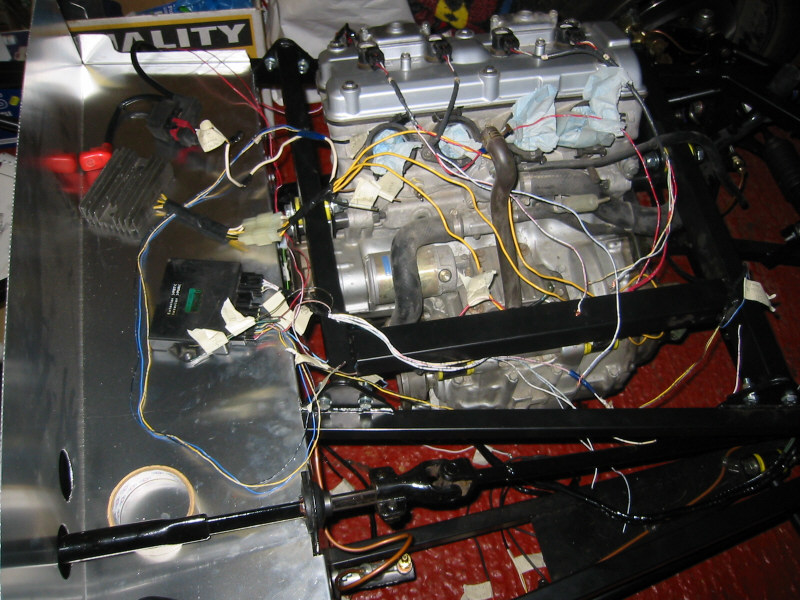
Engine loom |
Thursday 18th
After removing the stalks from the steering column, I was still left with the ignition barrel and steering lock. I phoned Ian at ST and he said to 'remove it'. Easier said than done! With judicious use of a junior hacksaw and angle grinder this evening, I managed to remove it all leaving just the steering column cylinder.
After lots of angle-grinding!
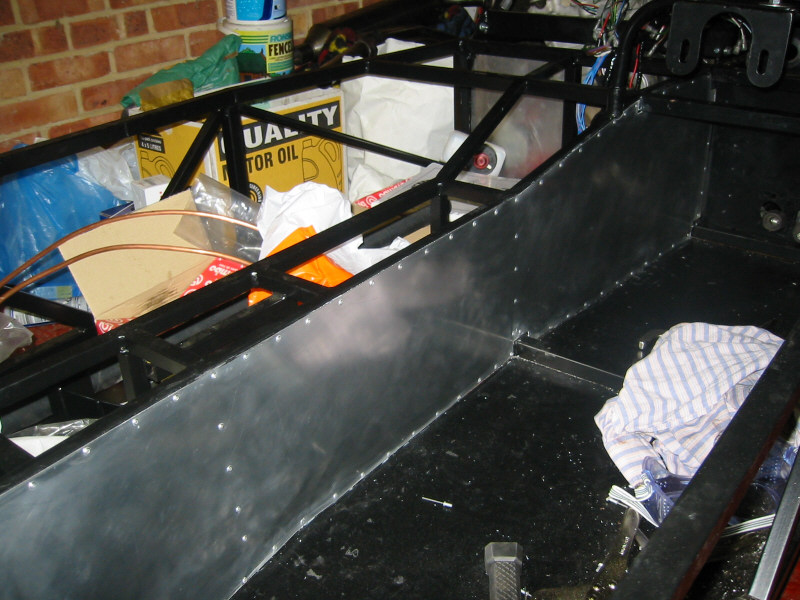
I realised that I would need to fit the tunnel side panels before fitting the bulkhead panel. I had to remove the pedals to gain access with the drill. Once the panel was clamped in place, (Top Tip 1) I found it helped to mark all the hole positions using a dot punch; the aluminium is soft enough to be able to mark holes by hand without a hammer. (Top Tip 2) If you are using 3.2mm rivets and can't find a 3.2mm drillbit, you can use a 1/8" drillbit as the difference is only 0.025mm. Where possible I drilled through the ally and into the chassis rail behind, but at the bottom of the panel, where it was impossible to fit a clamp due to the floor, I found it was best to drill through the ally only and mark the position for the hole on the chassis rail with the dot punch.
I removed the panel and applied Sikaflex polyurethane sealant to the chassis rails (does anyone know how to get this stuff off your hands?). I replaced the panel and started rivetting. For the smaller 3.2mm rivets I found it easier to use the hand rivetter rather than the lazy tongs. As usual, a few of the holes didn't line up so I had to get the drill out again.
Tunnel side panel ready for drilling |
Rivetted in position |
Alternate view |
Saturday 20th
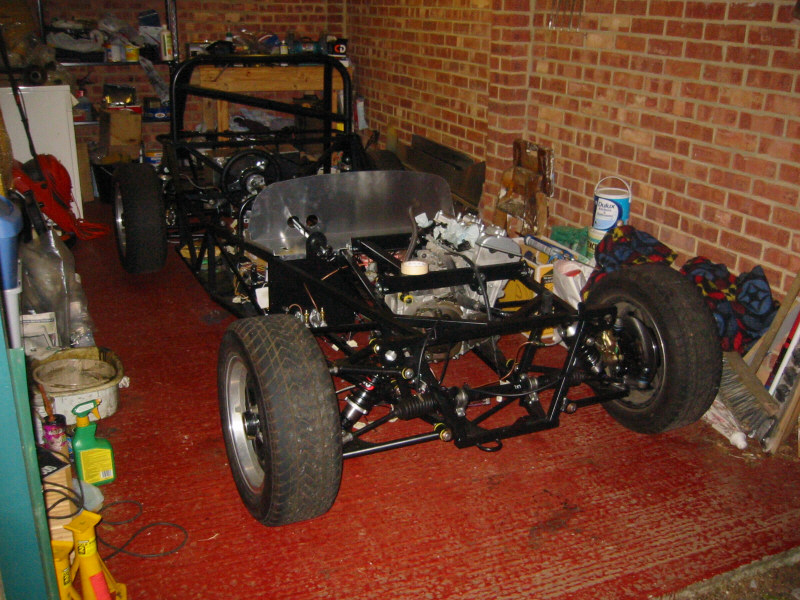
Trial-fitted the nosecone to determine the best position for the radiator. Also, finally attached the main front-to-rear brake pipe in the tunnel using rubber-lined stainless steel P-clips.
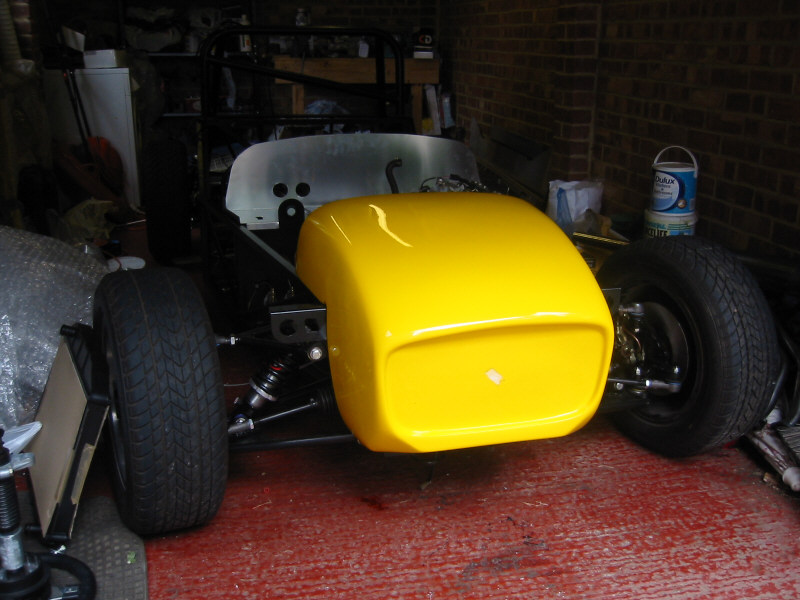
Trial-fit of nosecone |
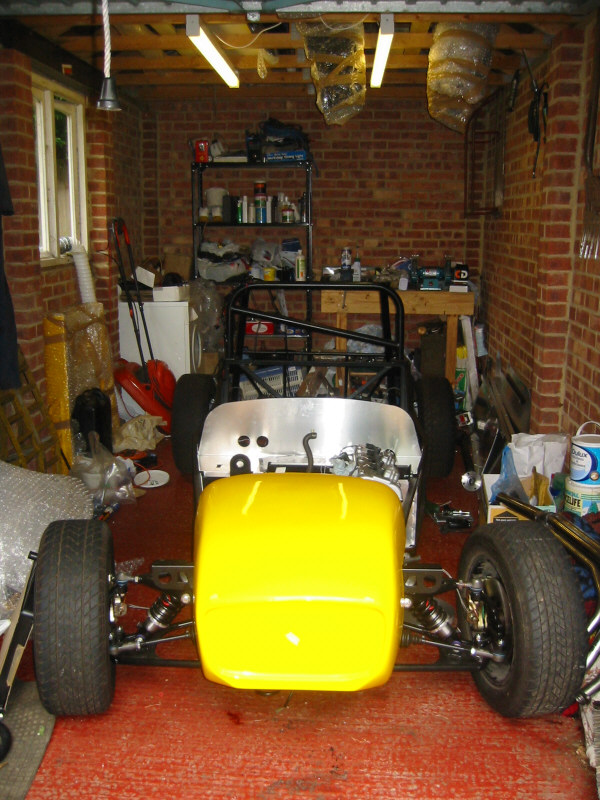
Amazing how a bit of bodywork instantly makes it look more like a car! |
Main front-to-rear brakepipe attached in tunnel |
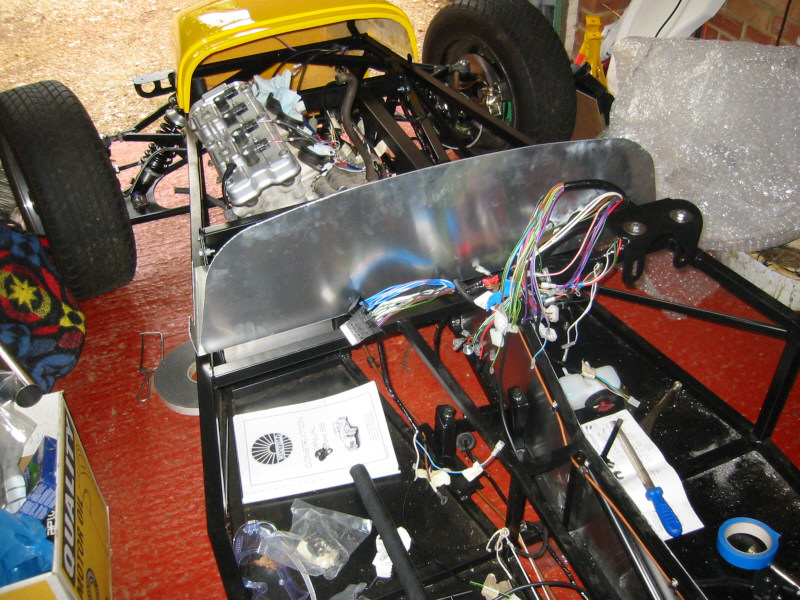
Wiring loom is sort of in the right position now.
July 2002 - Page 2